Posts

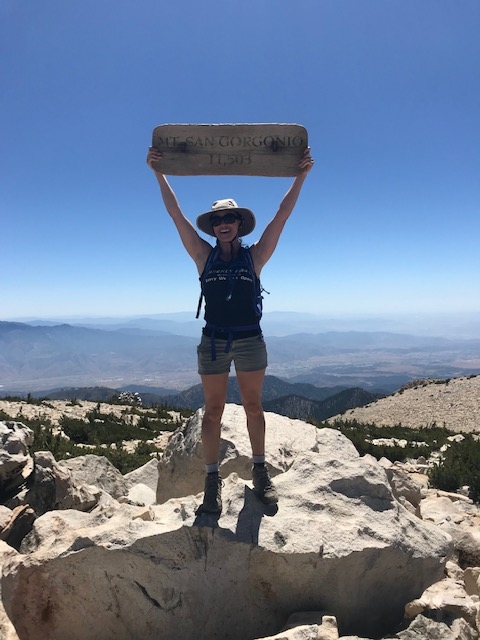
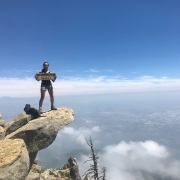
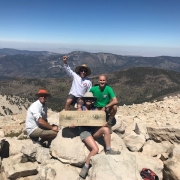
Peak 6 of 6: Mount San Gorgonio

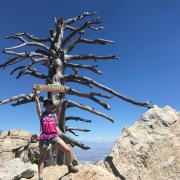
The grand finale peak had me so very proud…

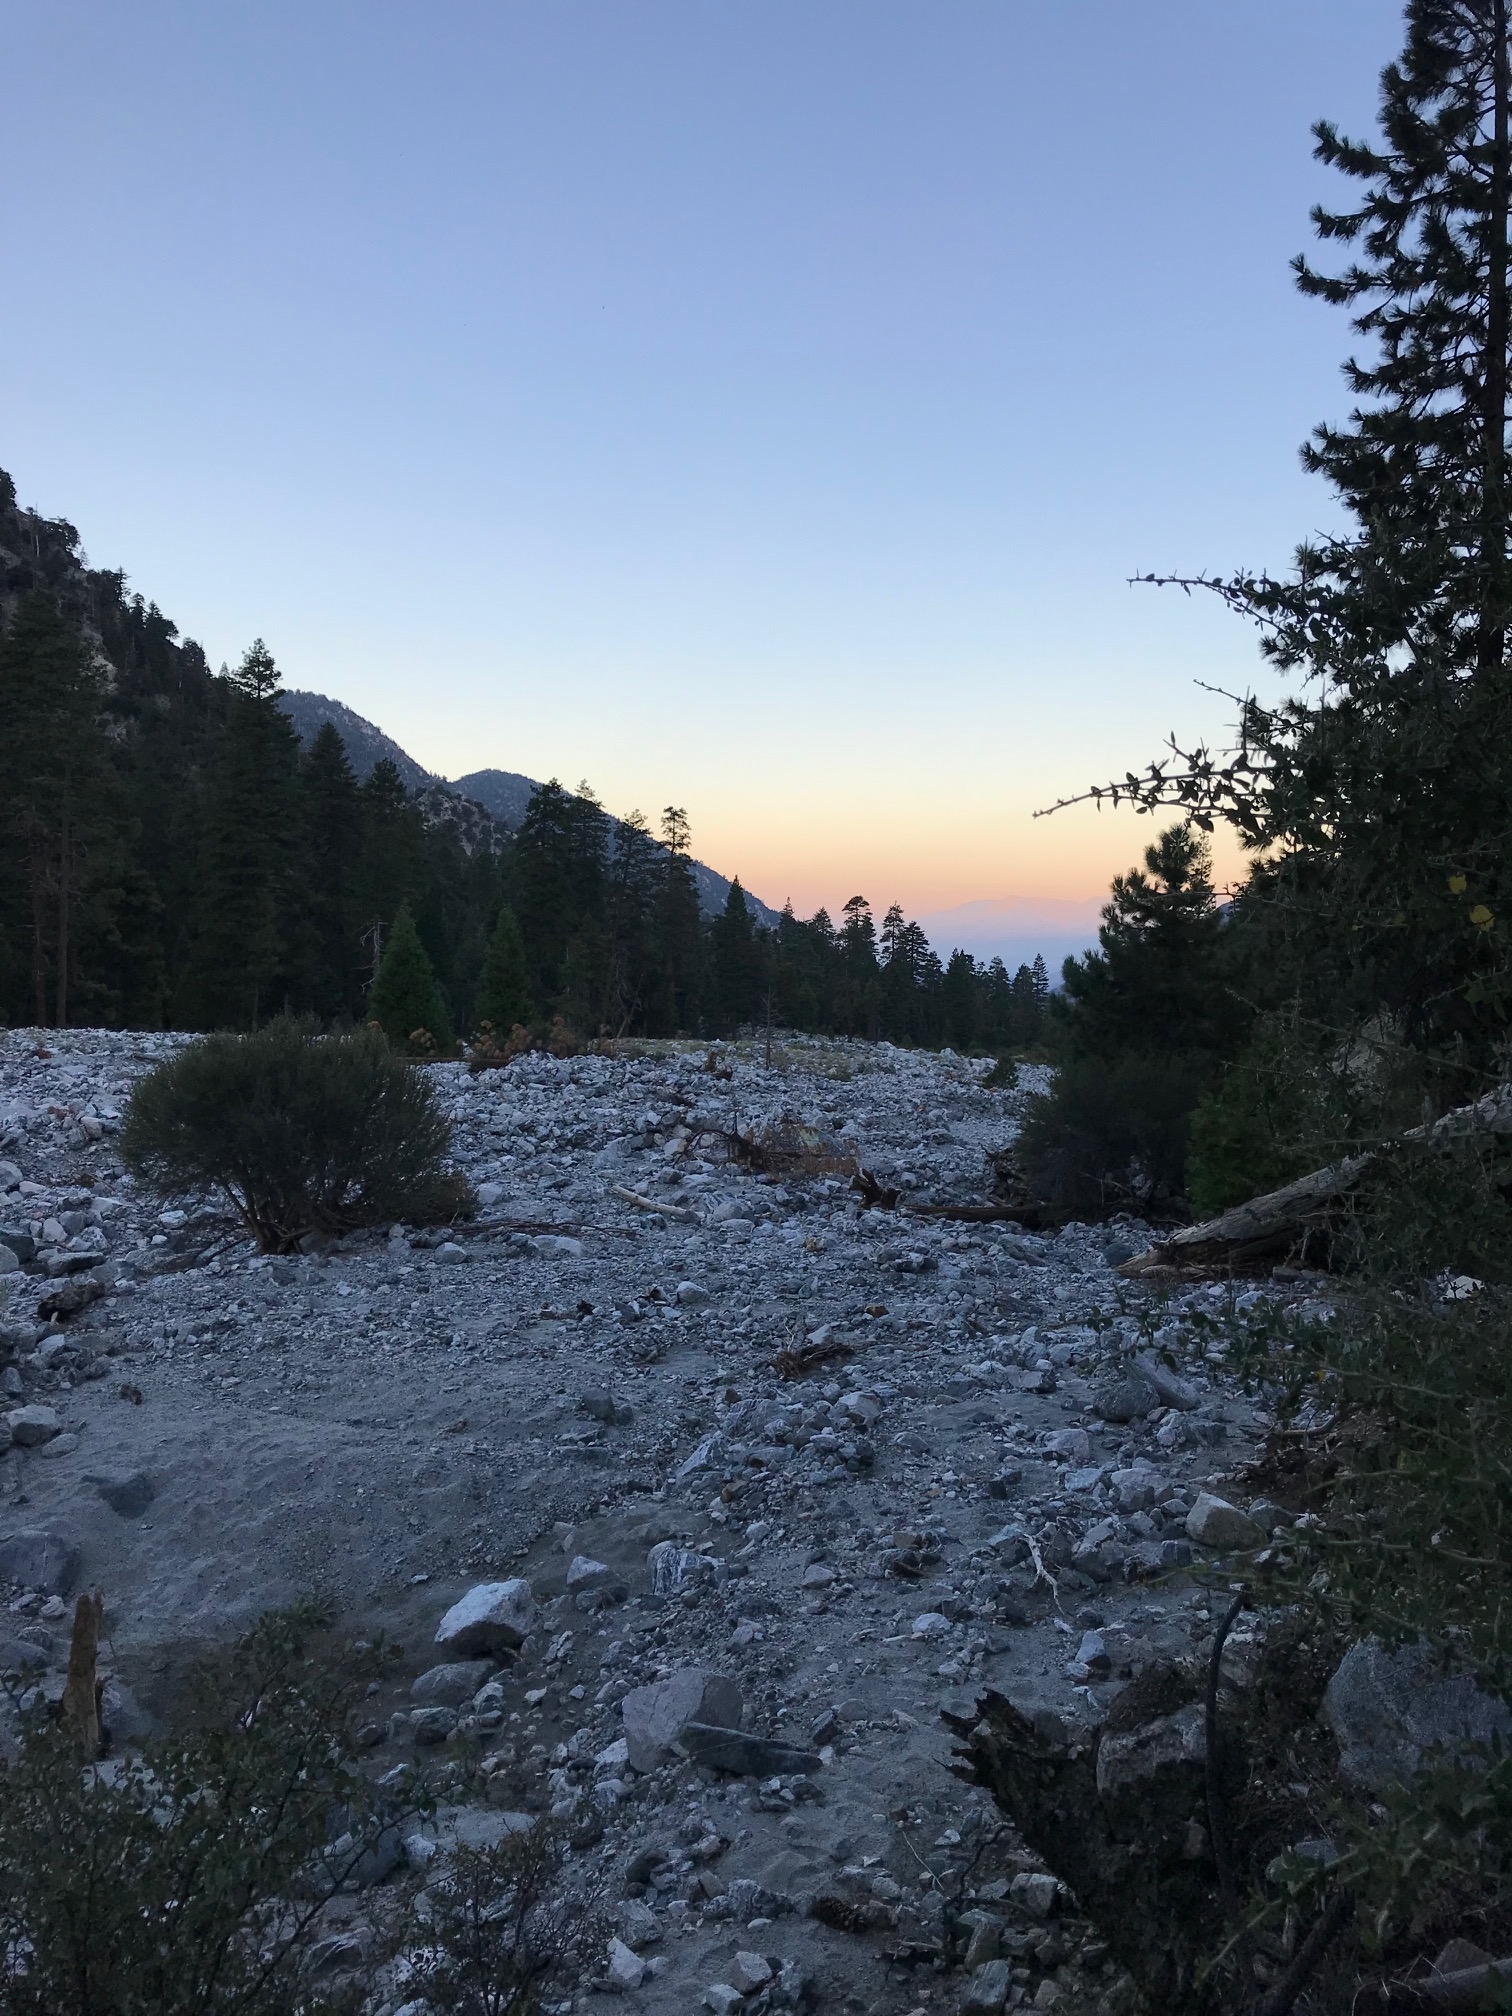
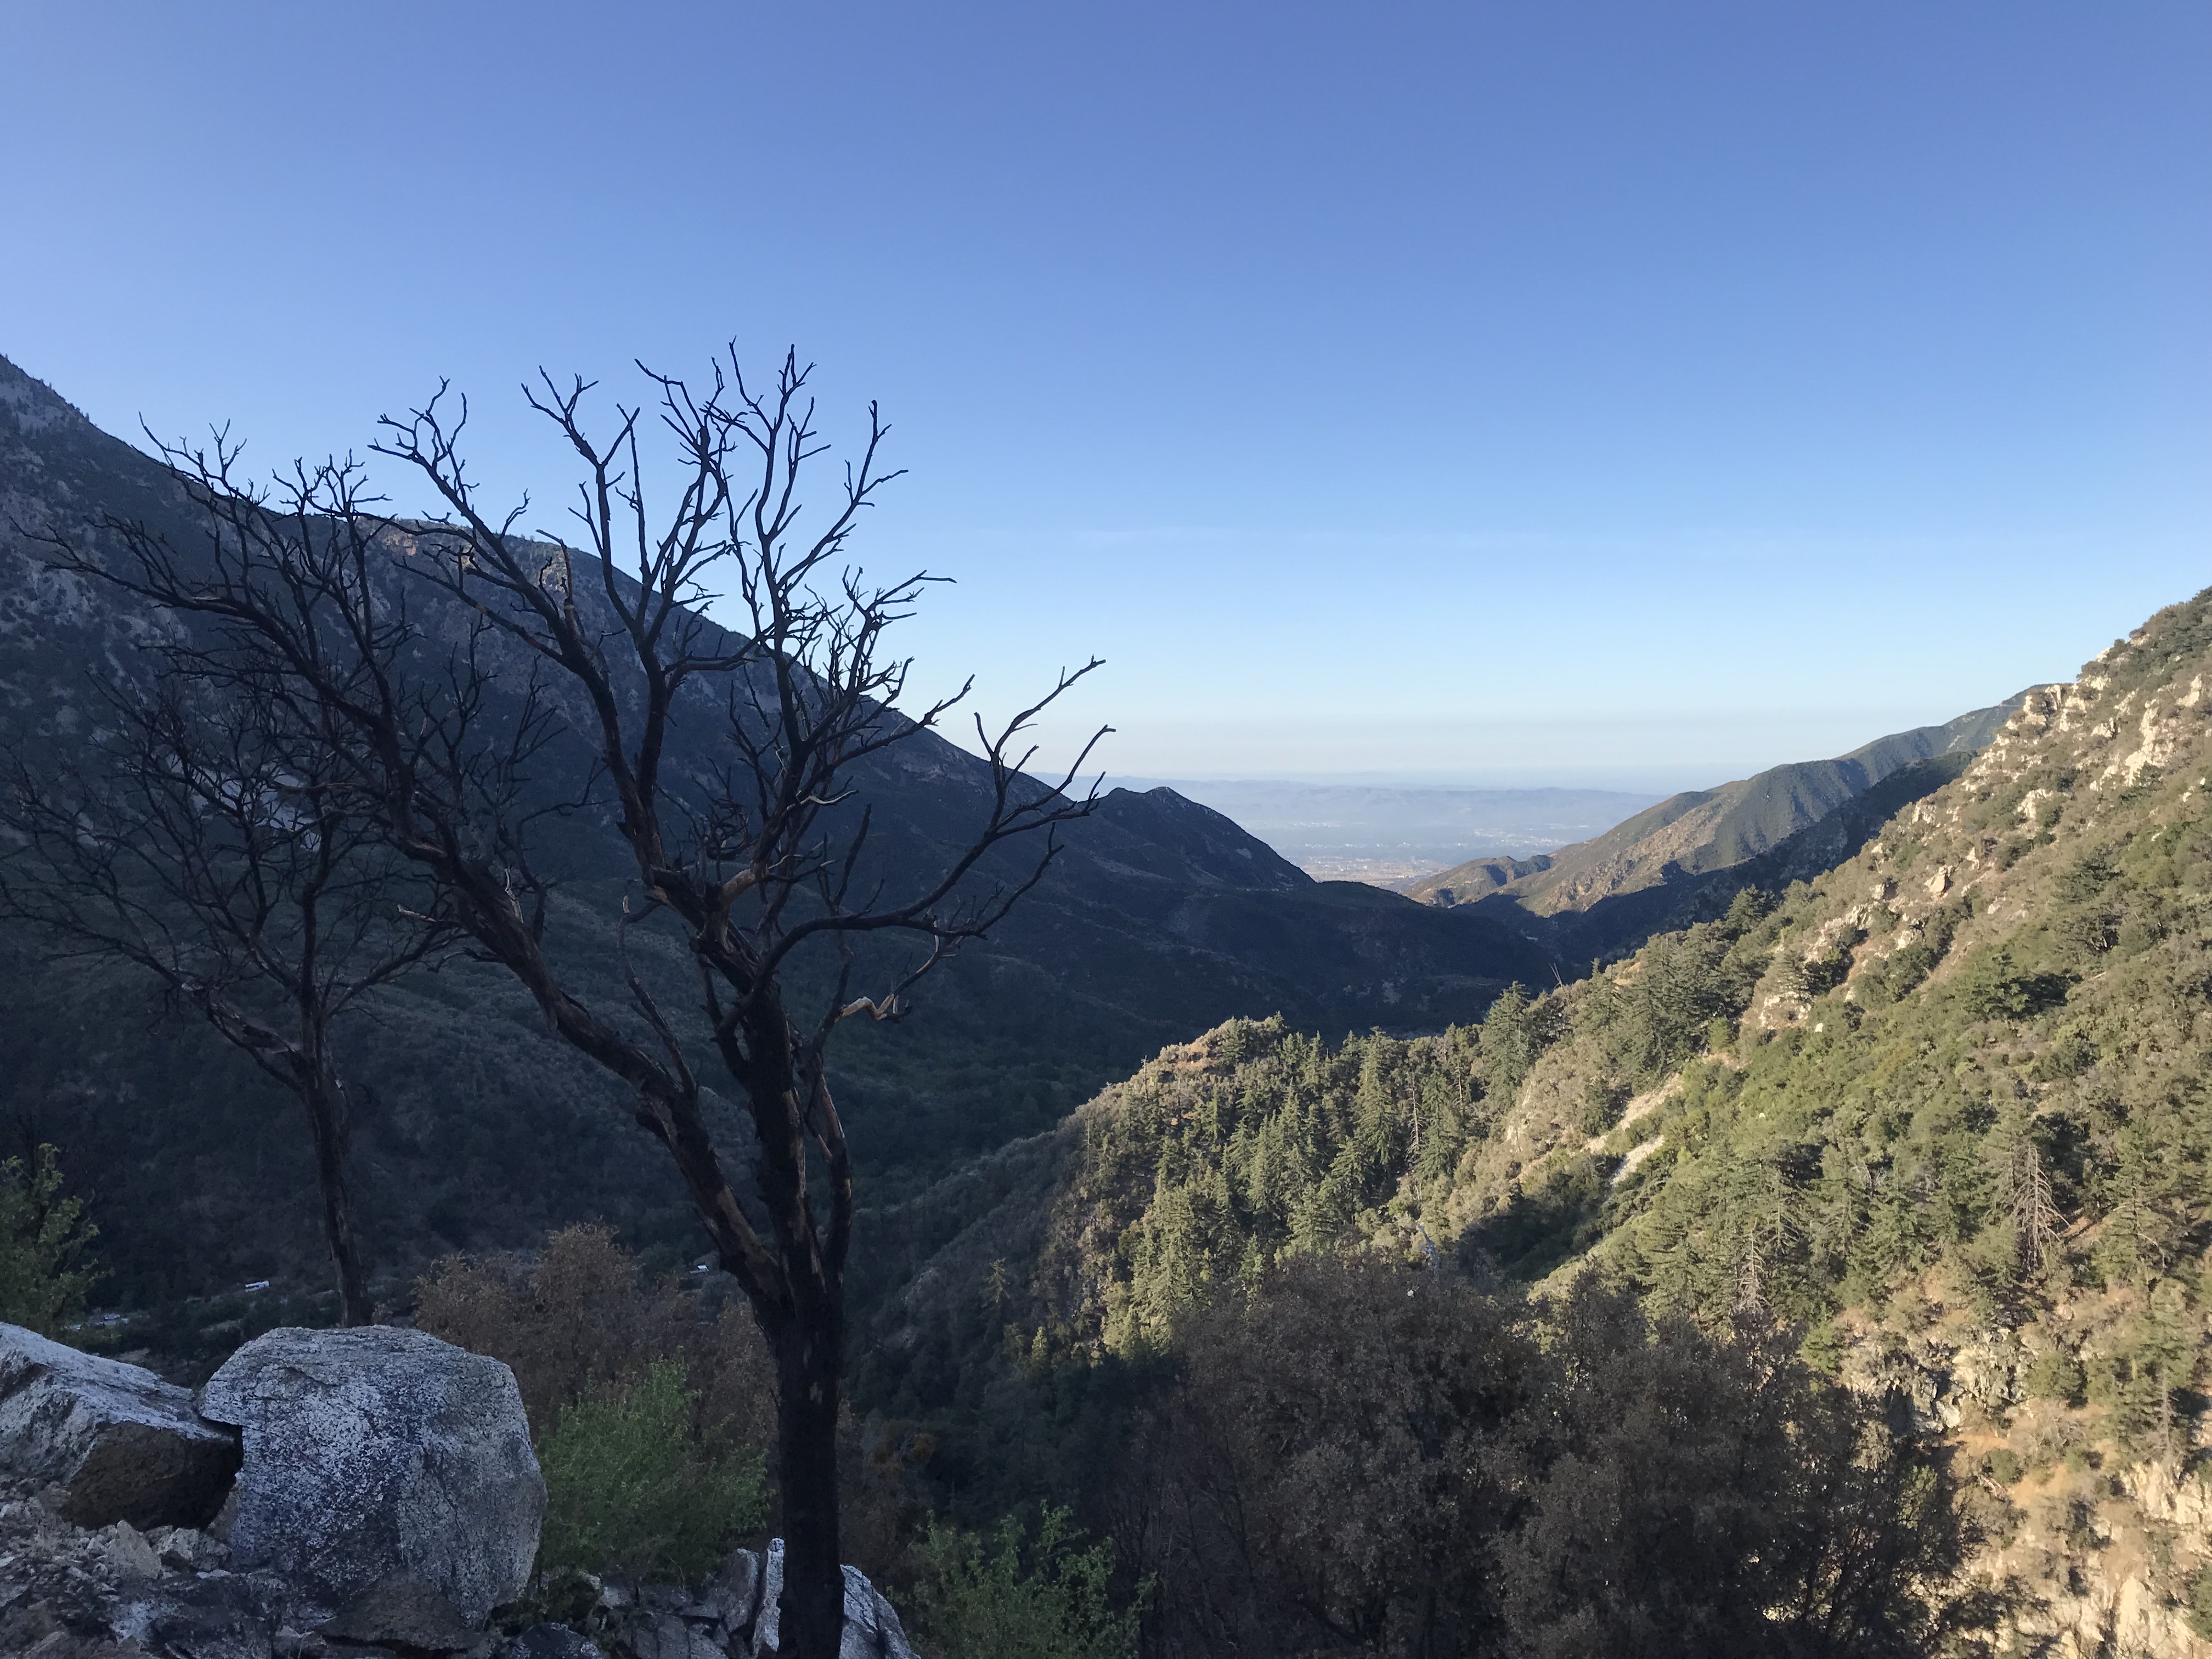
Sunrise view is so necessary

The Hike:

This is the tallest peak in Southern California towering at 11,503 feet. It is also the longest trail clocking in at 17 miles roundtrip. You should always take careful precautions for any trail, but this one requires a lot of time if you’re on the slower side, like me.

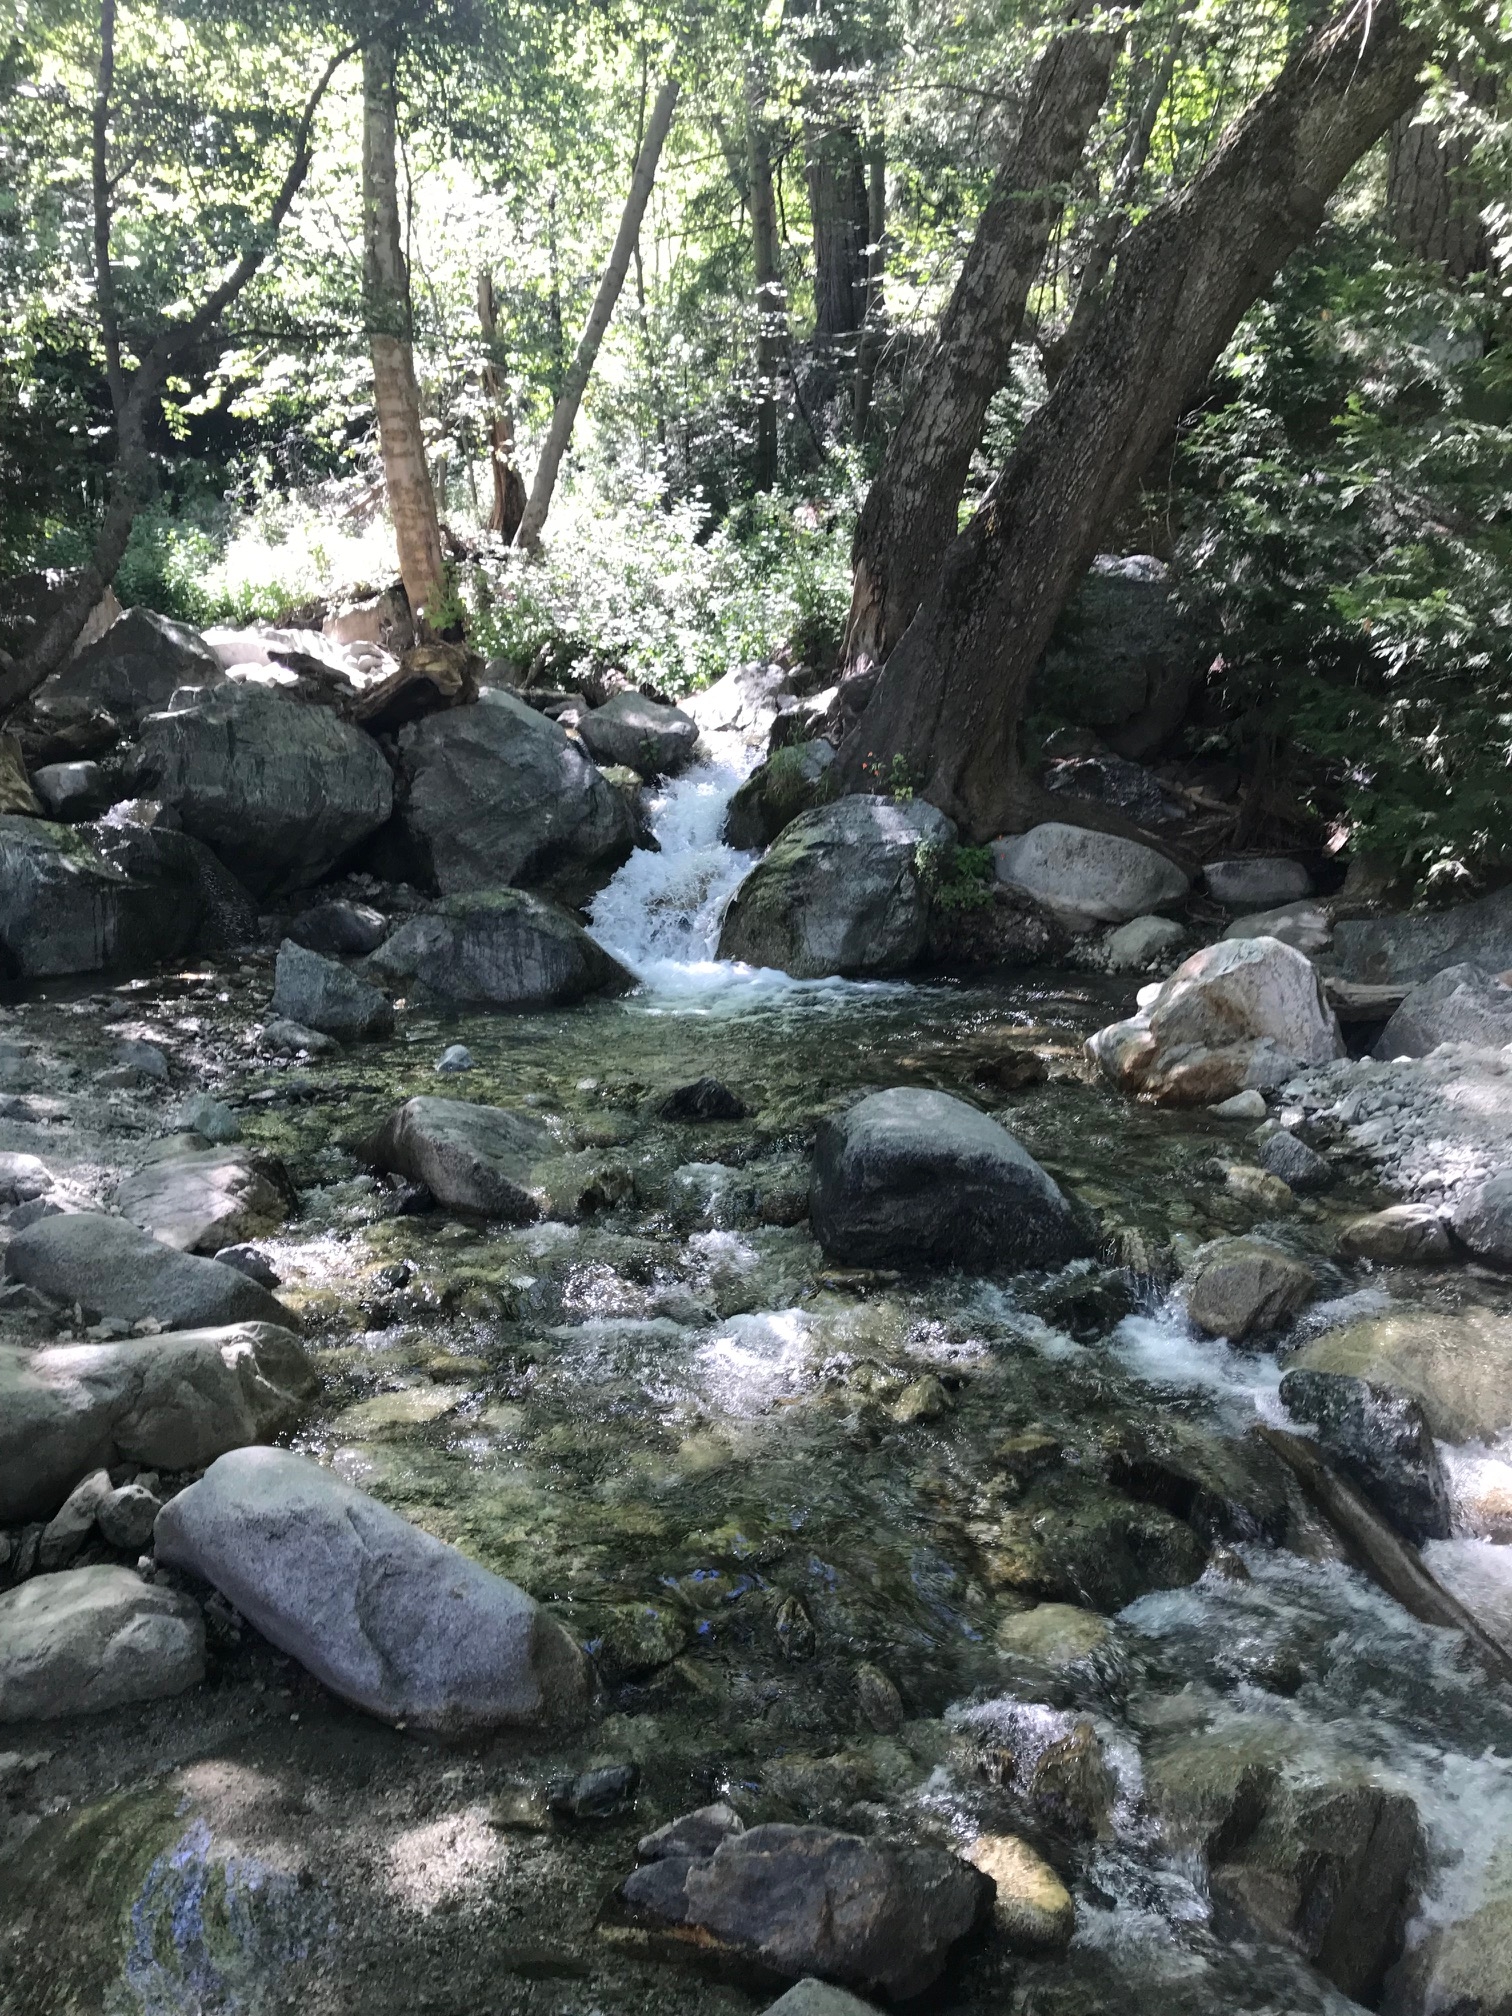
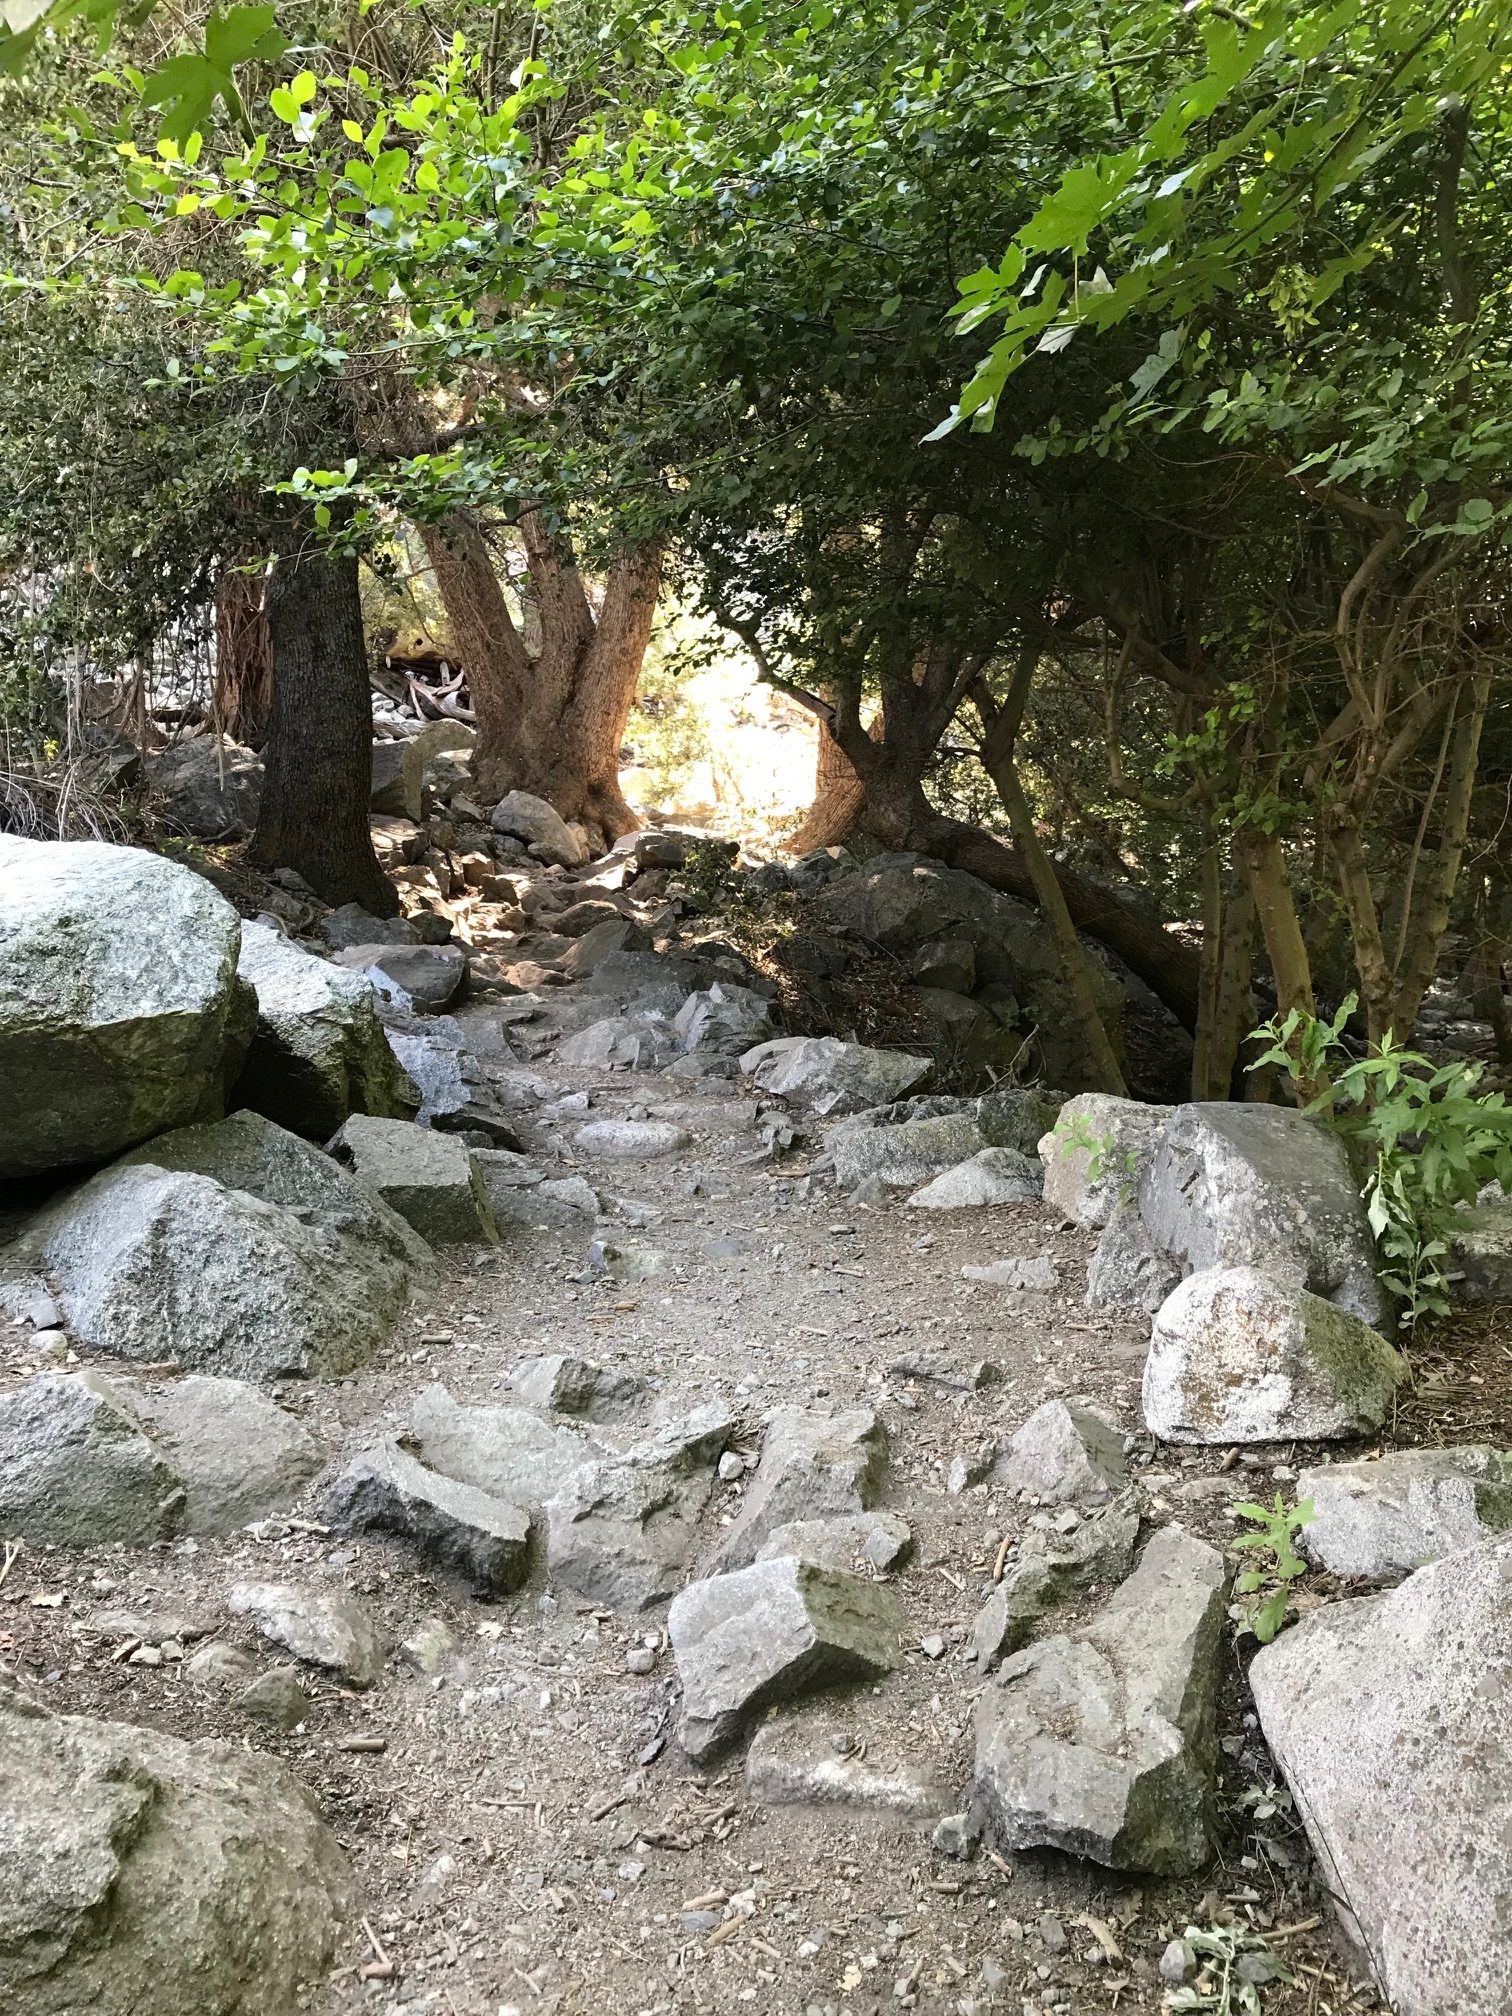
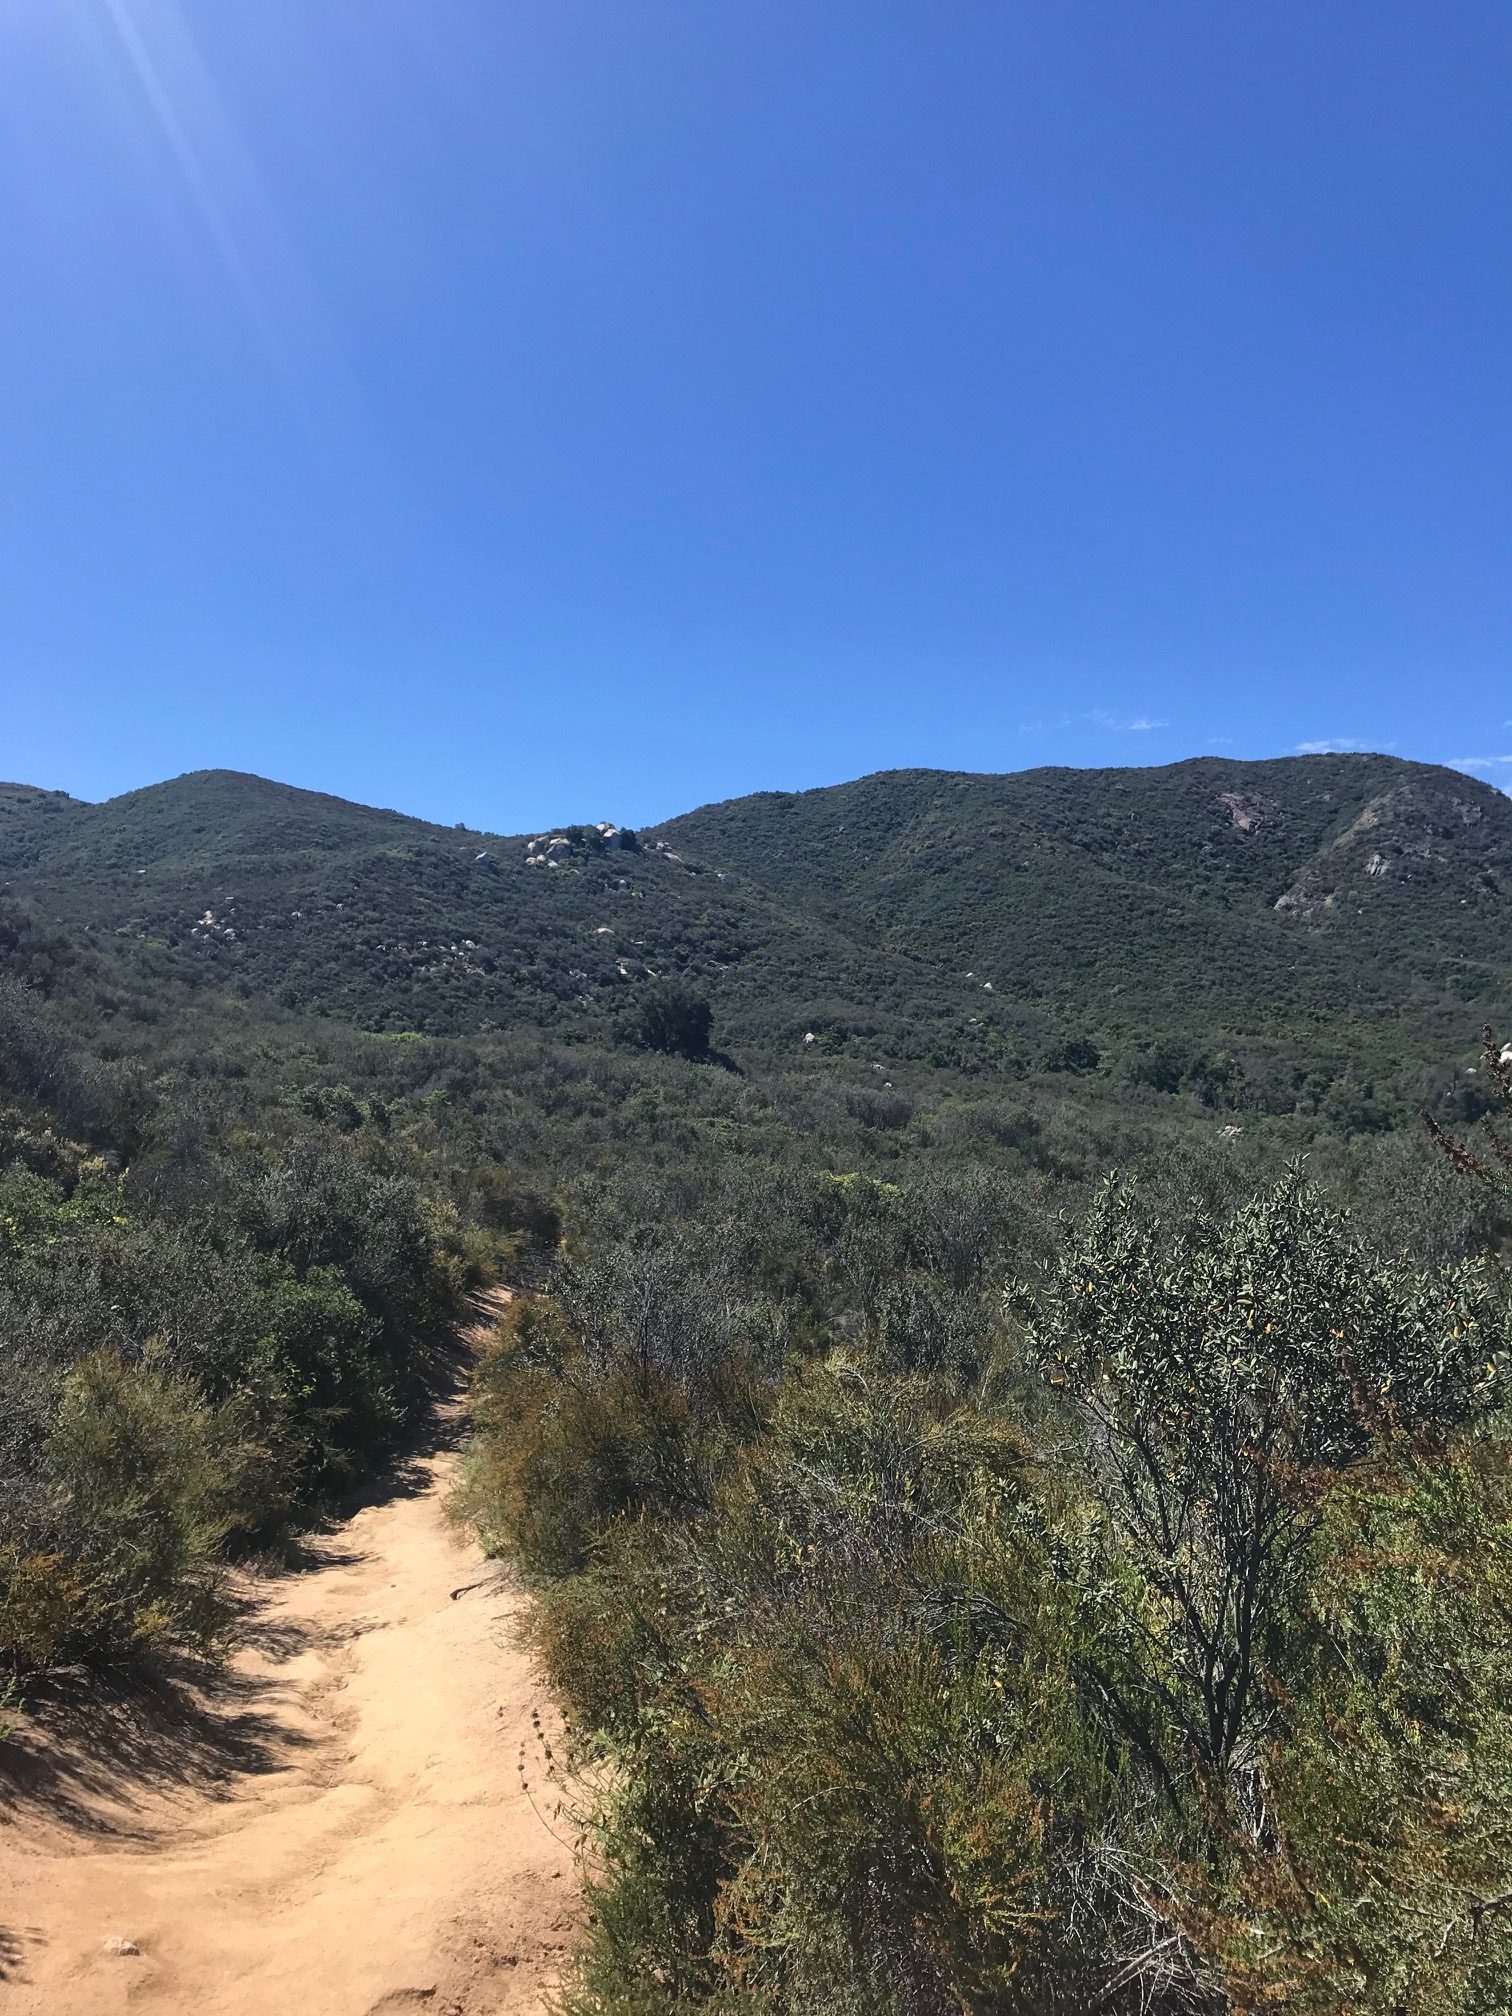
The trail begins with an easy stroll on a straightaway path, Once you cross the large granite riverbed, you arrive at the switchbacks, which are steep and difficult…probably one, if not, THE most difficult part of the trail.

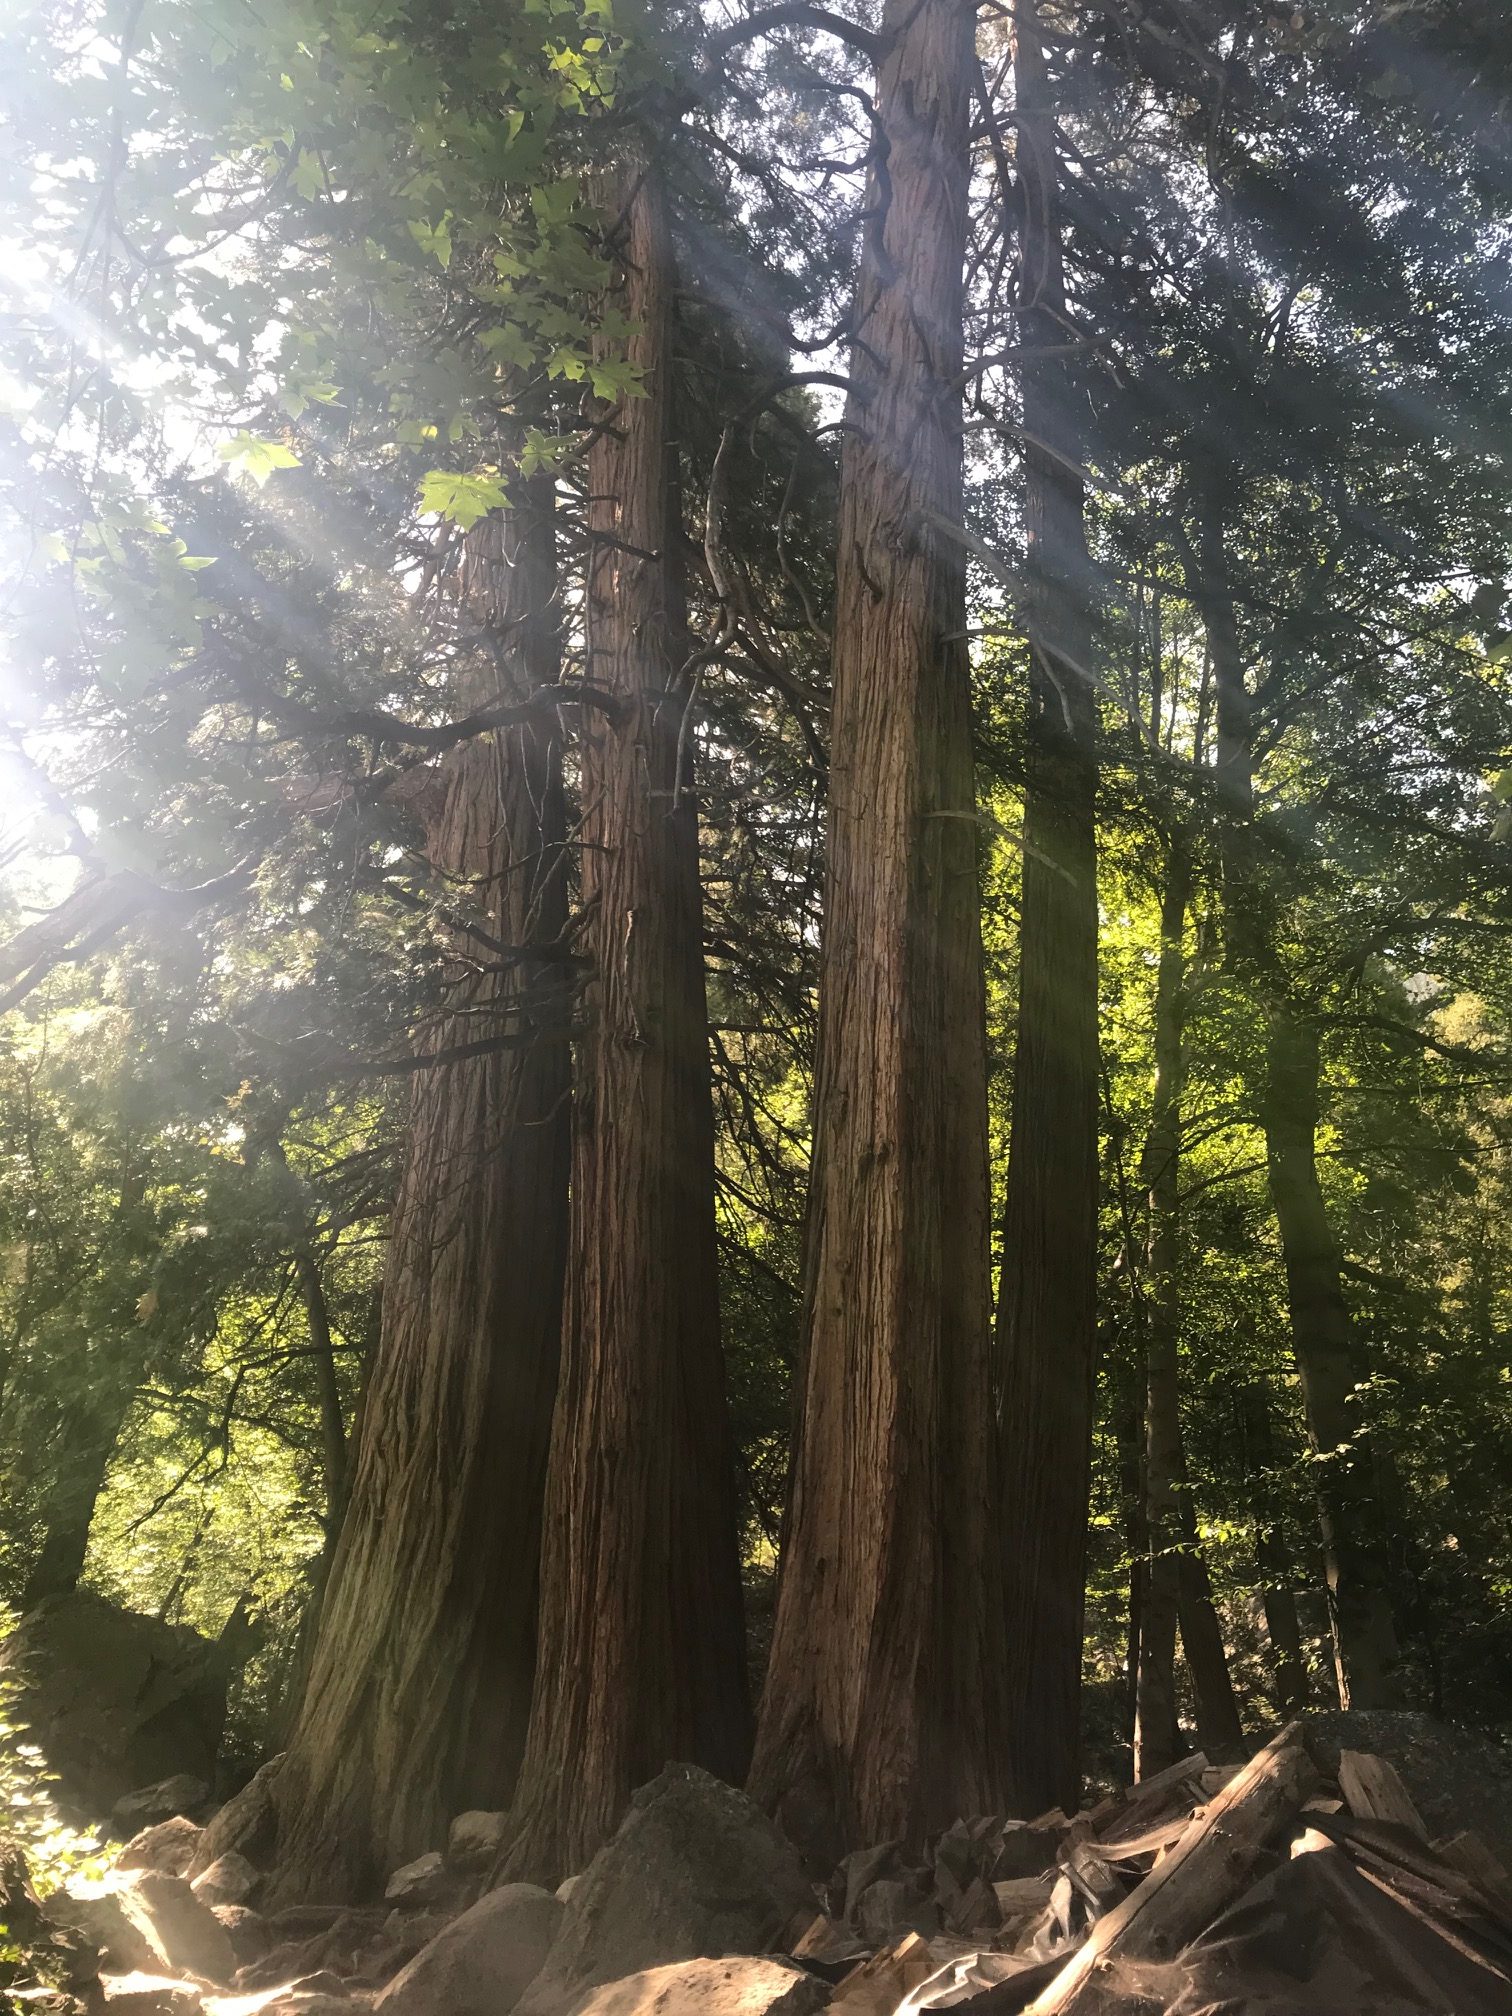
Along the way, you first pass Vivian Creek Camp, which sits at 7,100 feet and shortly after that, you come to Halfway Camp, which is at 8,100 feet. These are located in beautiful, picture-worthy areas, although I did not get to take many photos. This time around I was with a group who was moving quickly, but stopped when I needed to rest.

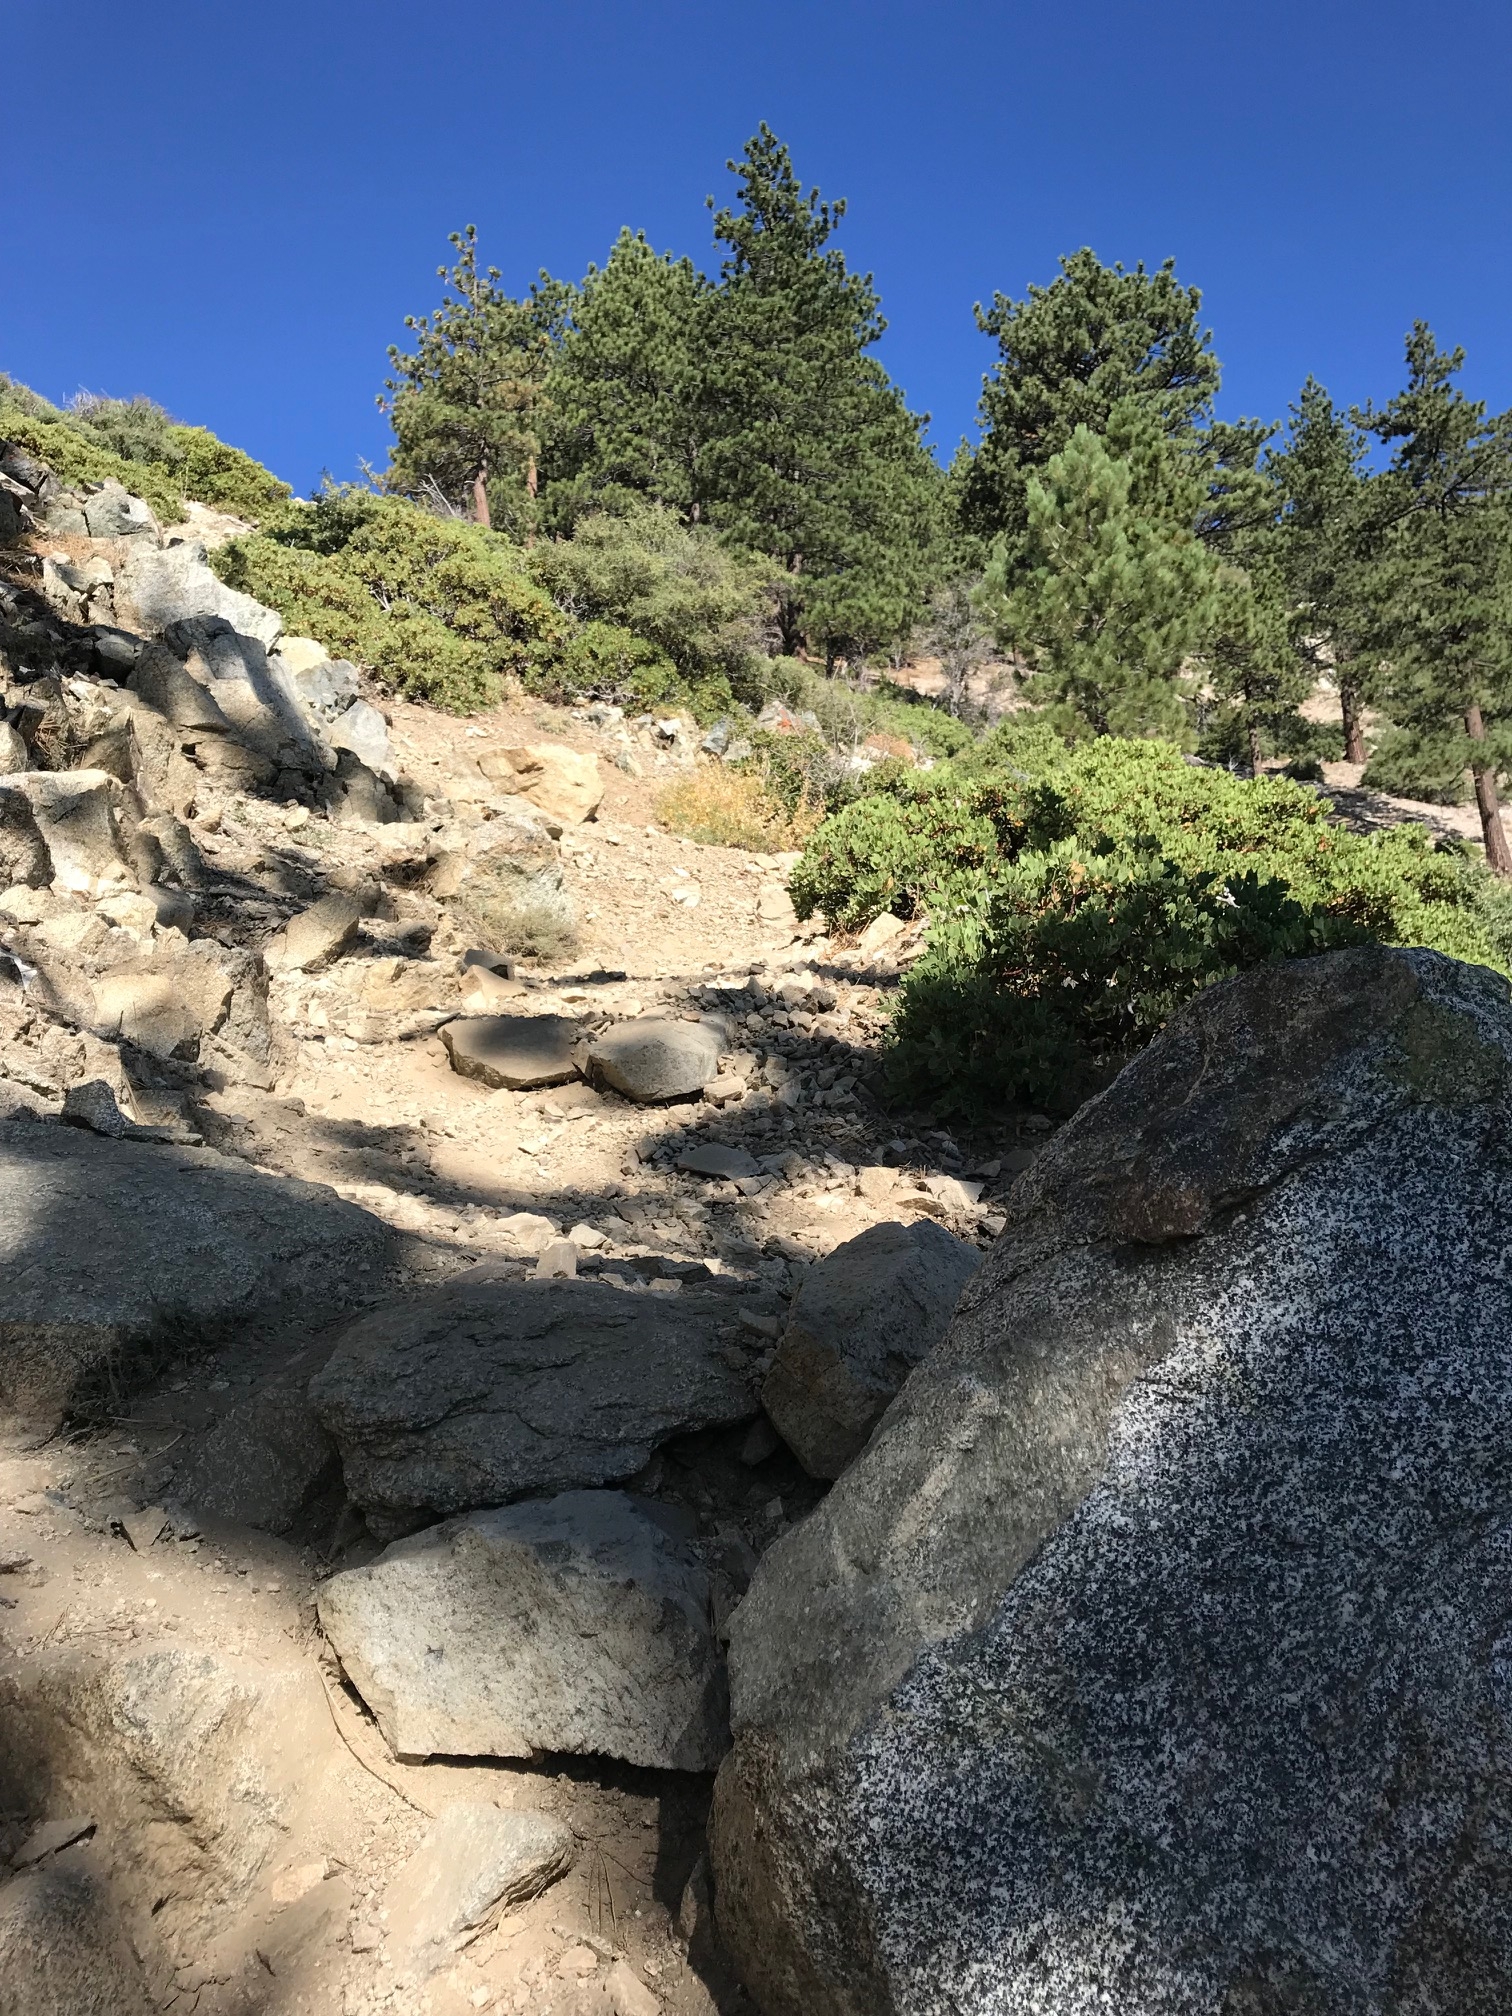
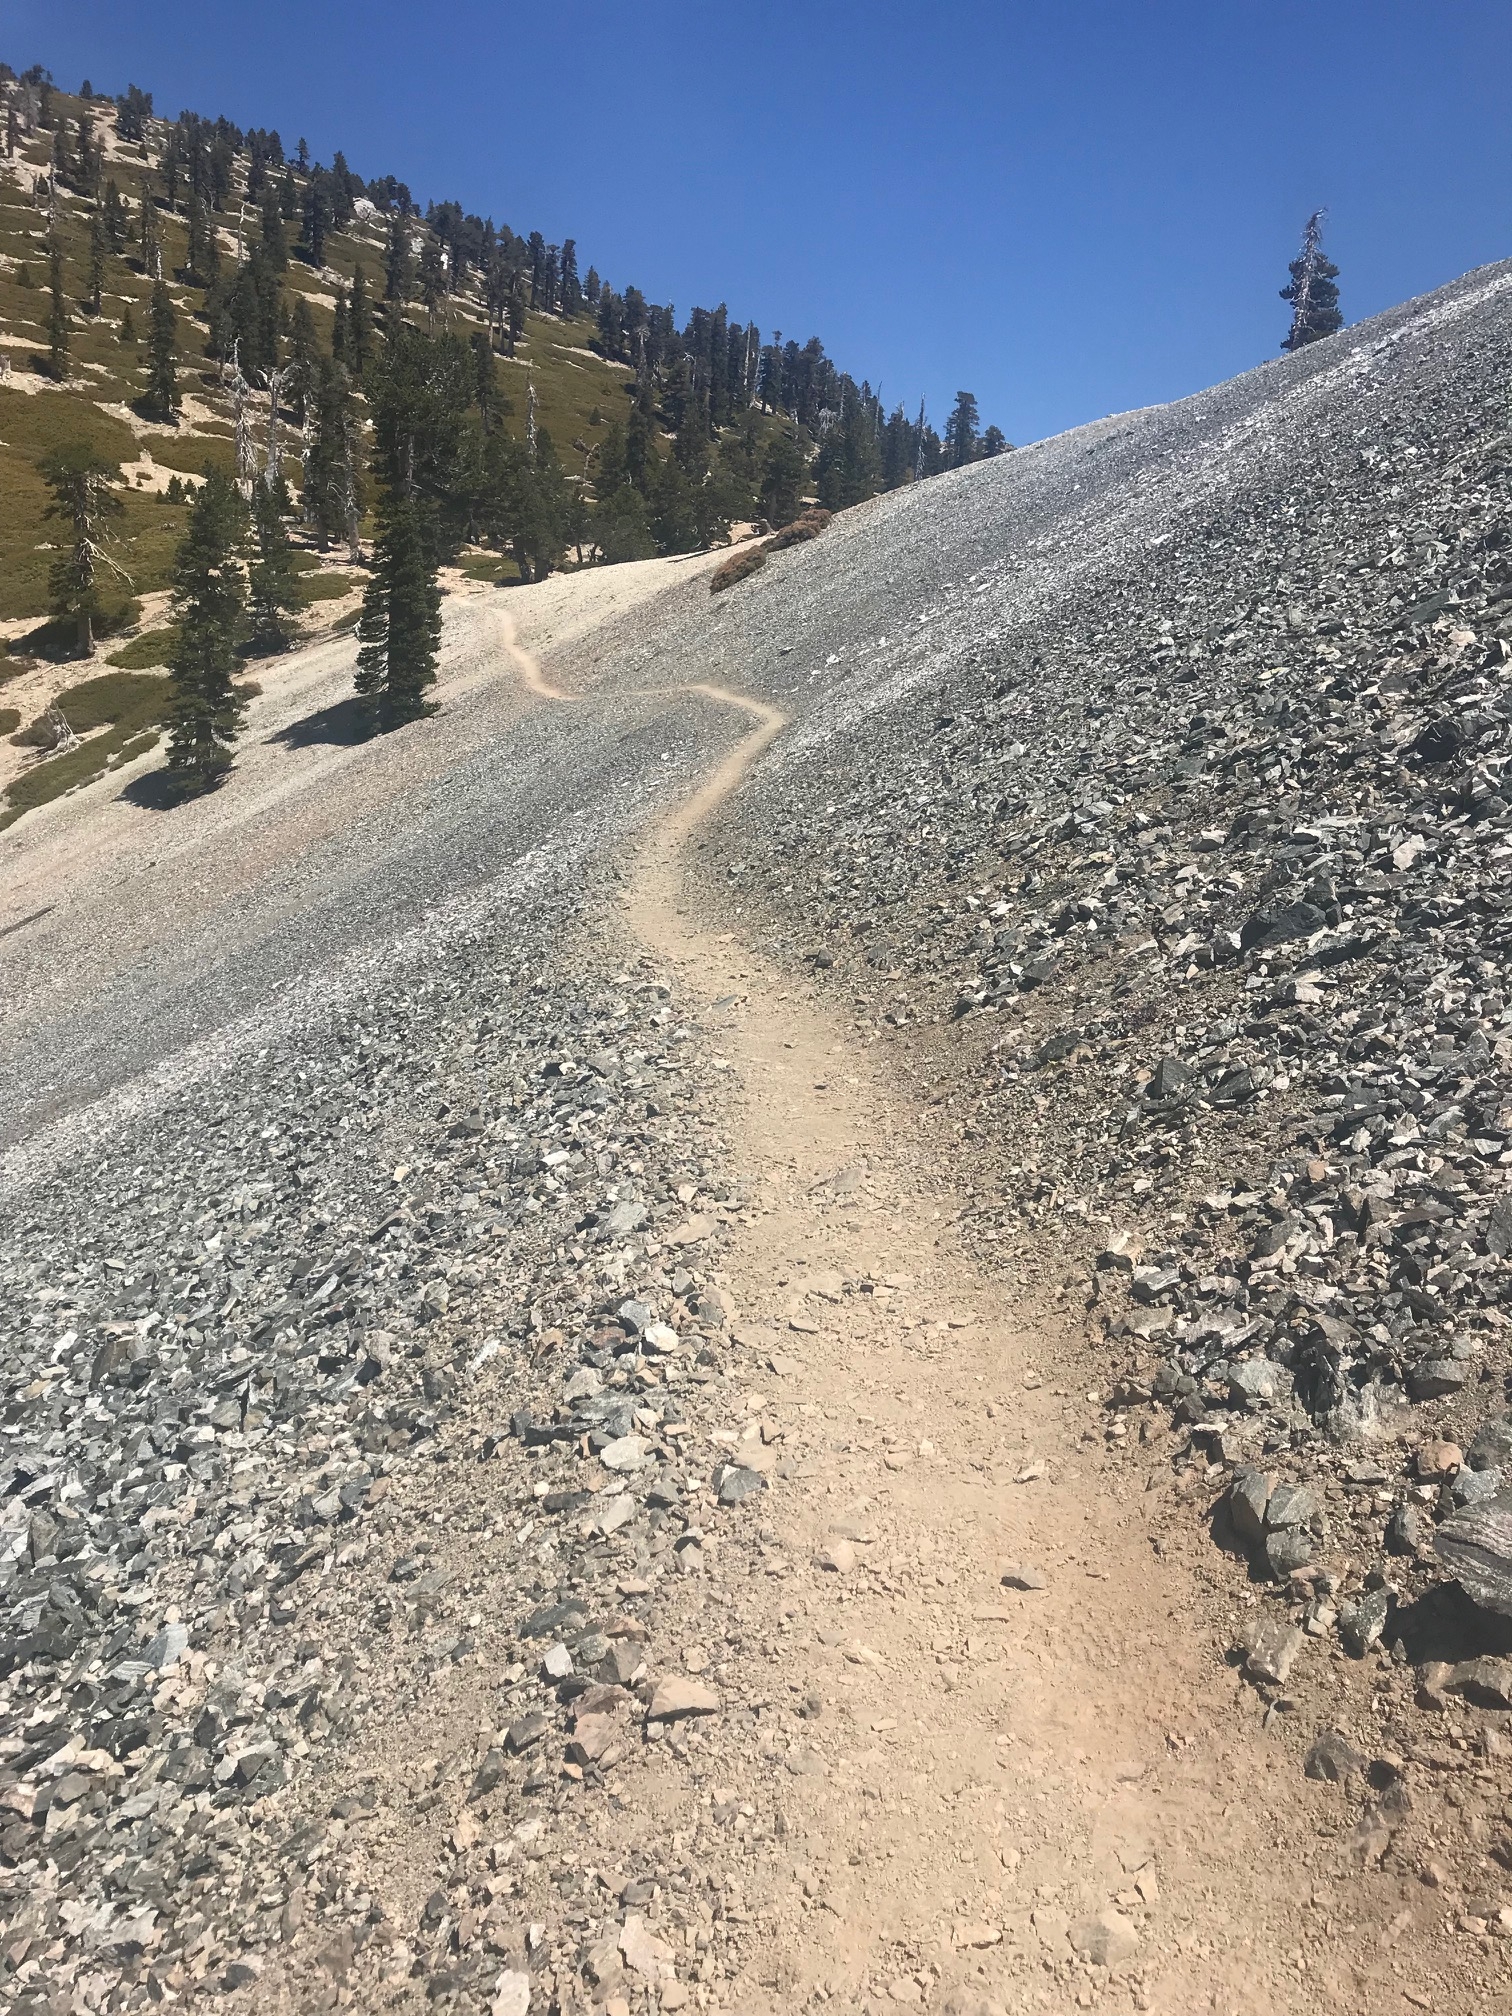
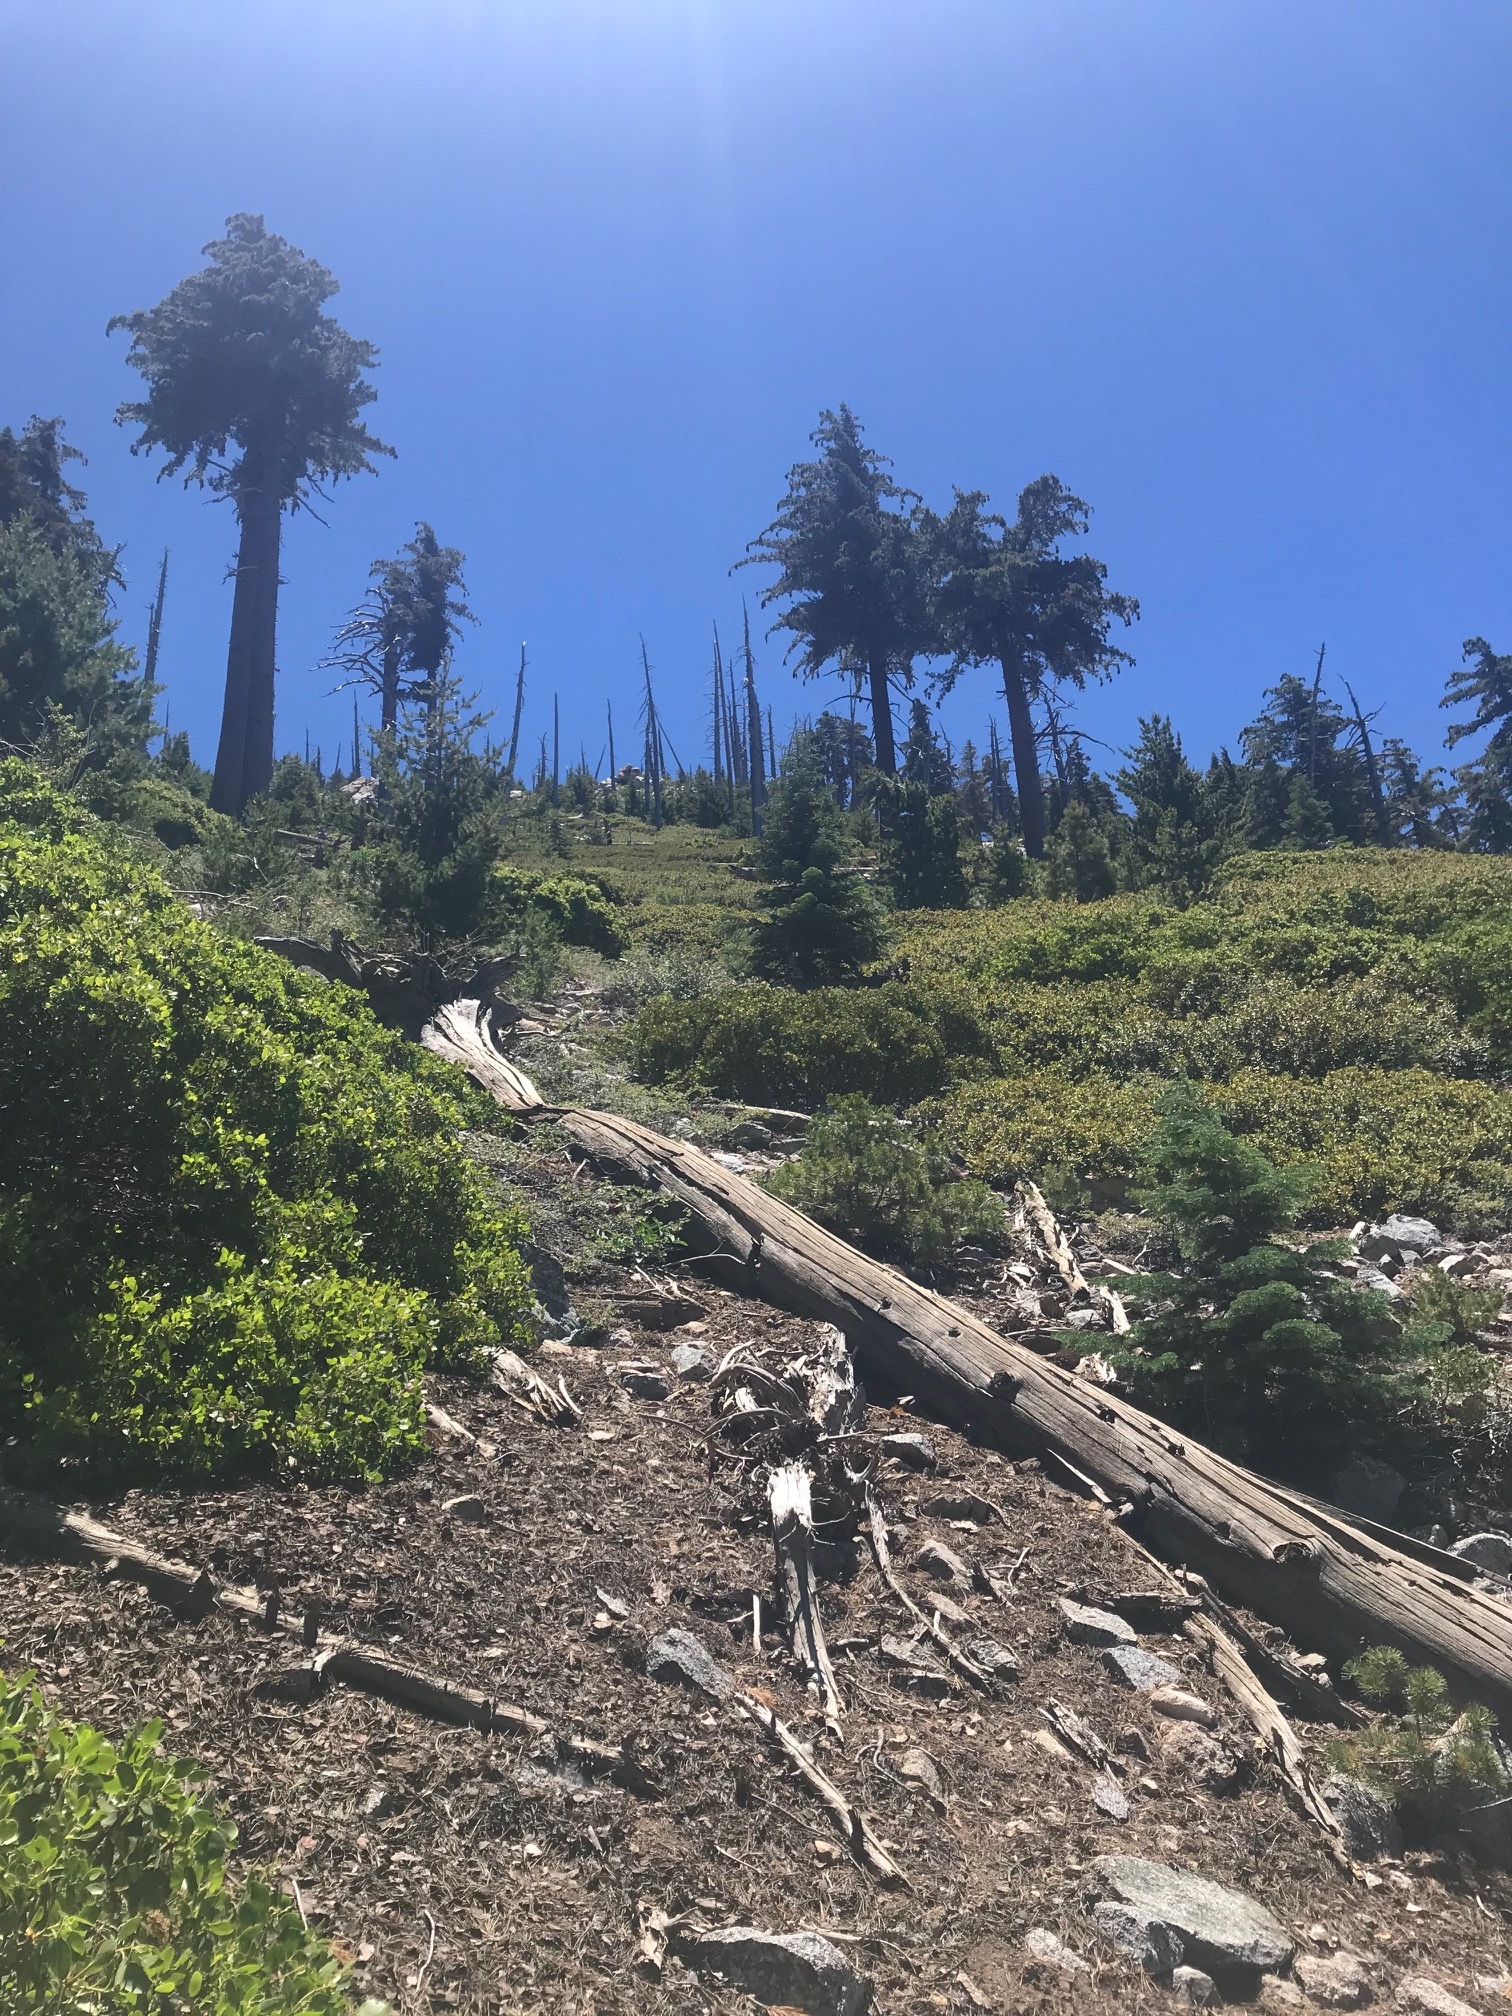
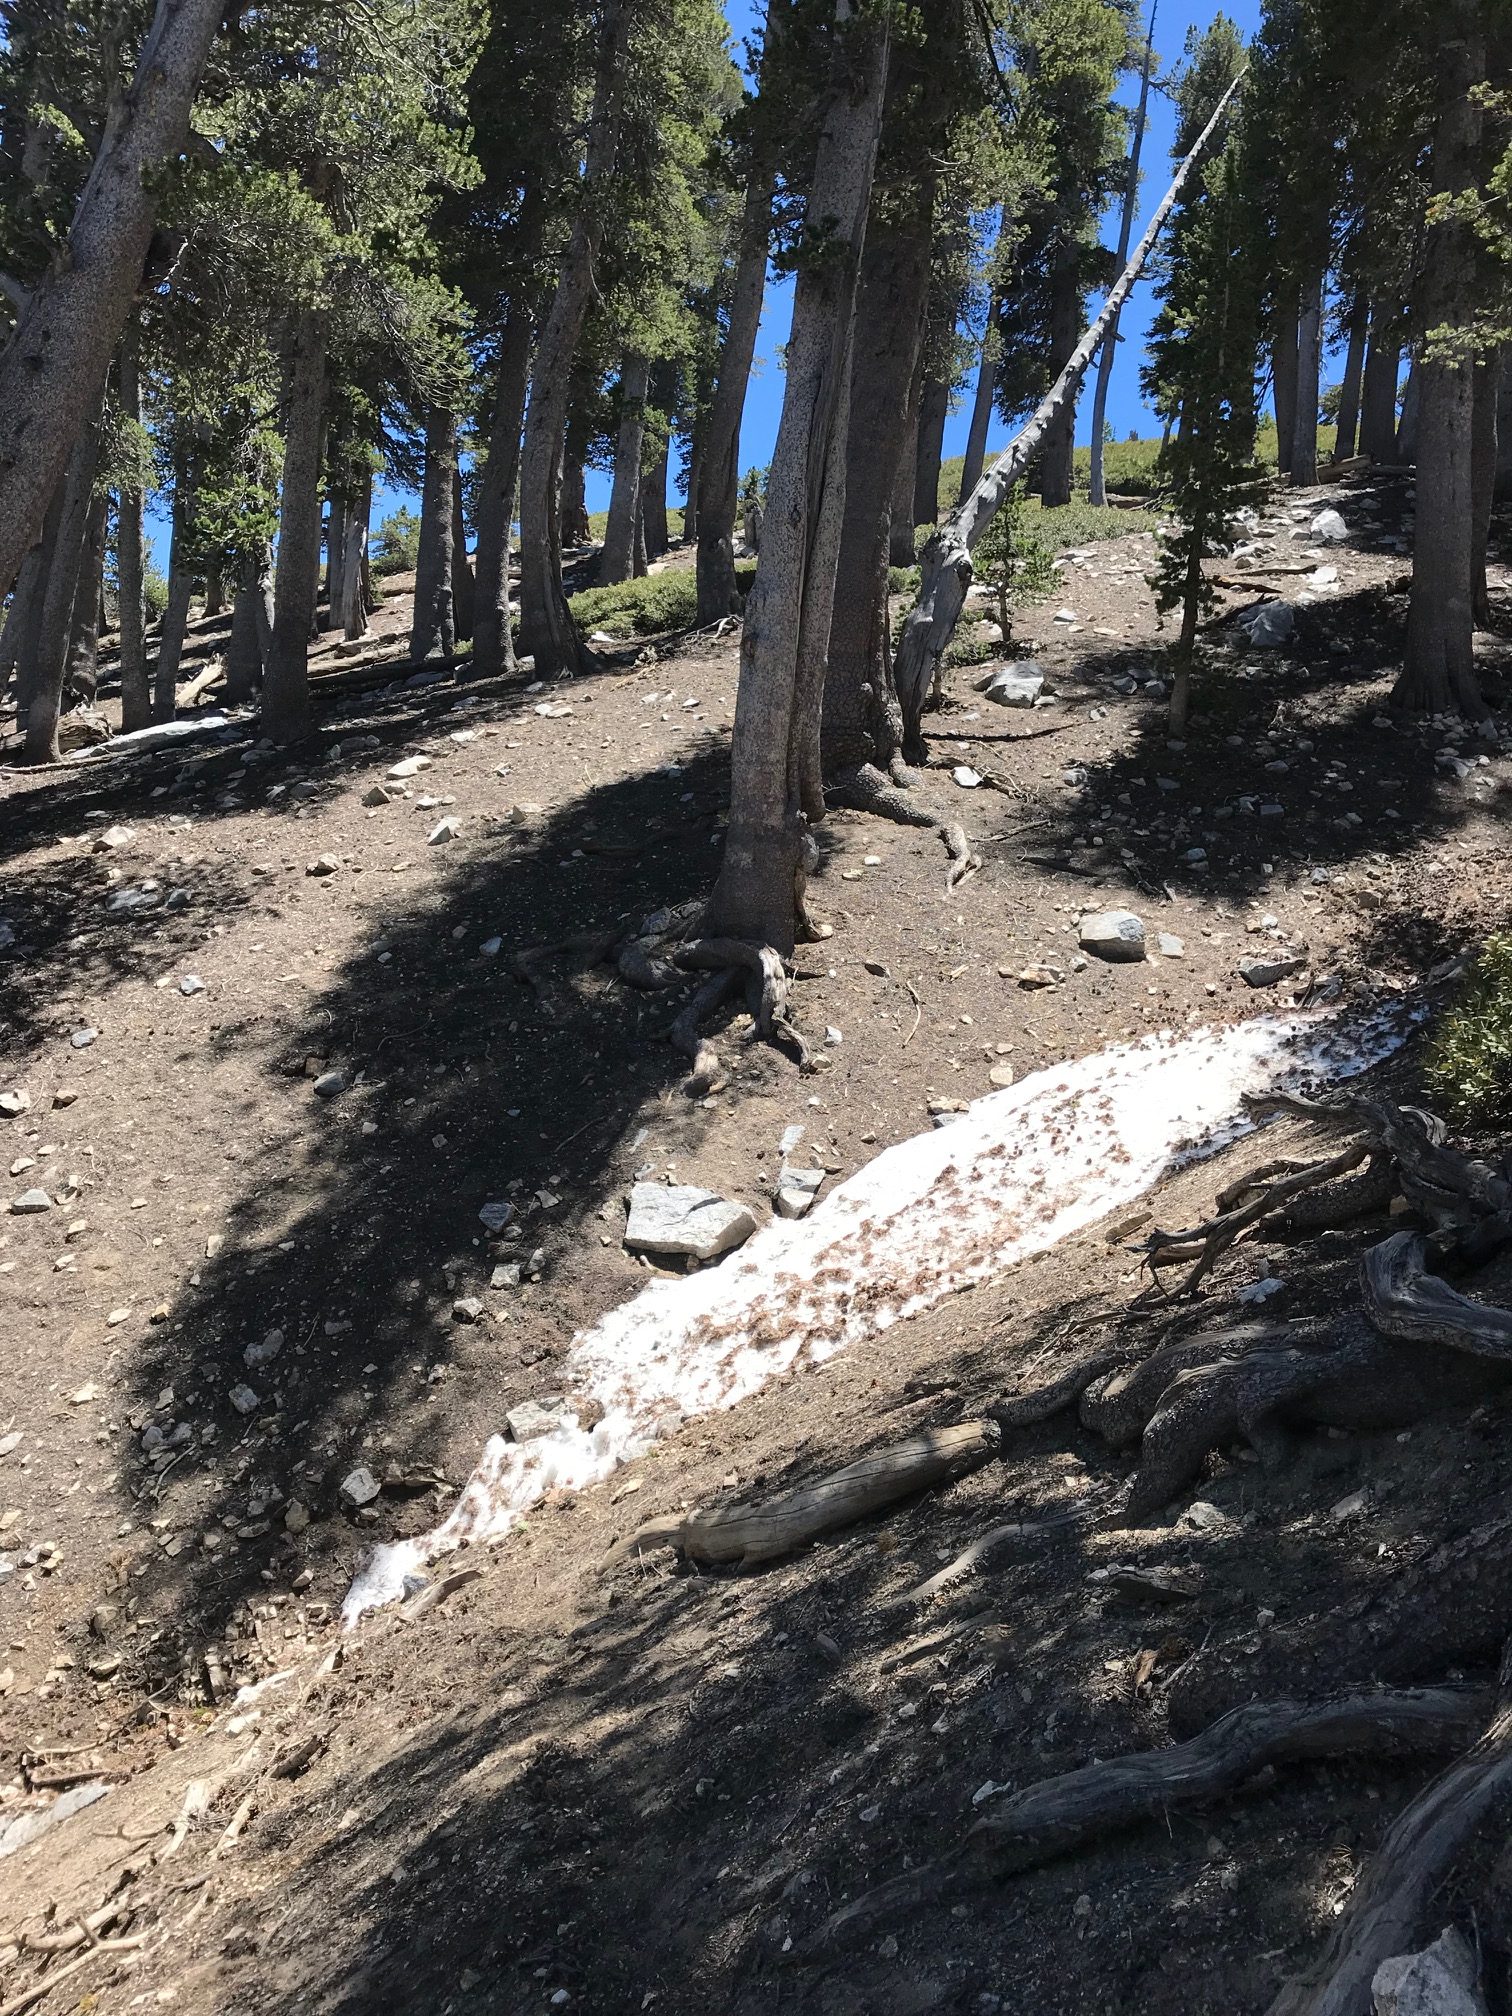
At 9,200 feet the trail starts to become rocky and a little less shaded, wear that sunscreen! You’ll keep climbing and THINK you see the peak, but no. This happened to my co-worker and I, where we were faked out at least twice, a gut-wrenching disappointment once you can finally see ant-like people traversing across a rocky path towards a peak even further away.
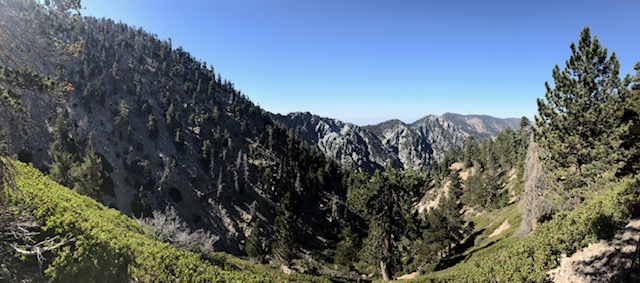
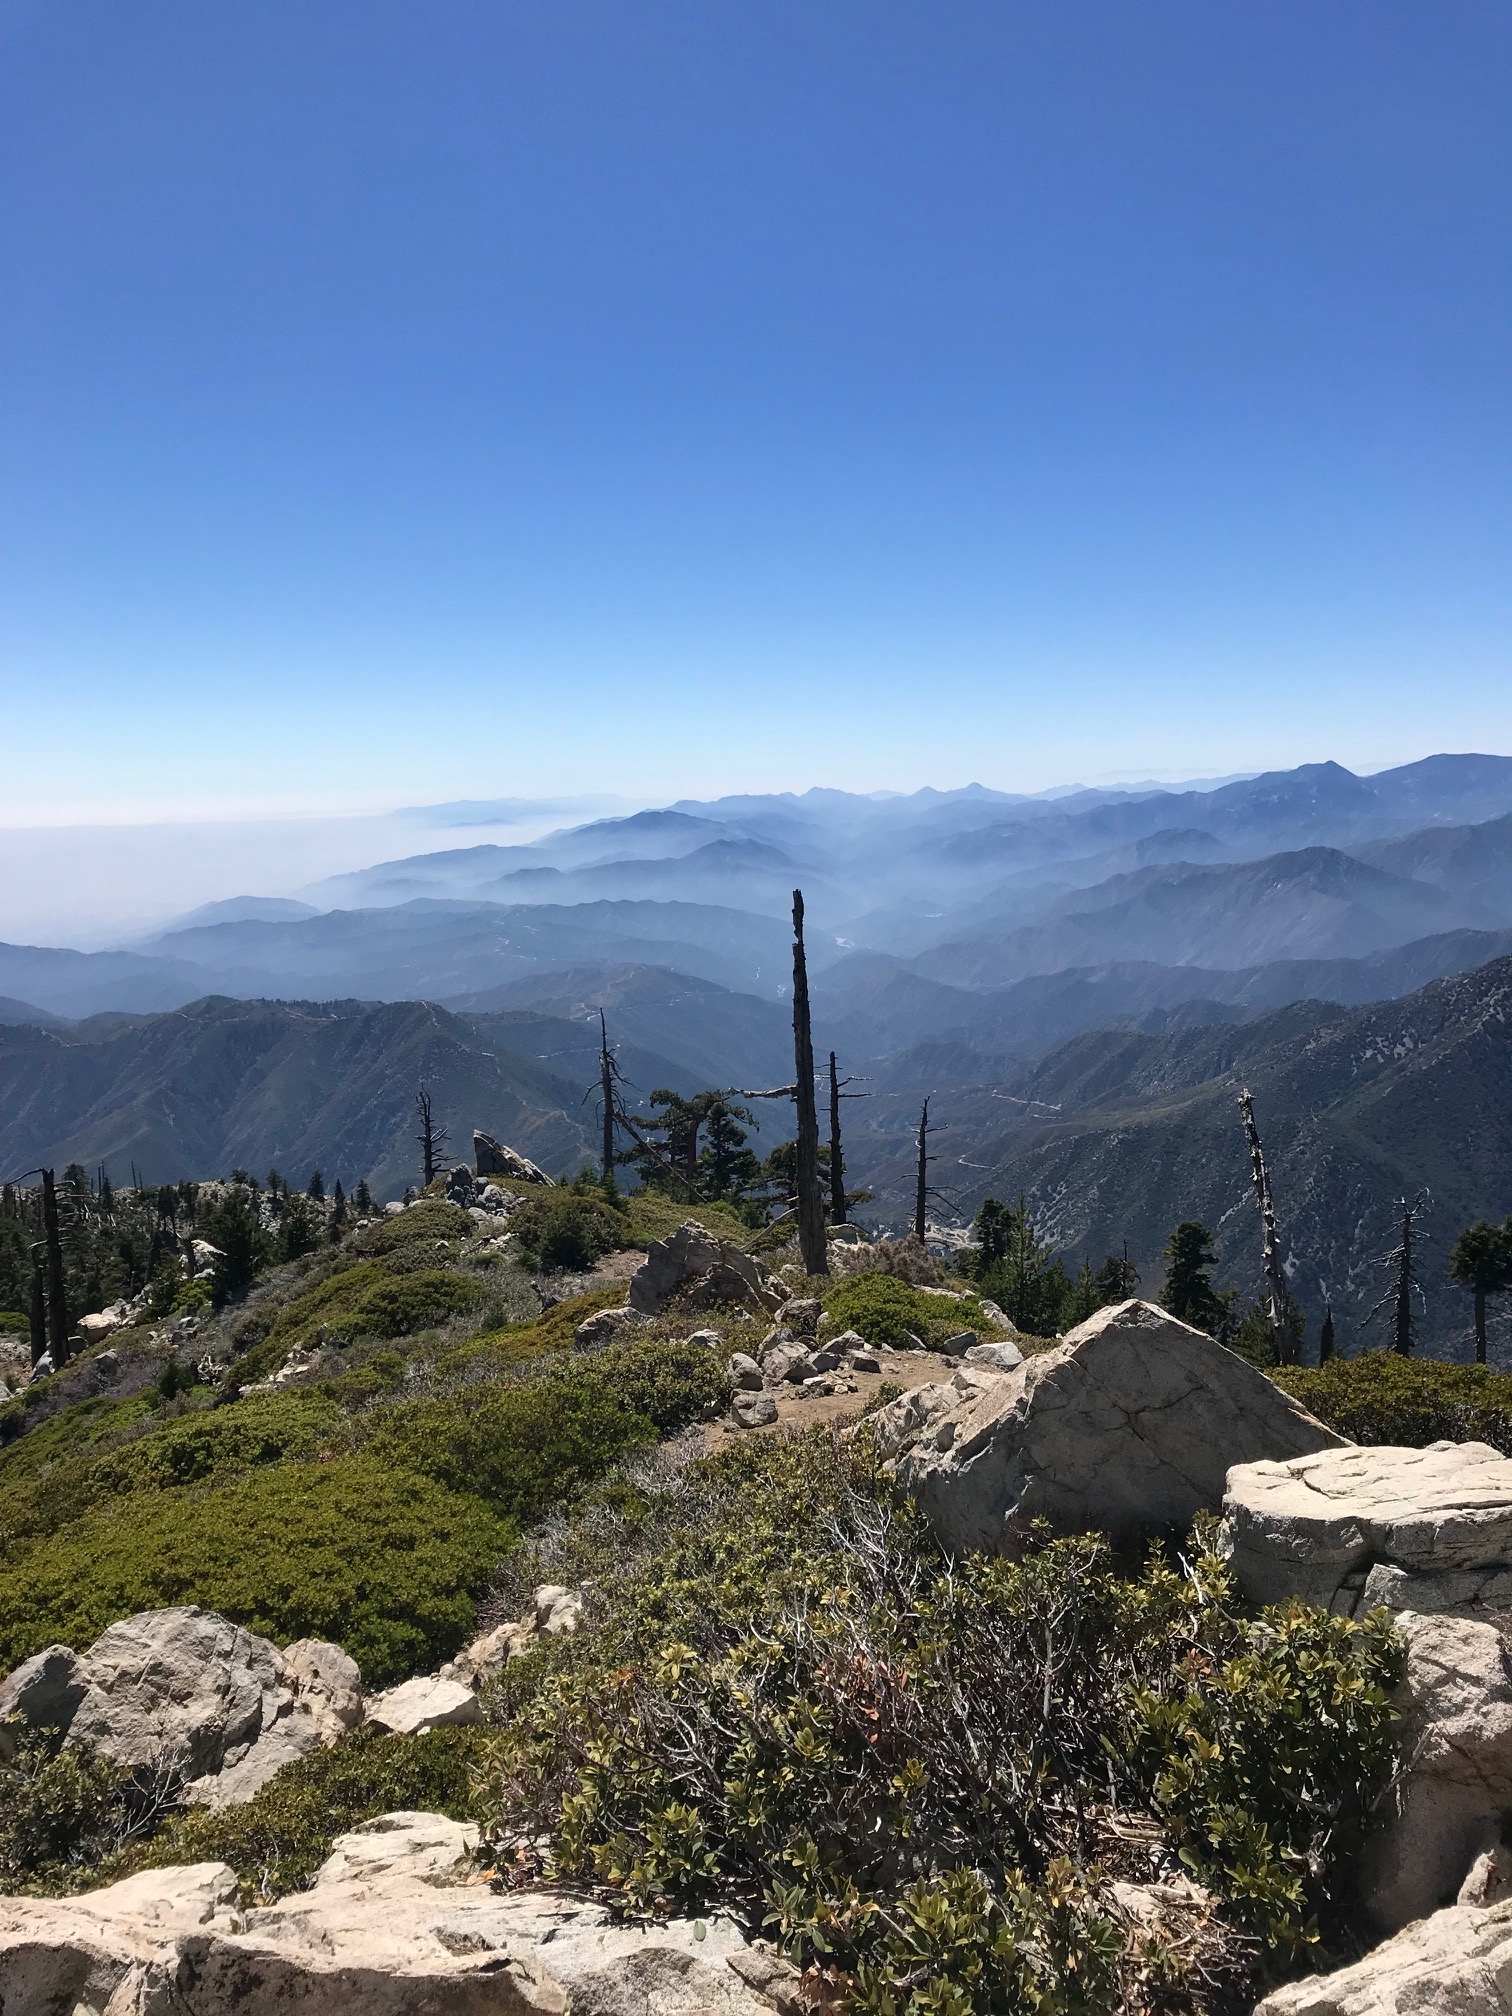
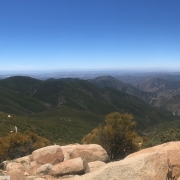
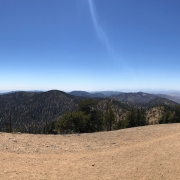
Pano moment

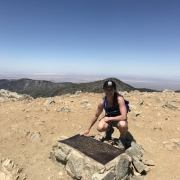
Once you reach the peak, you can see far and wide views from Palm Springs to Big Bear Lake, the desert, the city, more mountains to explore.
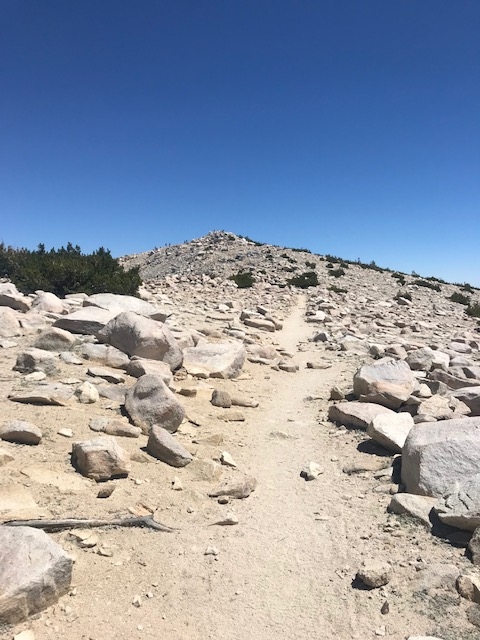


Almost there…

Driving Directions: Turn east of off highway 38 to Forest Falls. Continue through Forest Falls to the top end of the Falls Picnic area. Parking is located at the end of the road.


Parking: Good luck! Most parking is taken up by 6:30 a.m., but there is a separate lot below the smelly restrooms. It’s kind of a cruel joke when you are done with the trail.

Roundtrip mileage: 17 miles, 12 hours

Elevation: 11,503 feet

Elevation gain: 5,484 feet

What to bring: At least three liters of water, electrolyte drink, snacks, sunscreen, patience, a smile, a little toilet paper—this will take ALL day

Consider this: This hike is a royal ass-kicker, not because of the steepness like Baldy, but because it is so long. For the most part, the hike is a relatively gradual climb, but there are times where the elevation gets to you and, much like Baldy, you begin to question your sanity. THERE IS NO SHAME IN TAKING BREAKS. I did and often, especially towards the top. It is a good idea to hike a trail that has similar mileage and elevation so you’re not completely blindsided. Baldy’s 13-mile West Rim trail worked nicely for me and took me 2 hours shorter than this one. Be patient with yourself, but know your limits.


Peak 5 of 6: Mount San Antonio, a.k.a. Mt. Baldy

Peak five out of six had me wishing for wings on my shoes…

The Hike:

There are several different trails headed towards the highest peak in the San Gabriel Mountains, however, I picked the West Rim trail, also known as Mt. Baldy Trail #7W12, which is 6 miles one way to the barren peak. Park along Mt. Baldy Road near the visitor center and head down Bear Canyon Road where you’ll walk past a church and a neighborhood of mountain dwelling folk. The trail starts at the end of Bear Canyon Road where you’ll be welcomed by a beautiful bubbling stream and thousands of mosquitos and gnats. For the first 1.6 miles you’re hiking through heavily wooded areas with a fairly easy-going gradient. Once you reach Bear Flat, the trail will appear as if it’s forked. The trail is not incredibly obvious, so bare (ha!) in mind: to continue on the trail, you’ll want to hang a left where you’ll briefly cross a stream and head into a meadow. Signage was rather poor on this trail, so be sure to stay alert.

After the meadow, there is a series of steep switchbacks that warms you up for intensity of the trail. The switchbacks are lined with mostly scrubs, like chaparral, sage and clover patches. Beware of the bees humming along in the clover patches. If you are allergic, it would be wise to bring an epi-pen as a precaution.

One word: Steep.

Once you’ve conquered the switchbacks and have reached about 7,000 feet, there are several shady spots, thanks to the Sugar Pines and White Fir trees. Following along the steep path, you slowly start to think about turning around. Unless you run out of water, don’t do it. Keep going.

Eventually, you reach a large natural depression in the landscape where you can find some shady spots. Re-apply that sunscreen! Following the trail, you’ll reach the west ridge of Mt. Baldy for your last leg—a fairly forgiving climb comparatively.

Reach the top and celebrate! You just climbed the highest point in the San Gabriels. Soak it in. Feel badass because you ARE.

Not the widest path

Driving Directions: From the 210 east towards San Bernardino, exit Base Line Drive, make a right onto Pahua Drive and a right onto Mount Baldy Road. Park along the road and walk towards the old church located on the right side of the road, walk through the neighborhood and eventually you will find the trailhead—one of THREE signs you’ll see along the way. Stay alert.

Parking: Park alongside the road where available. I would not recommend parking in the church lot, although people seem to do it anyway.

Roundtrip mileage: 13.2 miles, 10 hours

Elevation: 10,064 feet

Elevation gain: 5,650 feet

What to bring: At least 3 liters of water, electrolyte tablets, snacks, hat, A LOT of sunscreen, phone/camera, mental sanity

Consider this: Bring all the water you think you need. This trail will push every ounce of brain you have. Just when you think you have the peak in your sights, the trail fakes you out and you’ll keep climbing onto an even steeper trail section than before. Frustration may kick in to a point where you question your sanity and safety. If you feel the need to turnaround, there’s no shame in that. Know your limits. But, if you remotely think you can handle it, DON’T GIVE UP.


Peak 4 of 6: Ontario Peak

Peak four of six had me climbing over downed trees and wishing for a little more water…

Hiking over downed trees ain’t no joke.

The Hike: You start off the same route as Cucamonga Peak—Icehouse Canyon Trail to Icehouse Saddle, which will bring you at about 5.1 miles one way and about 7,600 foot elevation. At the saddle’s fork in the road, you would veer to the right (again, this area has many signs) where you will take a skinny semi-covered trail for 2.8 miles one way to the peak. Along the way, you’ll get a fantastic view of the backside of Mount Baldy, another popular mountain part of the SoCal Six, and a real leg/ thigh killer.

The bubbling stream that I wanted to jump in.

Eventually you’ll come to a part of the trail with tall grass and chaparral scrubs. There will also be downed trees that can impede your literal path, so you might have to hop over a few of those giants. Hike up a hill and come to a saddle area…keep going. Drink up because if you’re as smart as I was and decided to hike at 10:00 a.m. again, then at this point in the trail, an electrolyte tablet might be worth a try. I, however, had none and, therefore, once I reached the actual peak, had less than 2 liters of water left and more than 7.5 miles in midday heat in front of me. Shortly after this hike, I purchased a 3 liter bladder and electrolyte tabs.

Arrive at the peak and check out the spectacular views.

Driving Directions: (same directions as Cucamonga Peak) From the 210 east towards San Bernardino, exit Base Line Drive, make a right onto Pahua Drive and a right onto Mount Baldy Road. The trailhead is located at the end of Mt. Baldy Road, and there is a lot for those who have Adventure or National Park passes. You can also park alongside the road without any ticketing consequences.

The unobstructed view from the top.

Parking: At the end of Mt. Baldy Road on the left side is a lot for folks who have an Adventure or National Parks passes. If you don’t have one, just park alongside the road.

Roundtrip mileage: 15.8 miles, 8 hours

Elevation: 8,696 feet

Elevation gain: 4,240 feet

What to bring: Water, snacks, hat, sunscreen, phone/camera, Adventure Pass

Consider this: Although this is definitely no Sitton Peak, the bugs were still quite annoying. I blame the heat because, once again, as hard as I tried to get out the door early, I made it to the trailhead by 9:45 am on the dot…with much disappointment. Knowing it was going to be a hot one, I decided to hike a little slower, sip water and stop more often.


Peak 3 of 6: Cucamonga Peak

Peak three of six had me second-guessing that I was actually still in Southern California…

Beautiful redwoods dwarf any palm tree.

Beautiful redwoods dwarf any palm tree.

Taking in all the hobbit potential...

Taking in all the hobbit potential…

The Hike: By far one of my most favorited hikes during this challenge. For the first 2.6 miles, you’ll be hiking the Icehouse Canyon Trail, which features beautiful lush foliage alongside a rushing creek. There are also cabins and cairns to ogle at, which make this place look like anything but Southern California. Eventually you’ll make it to a rock quarry-looking area where you can observe very interesting geological rock formations. But don’t get too distracted—it’s easy to lose the trail. Veer towards the right in this quarry-like setting and you’ll come to the 2.5 miles to of the first chunk of the trail, which takes you through more exposeswitchbacks and eventually to the “Icehouse Saddle.” It is during this portion of the hike where you will climb the most elevation as the saddle puts you at about 7,600 feet.

Once you get to the saddle, you can go one of three different routes. I completely geeked out because not only could I see a beautiful forest view into the valley, but I also found more trails/mountains to hike.

Signage will point you straight onwards for another 2.4 miles towards Cucamonga Peak. This trail has a lot of loose gravel, and due to frequent landslides, the gravel often covers up the tiny trail itself. This makes things slippery, so proceed with caution.
And just like this hike description, when you think it’s never going to end, it does. And the view of the inland empire and Apple Valley is spectacular. If there are clouds around, they tend to make your photos look pretty damn cool, too.

Driving Directions: From the 210 east towards San Bernardino, exit Base Line Drive, make a right onto Pahua Drive and a right onto Mount Baldy Road. The trailhead is located at the end of Mt. Baldy Road, and there is a lot for those who have Adventure or National Park passes. You can also park alongside the road without any ticketing consequences.

Back in the day, California was filled with volcanoes...still was a hot place to be. ha! I'm here all night.

Back in the day, California was filled with volcanoes…still was a hot place to be. ha! I’m here all night.

You'd walk right past it and never give it a second thought, but don't forget to check out the old gold mines.

You’d walk right past it and never give it a second thought, but don’t forget to check out the old gold mines.

Roundtrip mileage: 15 miles, 8 hours

Elevation: 8,859 feet

Elevation gain: 4,000 feet

What to bring: Water, snacks, hat, sunscreen, phone/camera, Adventure Pass

Consider this: There are so many cools sights to see along this trail that you tend to forget to sip your water. Cabins, cairns and igneous rocks can easily distractify, but don’t forget to do a sanity check lest your lungs do it for you. Also, be sure to look for the old gold mines along the trail. There’s no signs that point them out, they’re just kind of chillin’, so be on the lookout. If you’re heading toward the peak, they are on your right…because to your left is a straight 1,000 foot drop.


Peak 2 of 6: Sitton Peak

Peak two of six made me consider bug spray! Just when I thought it was safe to wear shorts and a tank top…

The scrubby trail to Sitton Peak.

The scrubby trail to Sitton Peak.

The Hike: A local peak always sounds great, right? Find the Bear Canyon trailhead located behind the old -fashioned Candy Store off Ortega Highway. It’s easy to miss this trailhead, so if the store is open, there’s no shame in asking about the trail location. The store also offers free printed maps. This trail requires a wilderness permit, which is often available at the trailhead to fill out. If not, bring a pen and paper and leave your info in the box.
The hike begins at a moderate pace and is lined with brush and large boulders. It meanders over a creek where there are plenty of trees for shade, although there isn’t much shade elsewhere on the trail. Since there are some areas that appear to be overgrown, I was getting mountain lion vibes, which reinvigorated my machete desires. Since I was sans machete, I sang Yankee Doodle very loudly and made lots of noise as well as carried a walking stick and a rock.

The last portion to the peak is almost a literal climb. At first, it didn’t even appear to be an actual trail since it was pretty steep and looked washed out, but it is and your calves will thank you for the luscious workout.
I started around 10:00am, made it to the peak by just before 1:00pm and back to my car at 3:00pm. Why so fast? Two words: The bugs.

Simply titled Candy Store and Goods off the 74-Ortega Highway. Park across the street.

Simply titled Candy Store and Goods off the 74-Ortega Highway. Park across the street.

Driving Directions: hop on the 5 freeway and exit Ortega Highway (Hwy 74), head towards Lake Elsinore and keep going until you see “Candy Store and Goods.” Park in the national parks parking lot across the street from the store and either pay for parking or display your Adventure Pass. Carefully walk across the street.

Parking: located across the street from the candy store–no parking at the candy store

Roundtrip mileage: 12 miles, 5.5 hours*

Elevation: 3,273 feet

Elevation gain: 2,150 feet

Not sure how I made it without going insane, but I made it!

Not sure how I made it without going insane, but I made it!

What to bring: Adventure Pass, POWERFUL BUG REPELLENT that doesn’t give you cancer, lots of water depending on the air temperature, food, hiking stick, some form of mountain lion defense, courage

Consider this: The bugs are absolutely relentless. If I stopped for longer than 2 minutes, those suckers were on me like, well, flies on meat…that was sweating…because my dumb ass decided to start my hike at 10:00 a.m. Both factors made the hike less enjoyable. For almost the entirety of the hike, I was eaten alive by mosquitoes and horseflies. Have you ever been bitten by a horsefly? They SUCK! And leave big red welts that take too long to go away. The first part of this hike is shrouded in foliage, trees, rocks…lovely vantage points for mountain lions to sneak up on you. I didn’t see any, but it was definitely on my mind since I had a run-in with one 10 years ago in Carbon Canyon.


Taking in the views of the Cleveland National Forest.

Taking in the views of the Cleveland National Forest.

Peak 1 of 6: Mt. Baden-Powell

Peak one of six was a doozy for my first ass-kicking/toe-kicking hike…

Mt. Baden-Powell summit, as my toes live and breathe.

Mt. Baden-Powell summit, as my toes live and breathe.

The Hike: Part of the infamous Pacific Crest Trail (PCT), this hike is incredibly steep. You will feel every foot of elevation gain as you traverse the 40 (that’s right: 4-0) switchbacks up and up and up some more. If you haven’t done this hike before, you might ask folks “how much farther?” to which, no matter where on the trail you are, you will hear: “Only a half mile more!” The trail stays covered in pine, oak and cedar trees for the majority of the trek, however, once you reach the last REAL half mile, it becomes fairly exposed. Beautiful 360 views of the desert, cities and mountain ranges lay before you once you get to the exposed peak.

On the way down, be sure to show some love to your “little piggies,” a.k.a.: your toesies. Because the hike up is so steep, your toes will pay the price coming back down since they are essentially being jammed into the front of your shoes. Bring band-aids, do a toe sanity check and tread VERY carefully. No matter how carefully I walked, I still managed to slip and fall on my booty a couple of times. BE CAREFUL.
Driving Directions: head east on I-210/Foothill freeway, take CA-210 and I-15 north to CA-138 west in San Bernadino county.
Your GPS may tell you to keep going, but be sure to look for two parking lots on both sides of the road just before GPS’ end mark. Depending on where you’re coming from, one parking lot requires an Adventure Pass or National Parks Pass. The other lot is free of charge, just be wary of the jagged gravel.

Roundtrip mileage: 8.9 miles, about 5 hours*

As you can see--not exactly flat.

As you can see–not exactly flat.

Elevation: 9,400 feet

Elevation gain: 2,900 feet

What to bring: Water, food, hat, phone/camera, band aids, a smile, Adventure Pass


I had to...

I had to…

Consider this:
There are 40 switchbacks up to the Baden-Powell summit, they seem never-ending, but they do end. They do. And you will never be so glad to see a bald-looking path once you are, literally, out of the woods and those switchbacks. Be wary of future hike recommends from anyone who has traversed the PCT (Sean Jansen!!) In late June, you may see remnants of snow on the ground, which, of course, I had to touch.

Intro-ing My Journey with the SoCal Six Peak Challenge

I bet y’all are wondering: where’d the surfer girl go? What’s with the land adventures? What gives?
There comes a time where…nah, I’m not gonna go into this lecture–I honestly got tricked into taking on this challenge after a series of life-changing/stressful events. I needed peace and escape and I gotta credit my best nature-loving junkie pal Sean Jansen with this adventure.
Sean—you started it! You’ve turned me into a land lubber.

And, now I’m forever grateful.

As I was saying…I needed escape from the norm. As the summer crept into air vents and AC bills across Riverside and other sweltering inland counties and states, I knew anything that resembled a beach would be a ZOO. And grumpy territorial locals combined with those touting soft tops, frosted tips and sweet ignorance, (PLUS traffic), had me reeling for an alternative nature-bound escape.

Enter the mountains, which have semi-eluded my interest until now. Hiking is fully a part of my outdoor geekiness. After getting tricked into hiking up one peak, a fellow hiker asked if I was doing the “SoCal Six Peak Challenge,” which I had no idea what that was, but could guess given the context clues.

And so it was ingrained in my brain: hike six peaks in Southern California

Technically there are 12 peaks within this challenge, but the most common one is the “SoCal Six,” which you can find here.
Follow me on my adventure to hike six of Southern California’s noteworthy peaks! Who knows…maybe I’ll do 12? No promises.

Stay tuned to my blog and Instagram. I’ll give ya my skinny on some of Southern California’s not-so-skinny mountain peaks.

Two hard and fast recommends if you decide to attempt:

    Purchase an annual Adventure Pass for $30 or a National Parks Pass for $80. They are available at any REI store or any ranger station.
    Be sure to bring more water than you think you need. I recommend 2 liters at the very least. On a hot day with a long hike and lots of elevation in front of you, I recommend at least 4.5-5 liters. Water weighs two pounds per liter, but trust me—it is worth every pound.

And…don’t worry—there will be ocean waves, too.

Disclaimer: My estimated time to complete each trail is based on my personal pace, which I have averaged at around 2 miles an hour. Your results and experiences may vary depending on the weather, stamina, water supply, mental sanity, etc.

*All photos and videos are my own