Posts

tent under a bare tree in Utah

5 Camping Mistakes I Made in Zion and Why

trees framing the outlook to Kolob Canyon

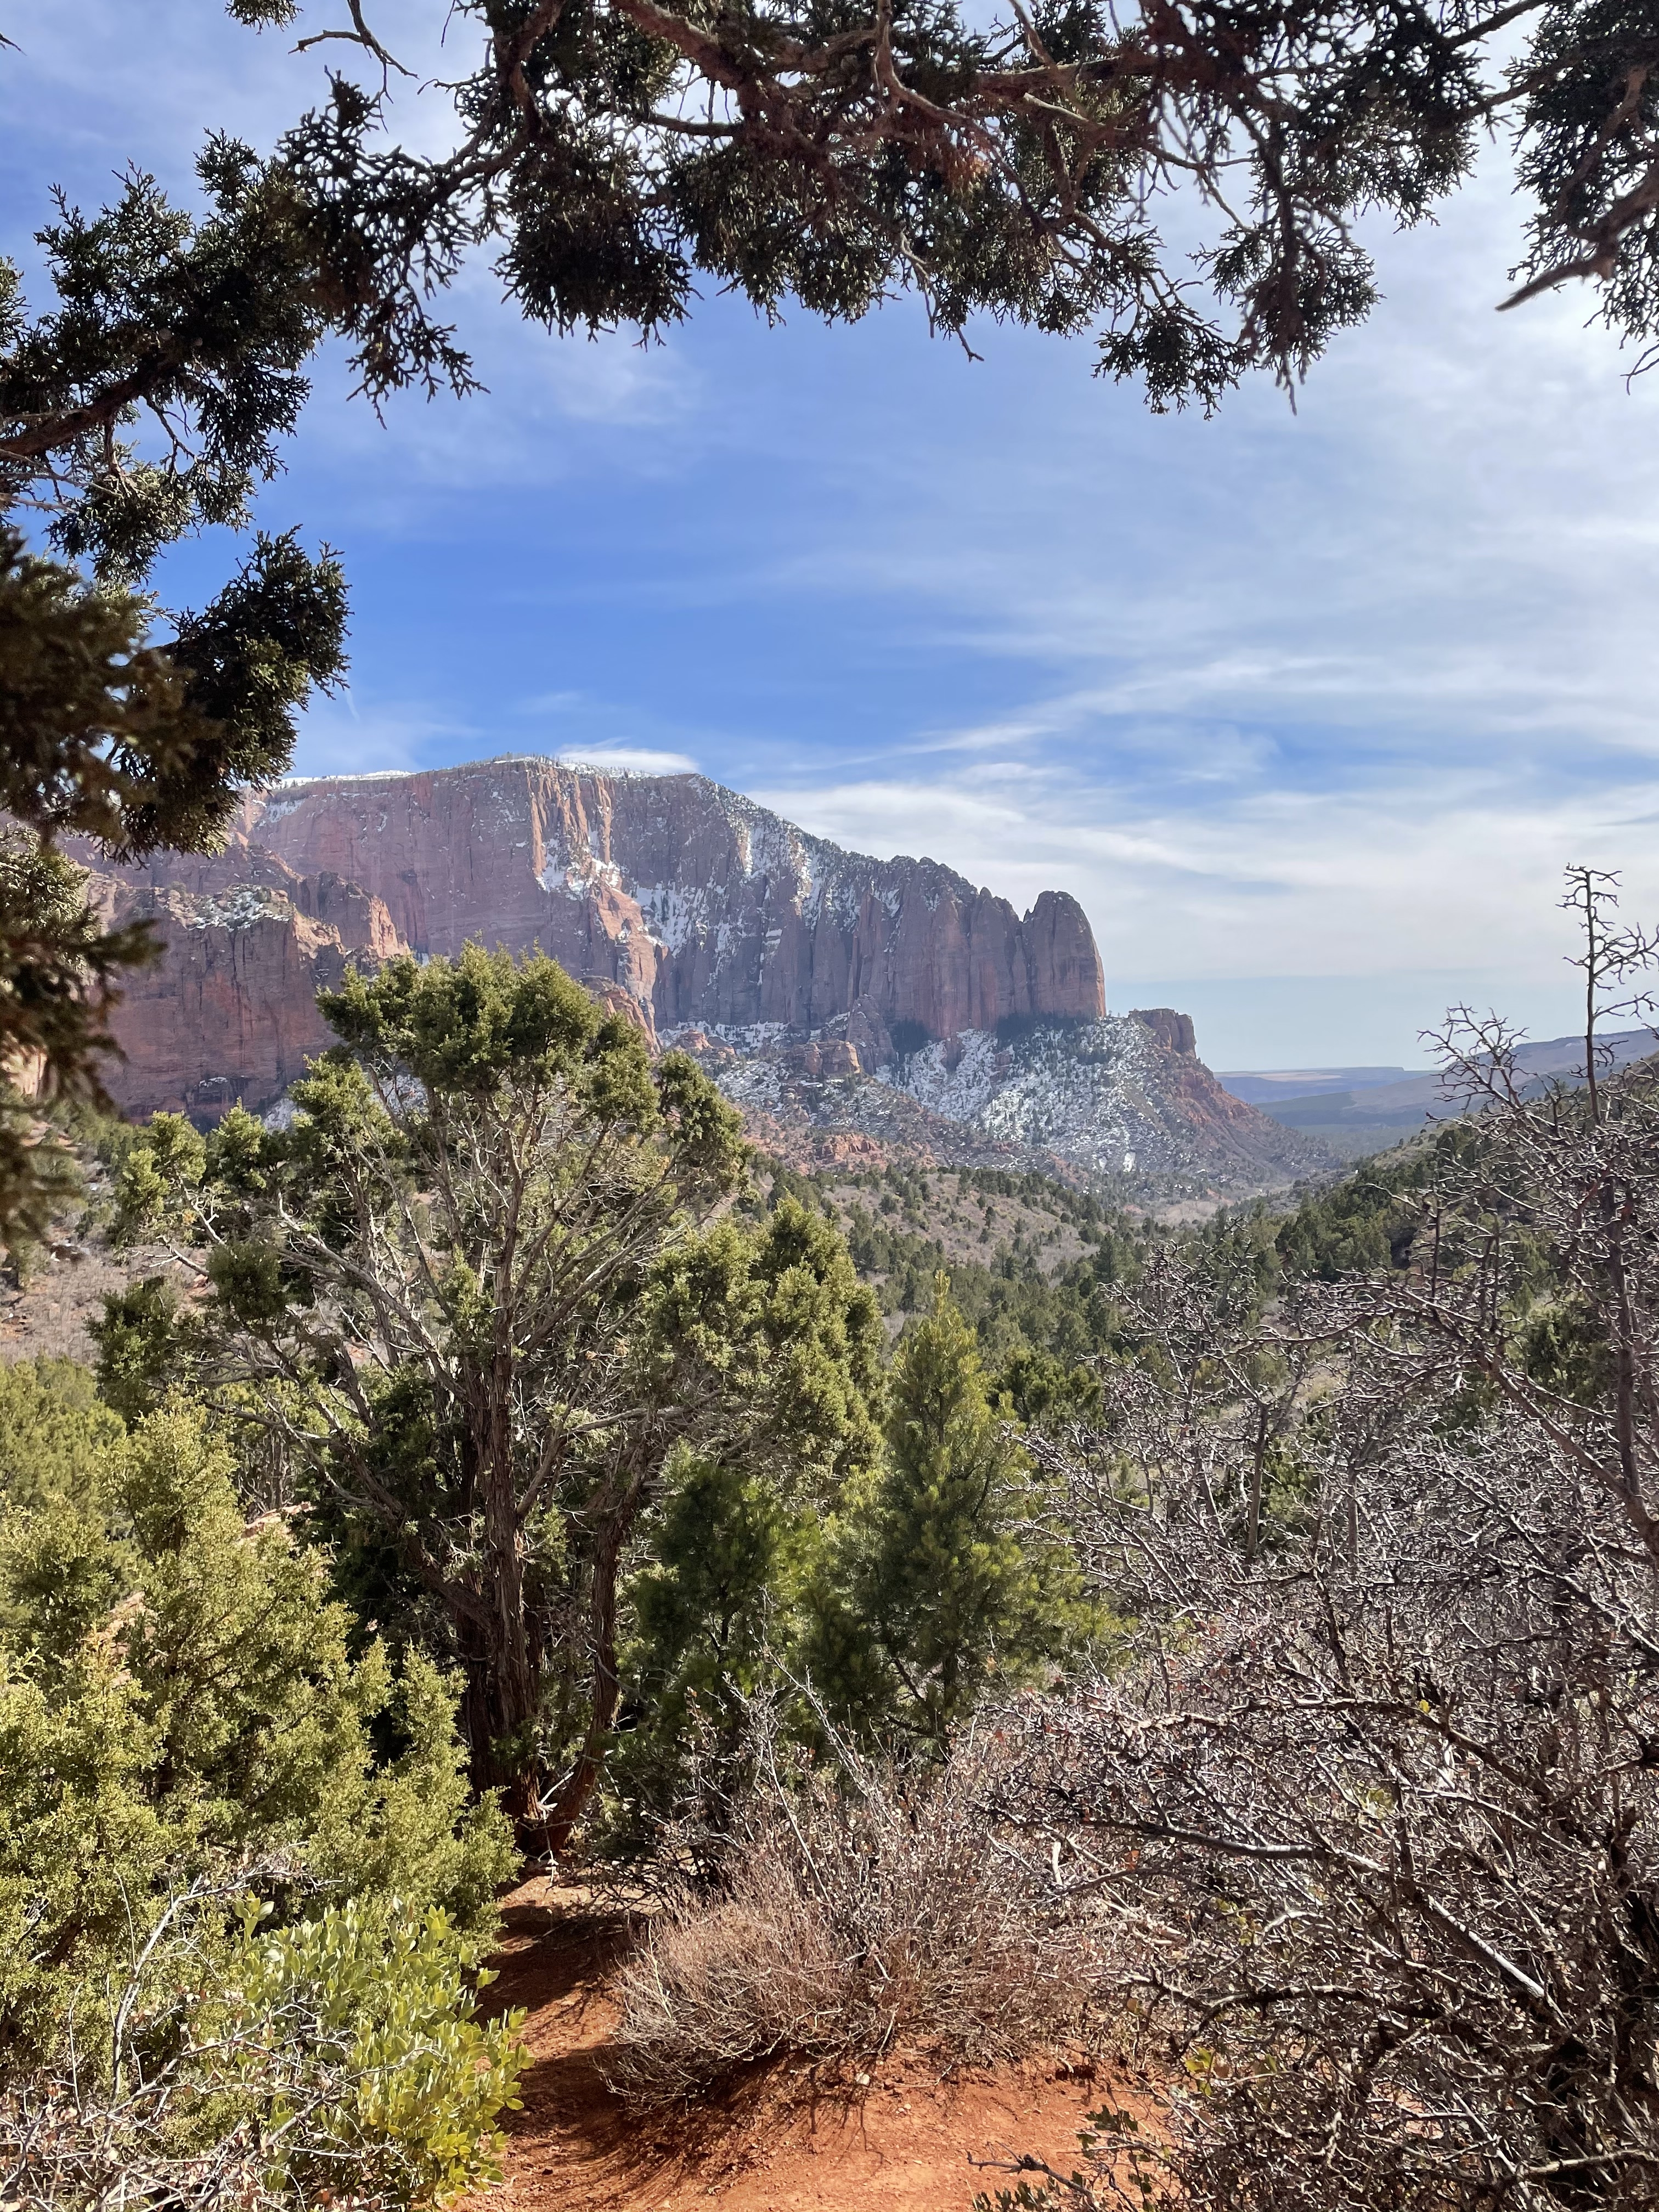
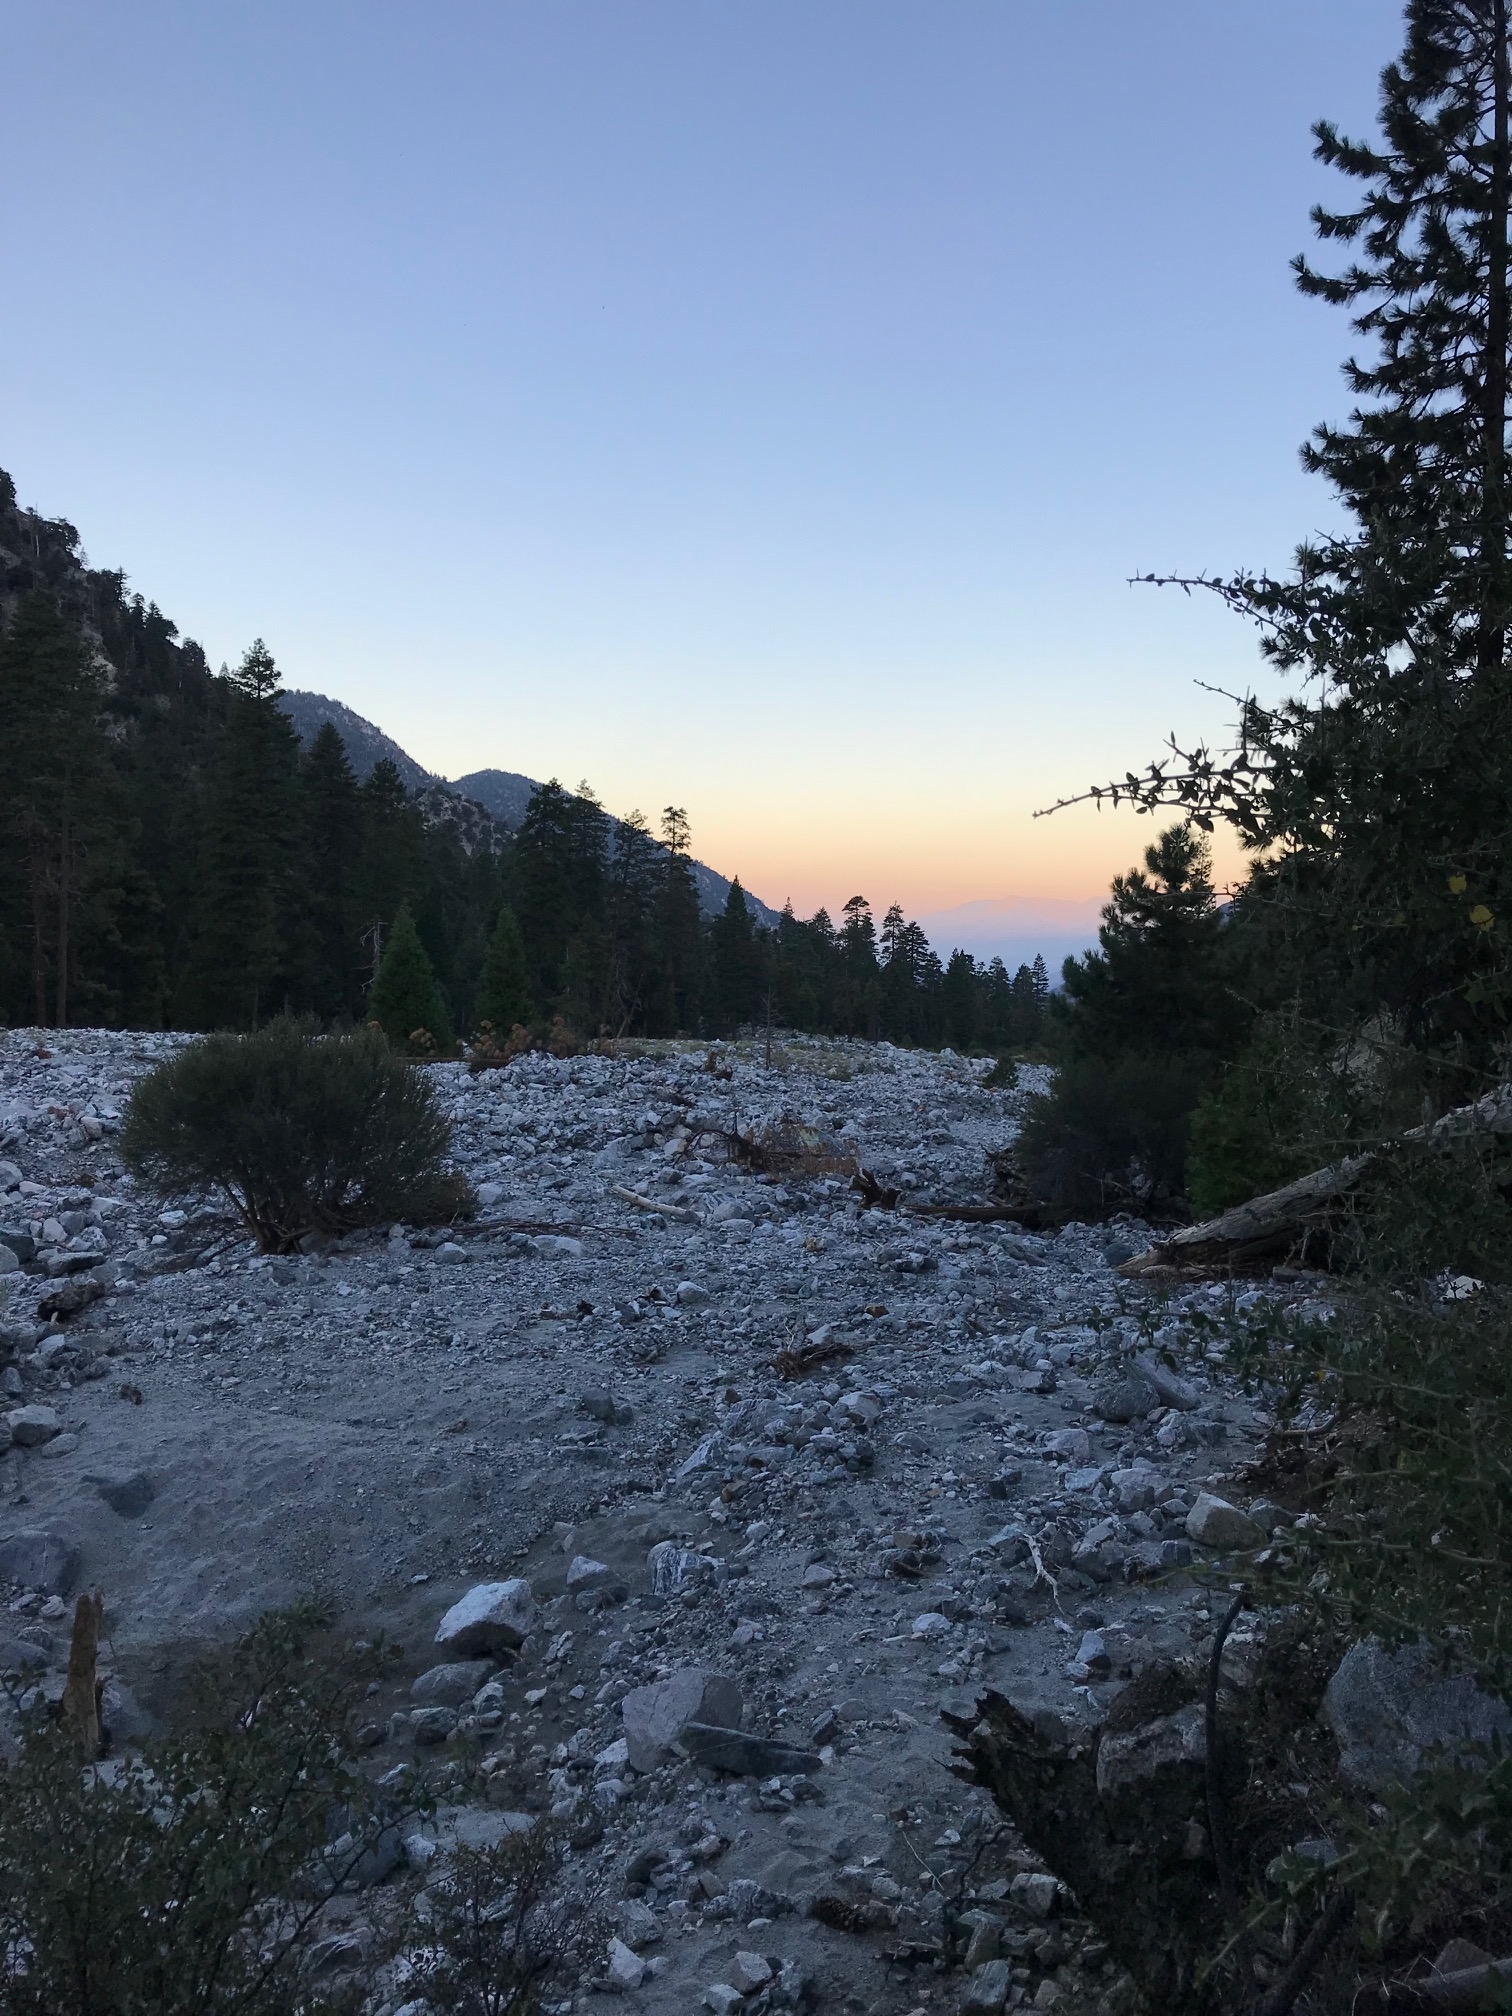
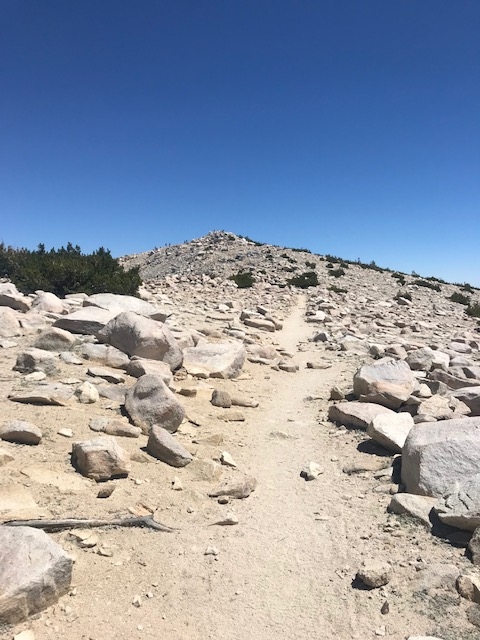
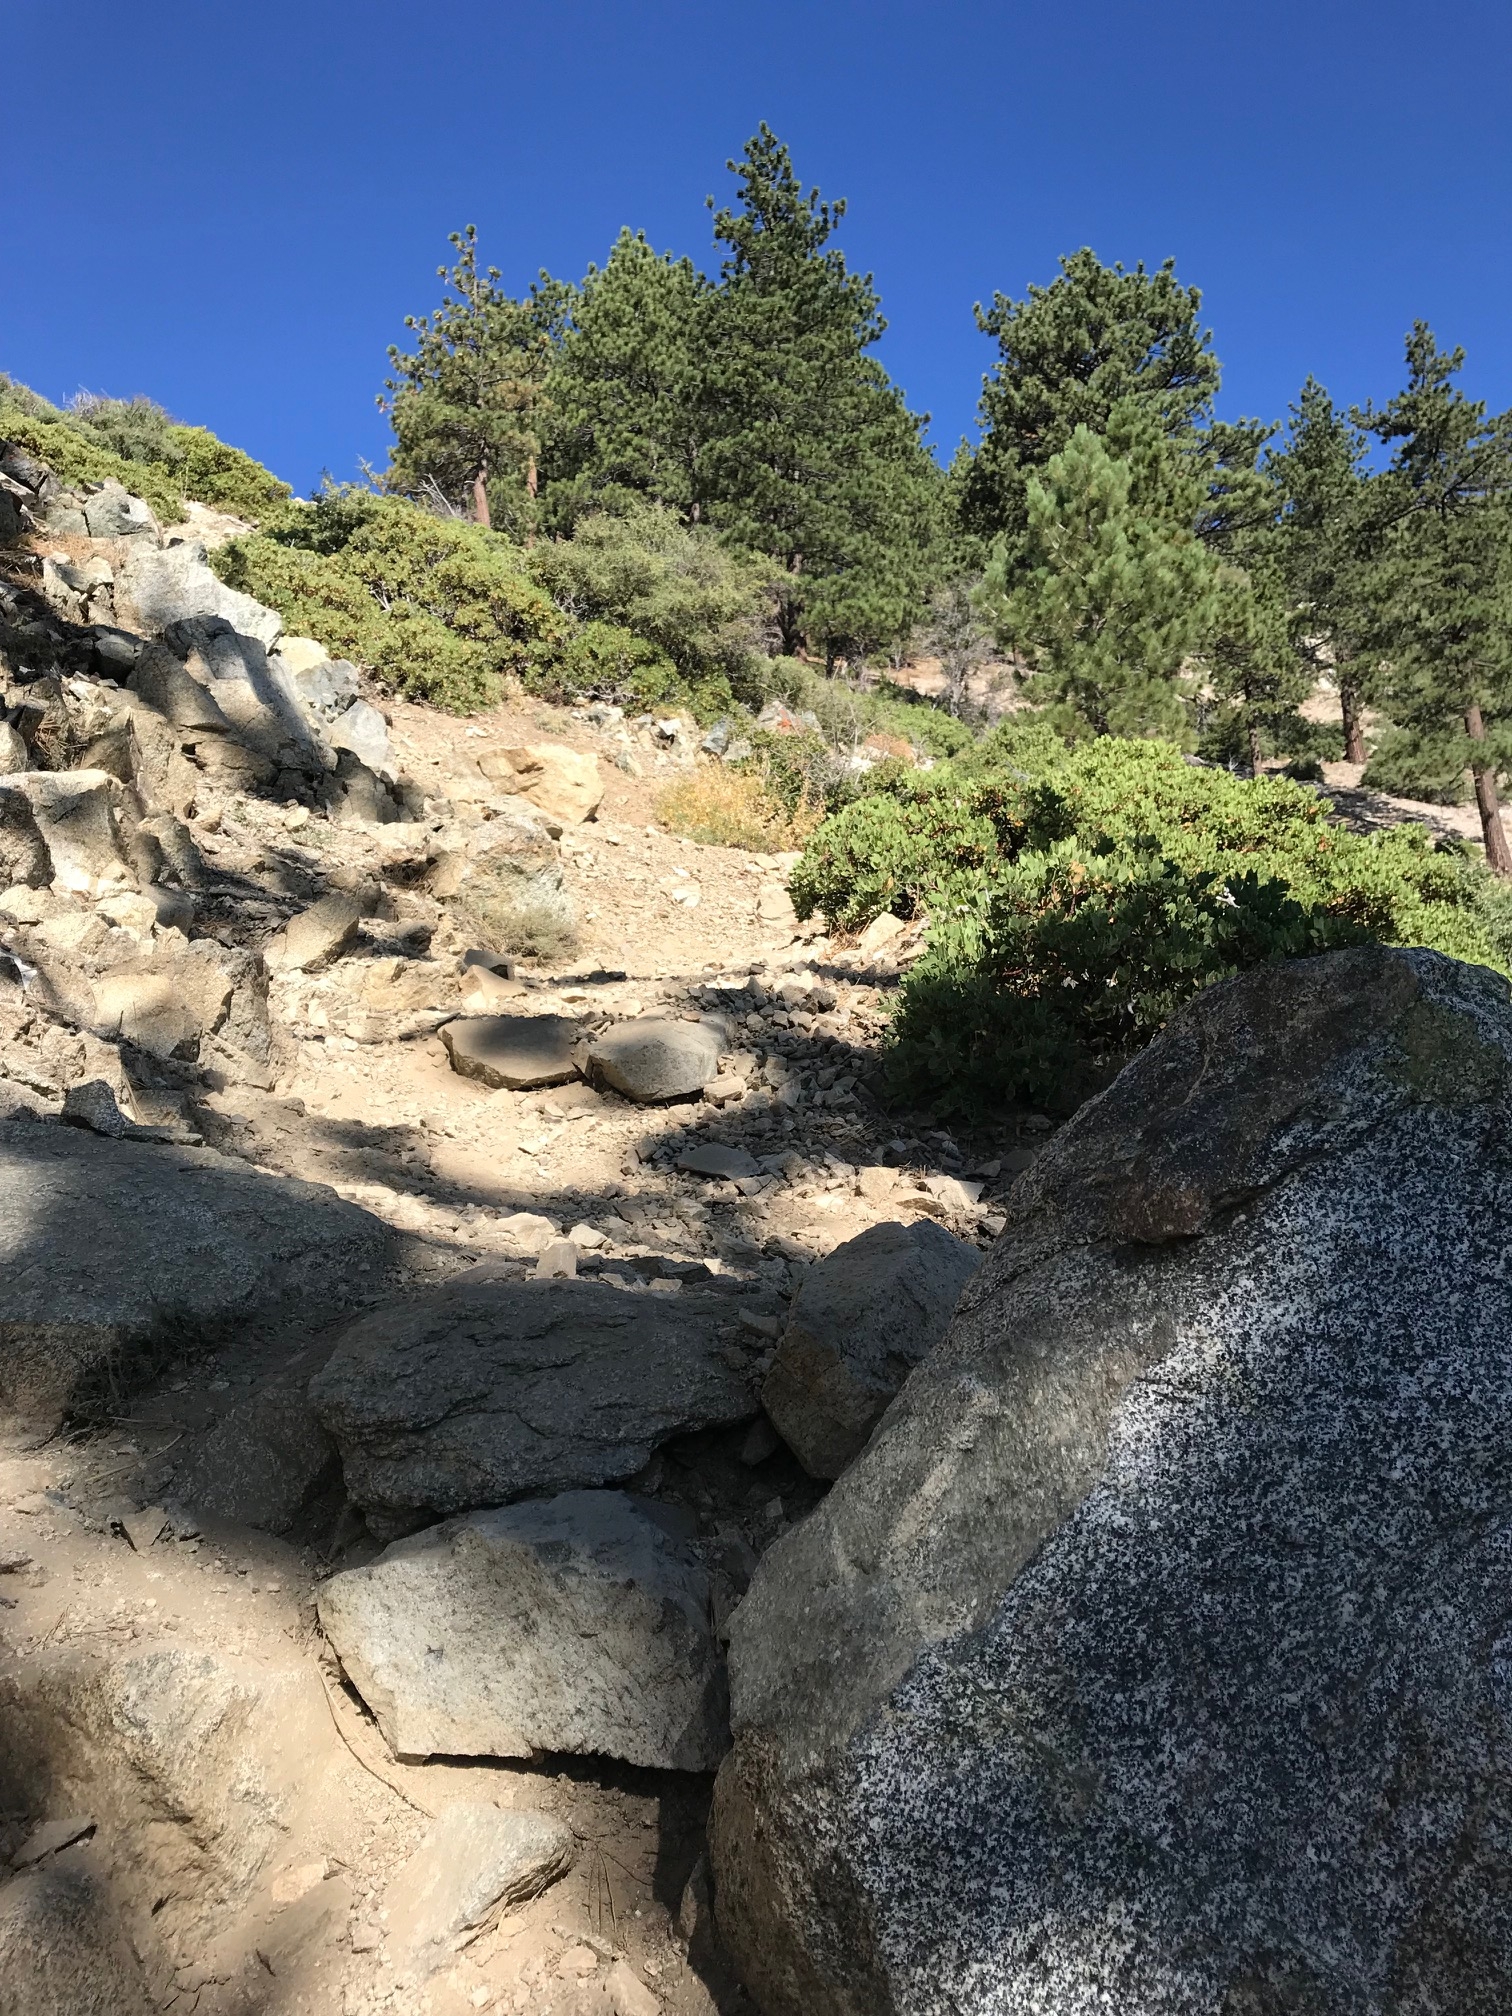
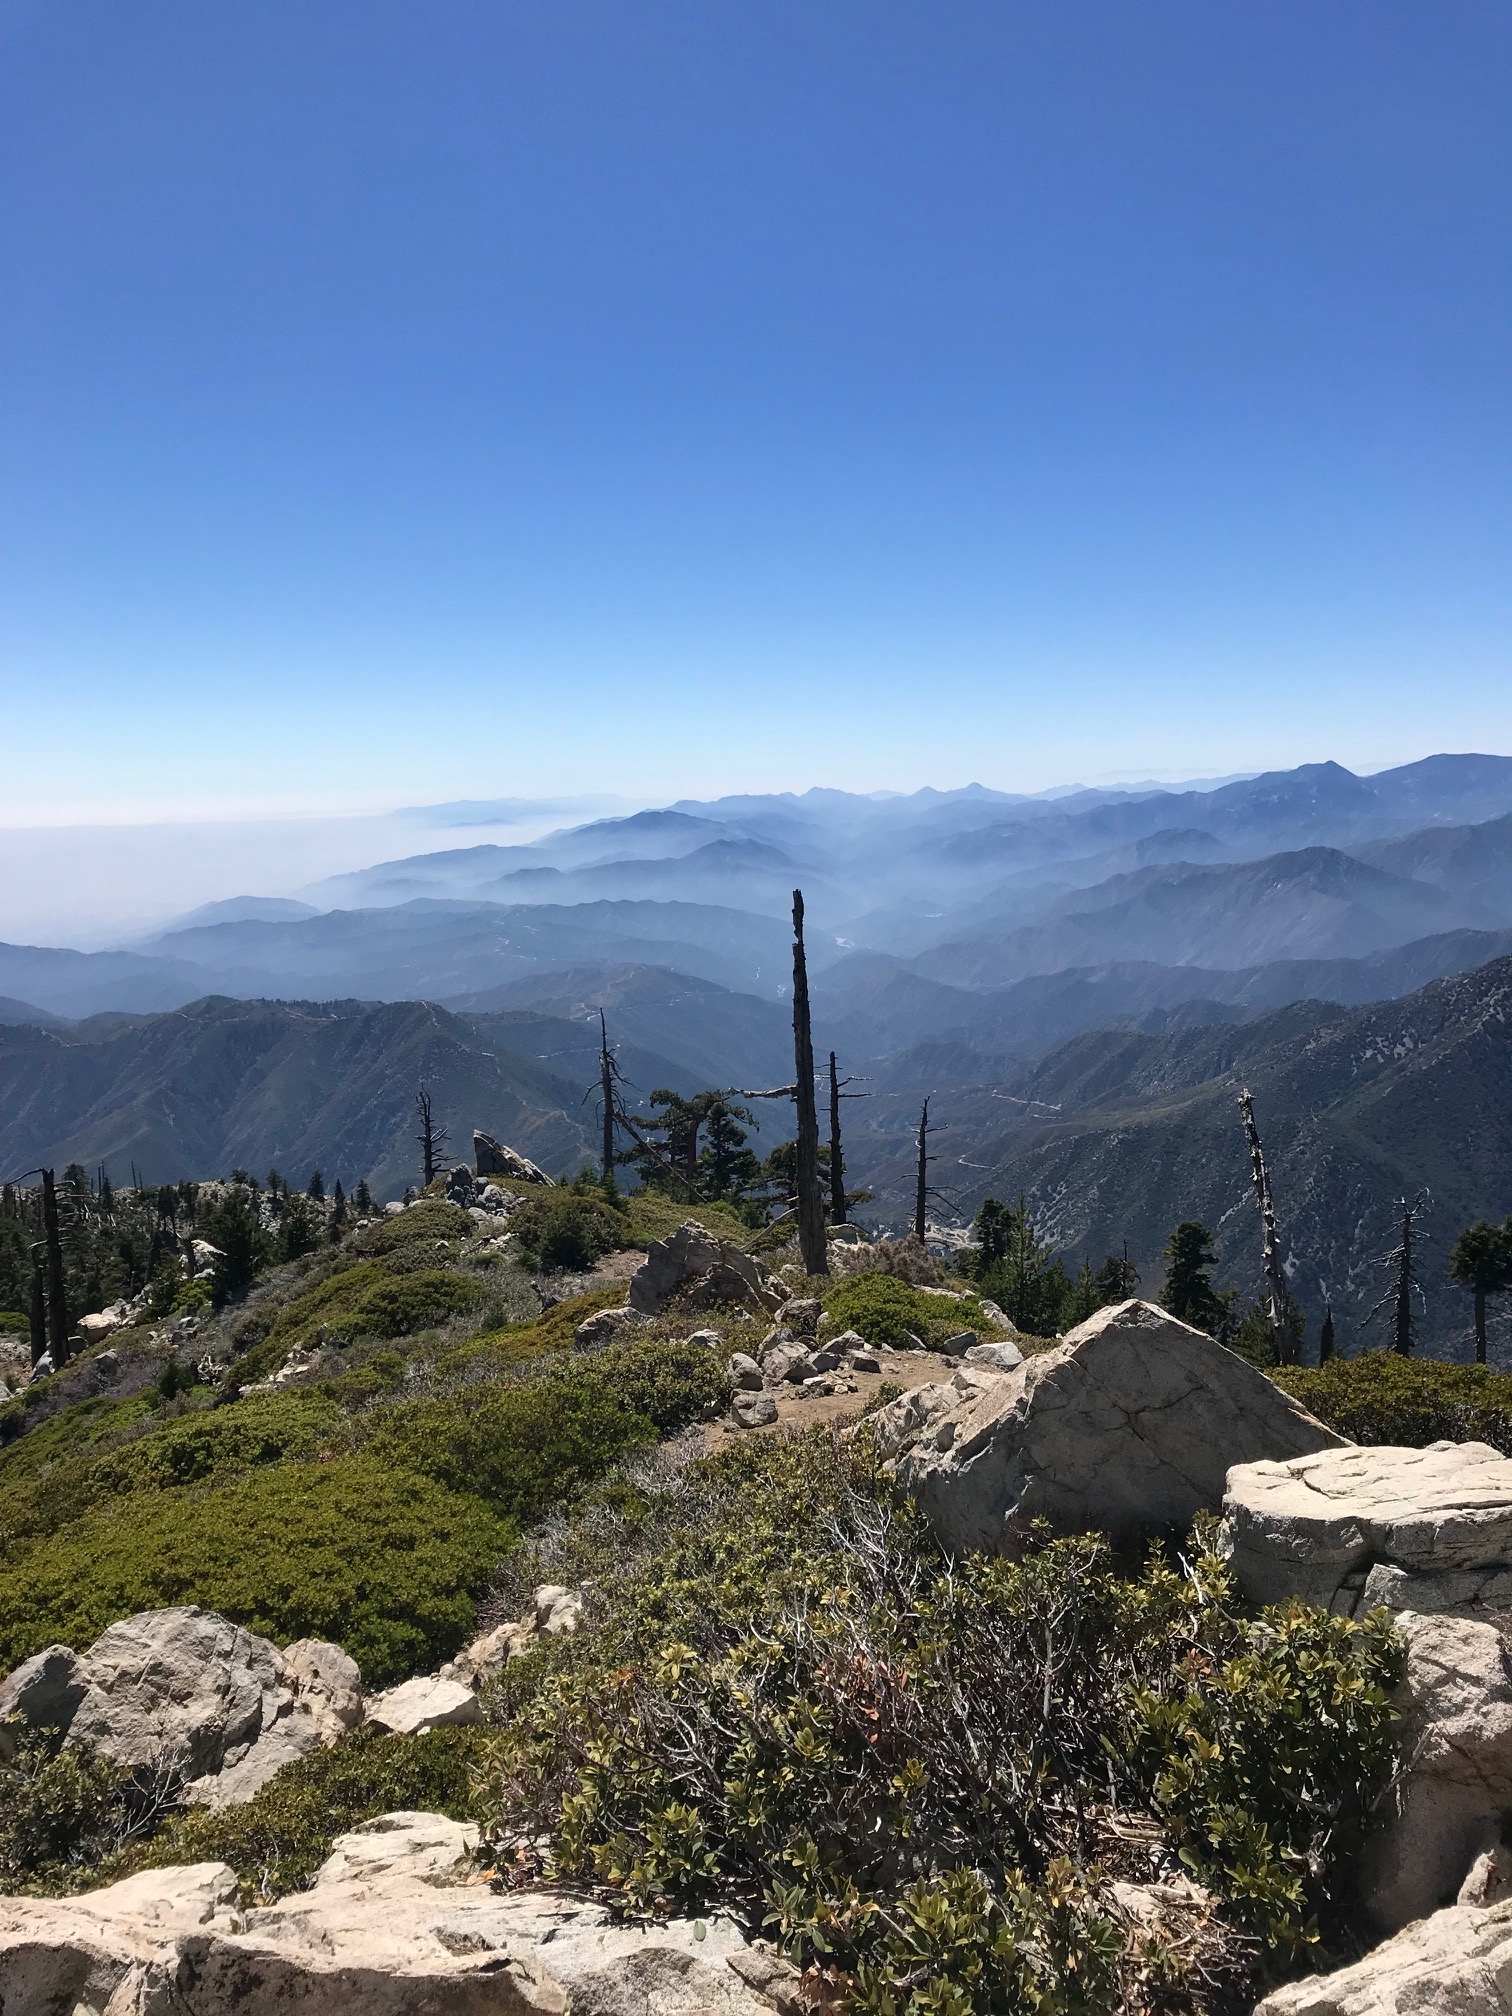
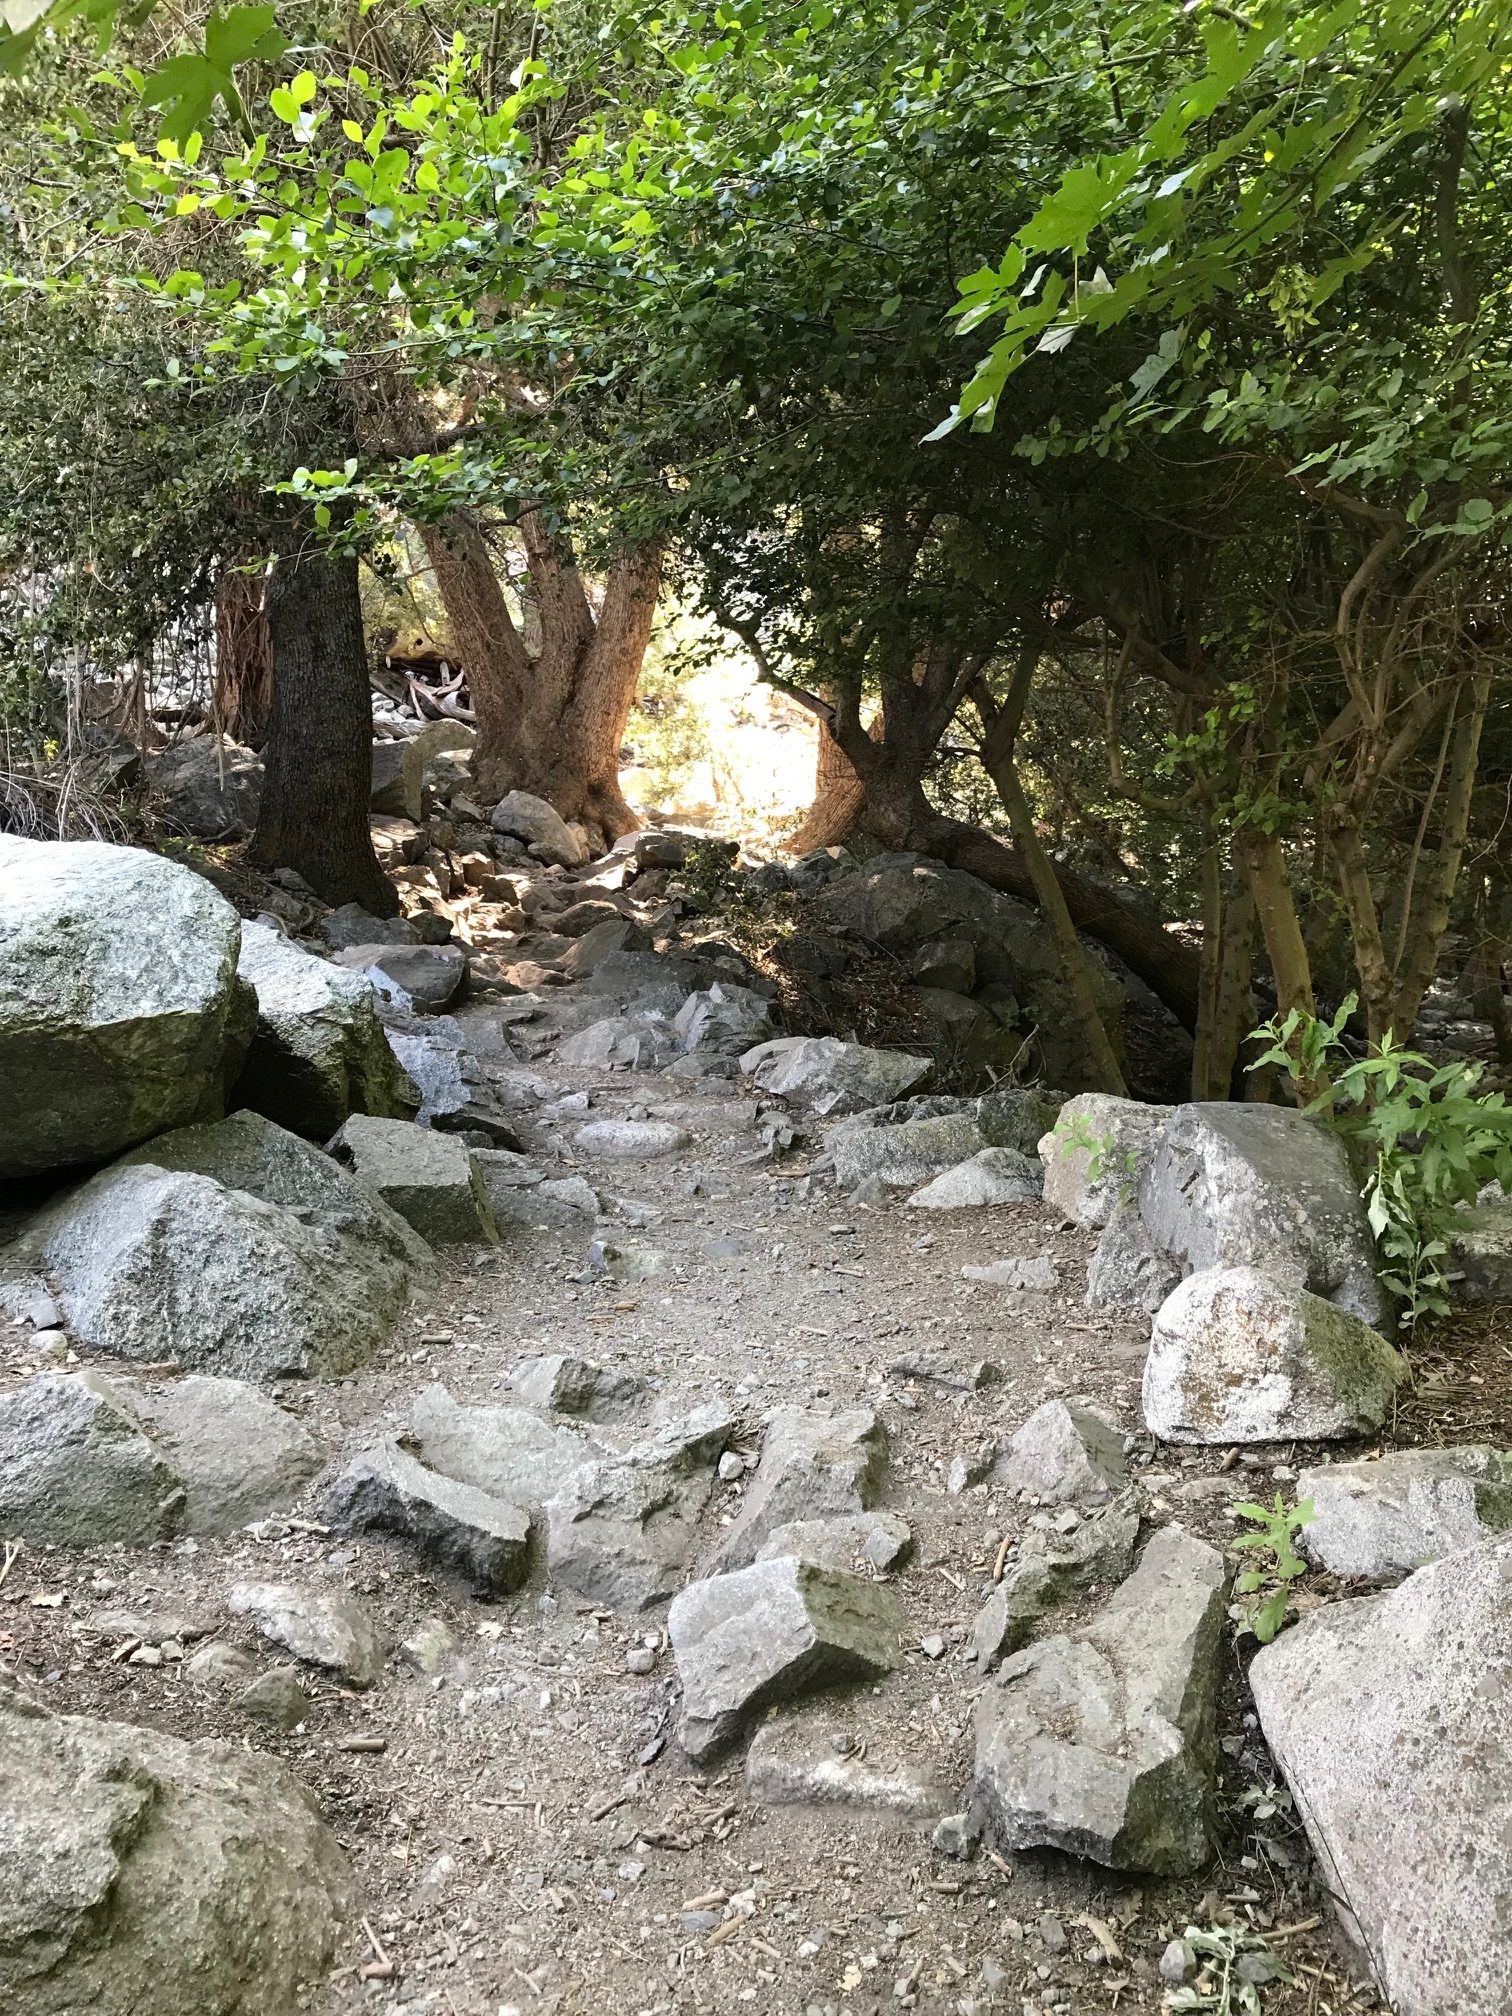
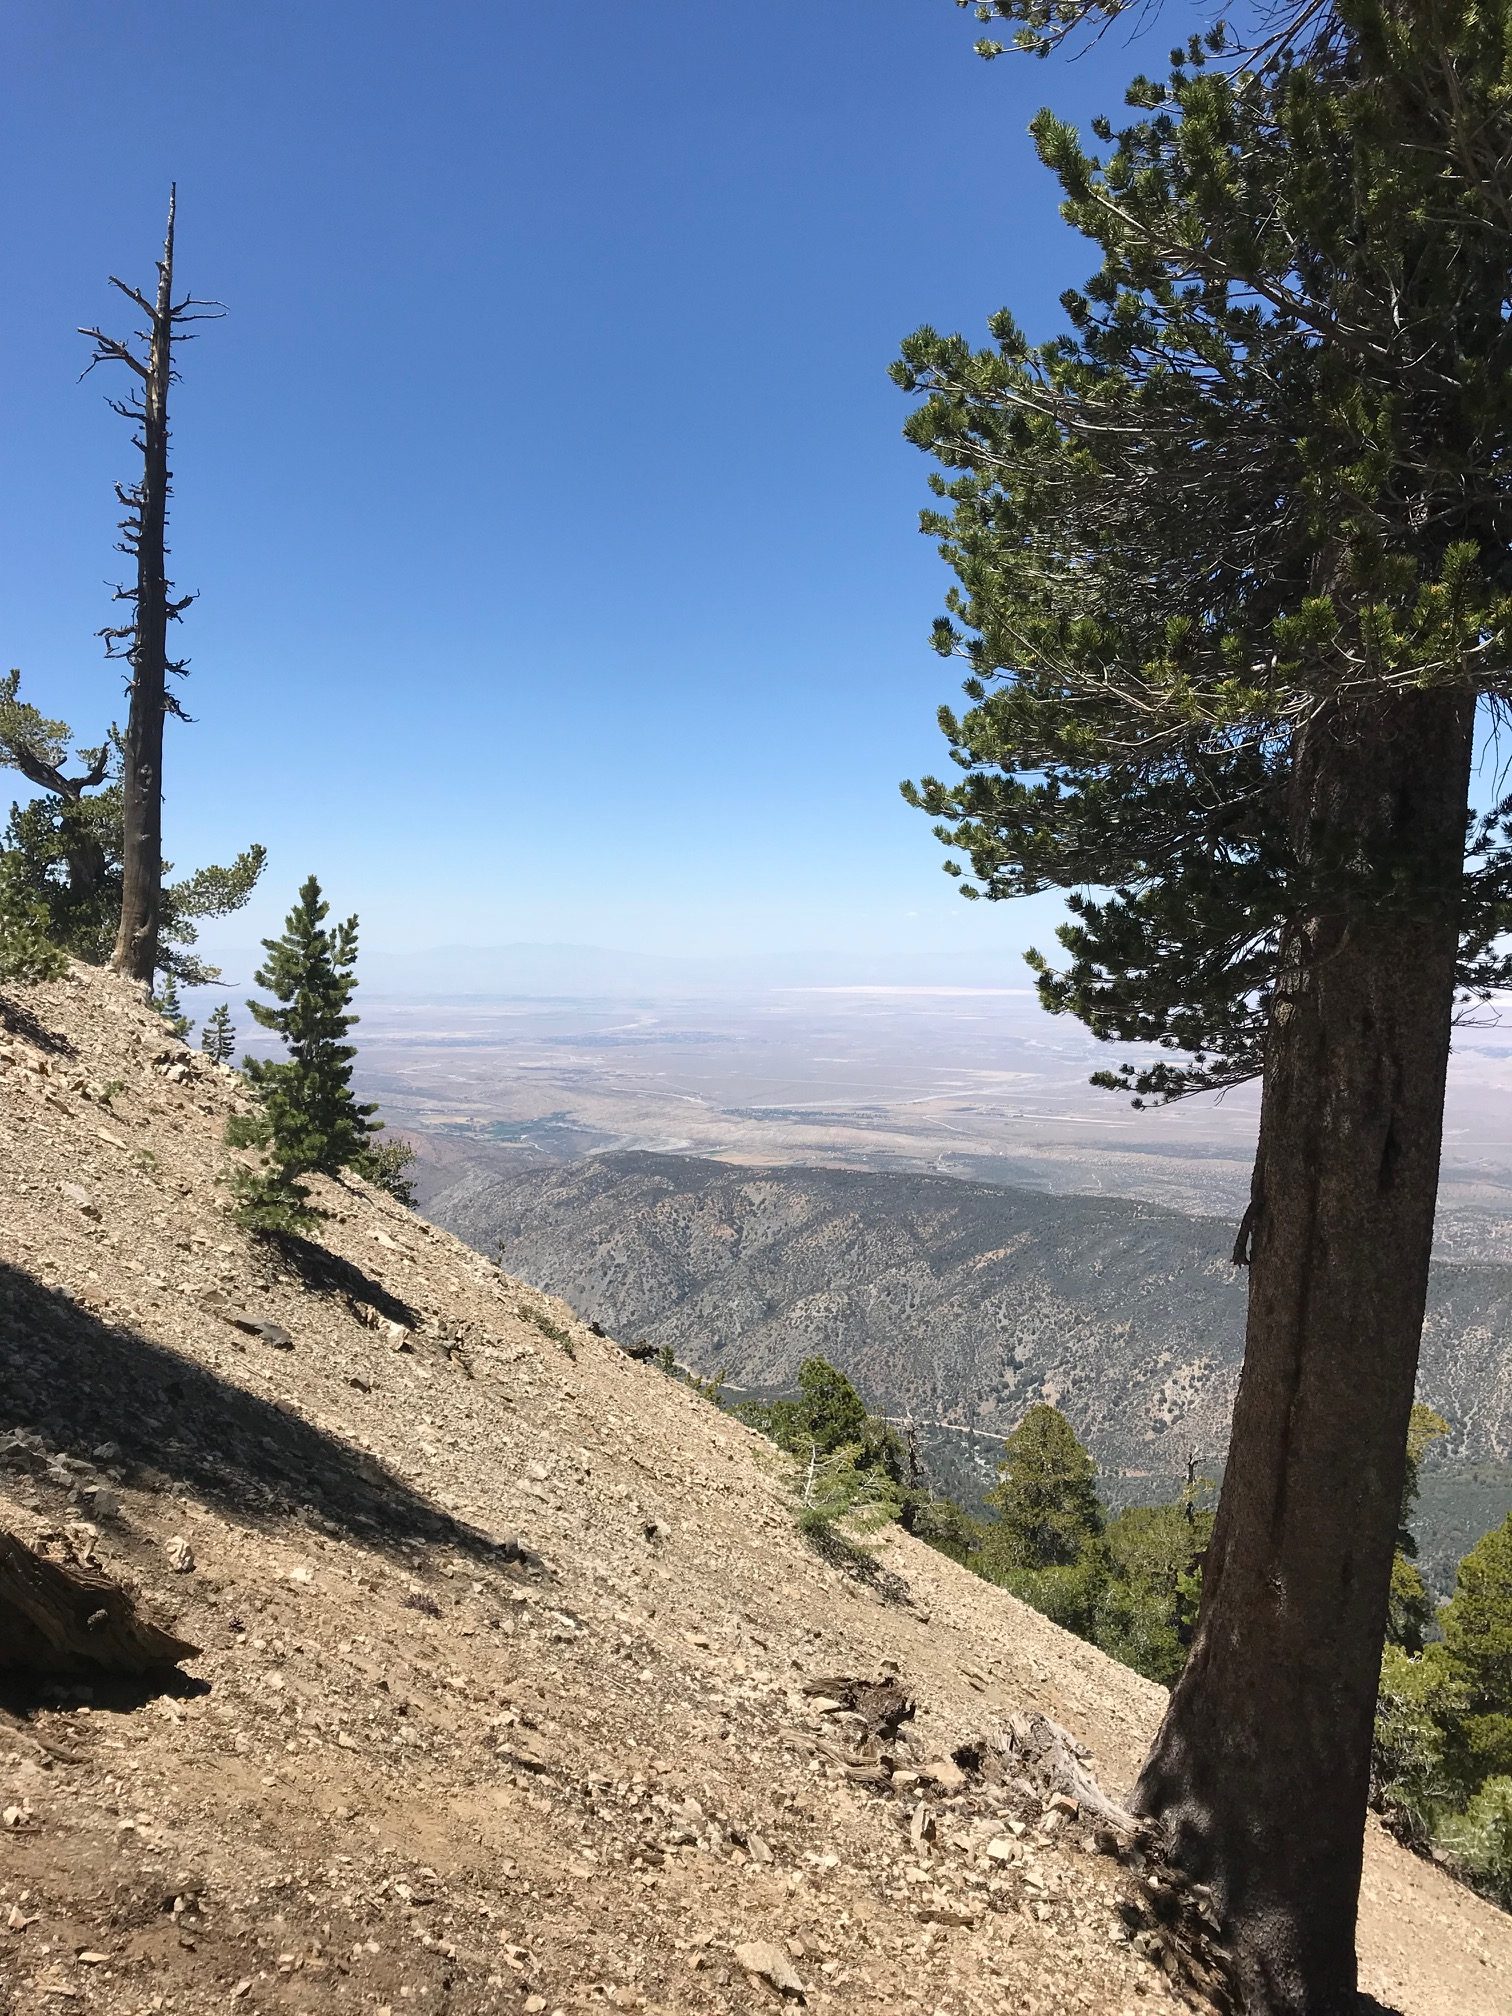
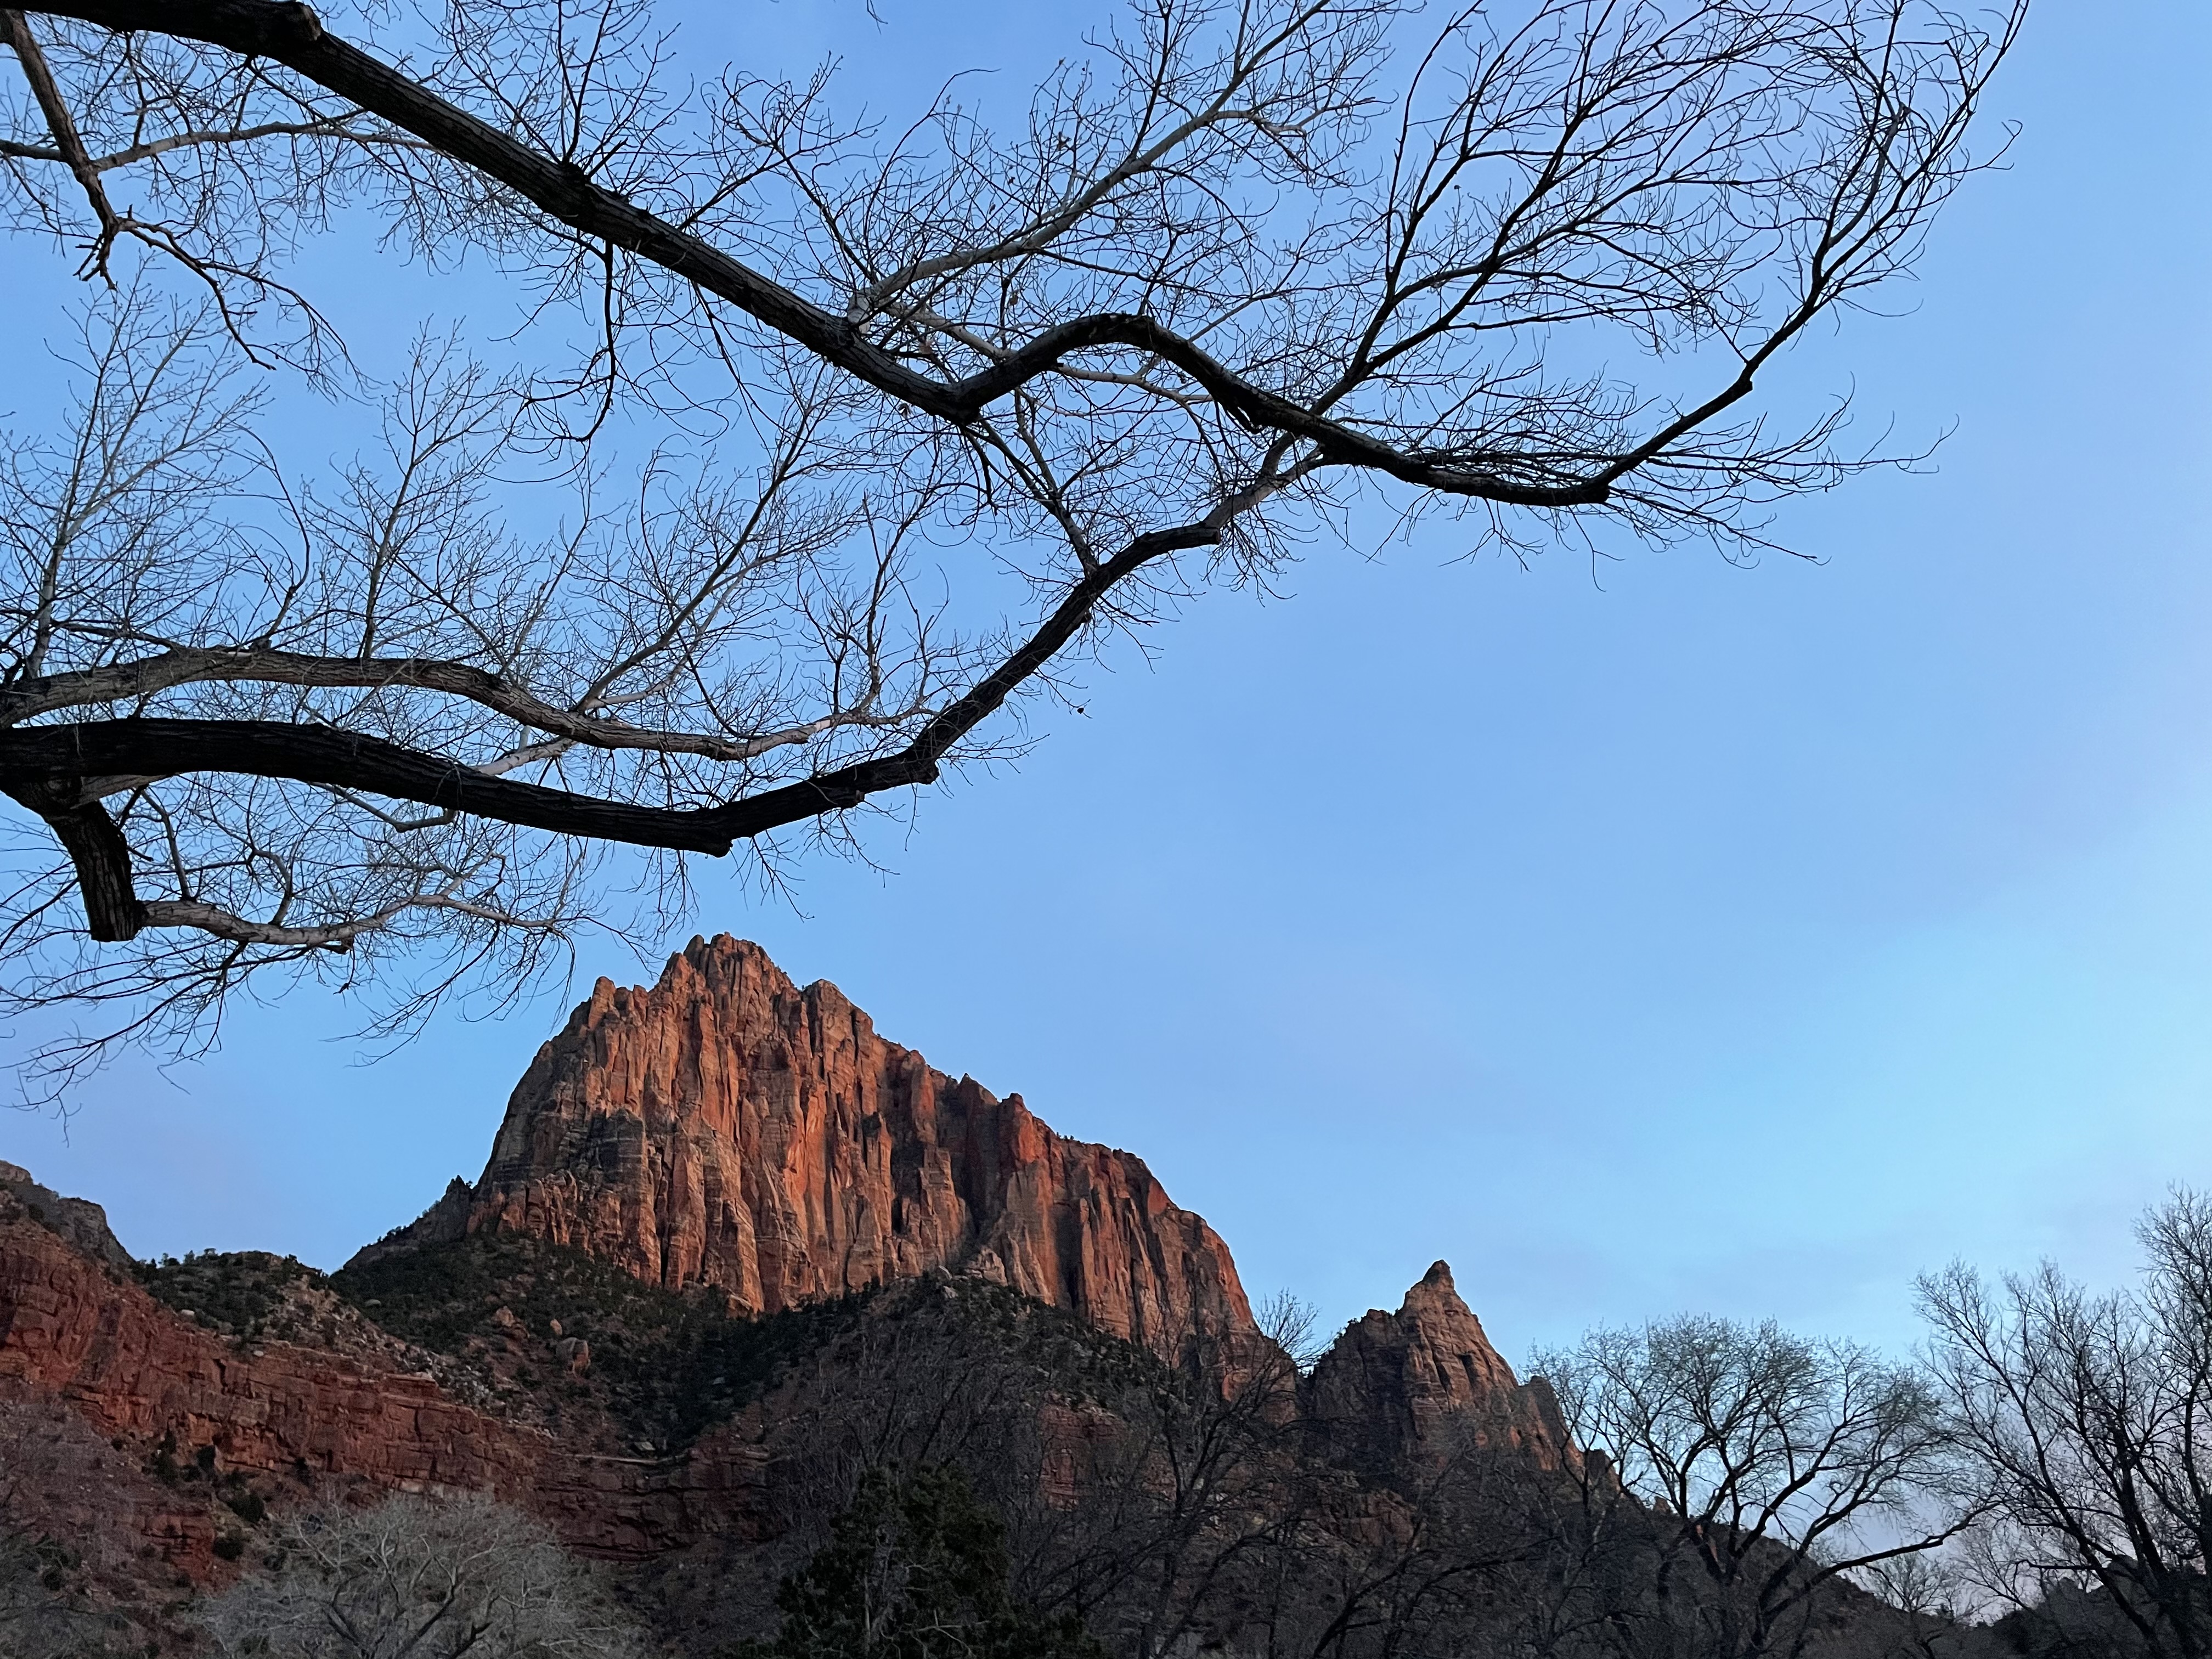
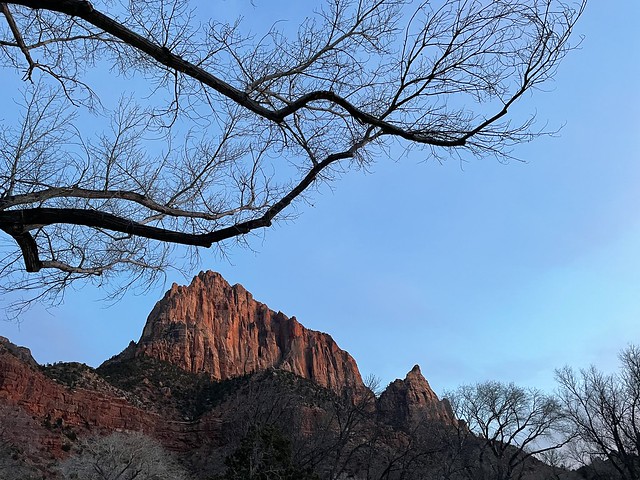
Kolob Canyon overlook

Not every trip is full of sparkly images of you living your best life. Flights get canceled, surf or snow doesn’t show up, we mistime, we plan too far ahead or not enough, oh and this pandemic thing…we fuck up, we make mistakes and rarely do we admit it publicly…and we should more often because our lessons might help others.

What normally I reveled in for the past several years (camping, nature, snowboarding, etc.) became a trip full of “damn why didn’t I think of thats!” In case you haven’t noticed, for the past couple of years, I’ve been camping at Zion National Park and have been soaking up the challenge of conquering my fear of heights by hiking Angel’s Landing and recently made it a point to stop by Brian Head for a snowboarding session.

I think in between the recent death of someone falling off of Angel’s Landing on the same day and getting bad dizzy spells while hiking Angel’s Landing for my third time, I began to realize…I need to calm down. :D

But don’t worry—I’m not going to quit adventuring, I think this is one of those trips where there are lessons learned as opposed to goals achieved. I’m confessing my mistakes so you don’t do the same things I did:

girl with braids and a beenie holds camera in front for a selfie

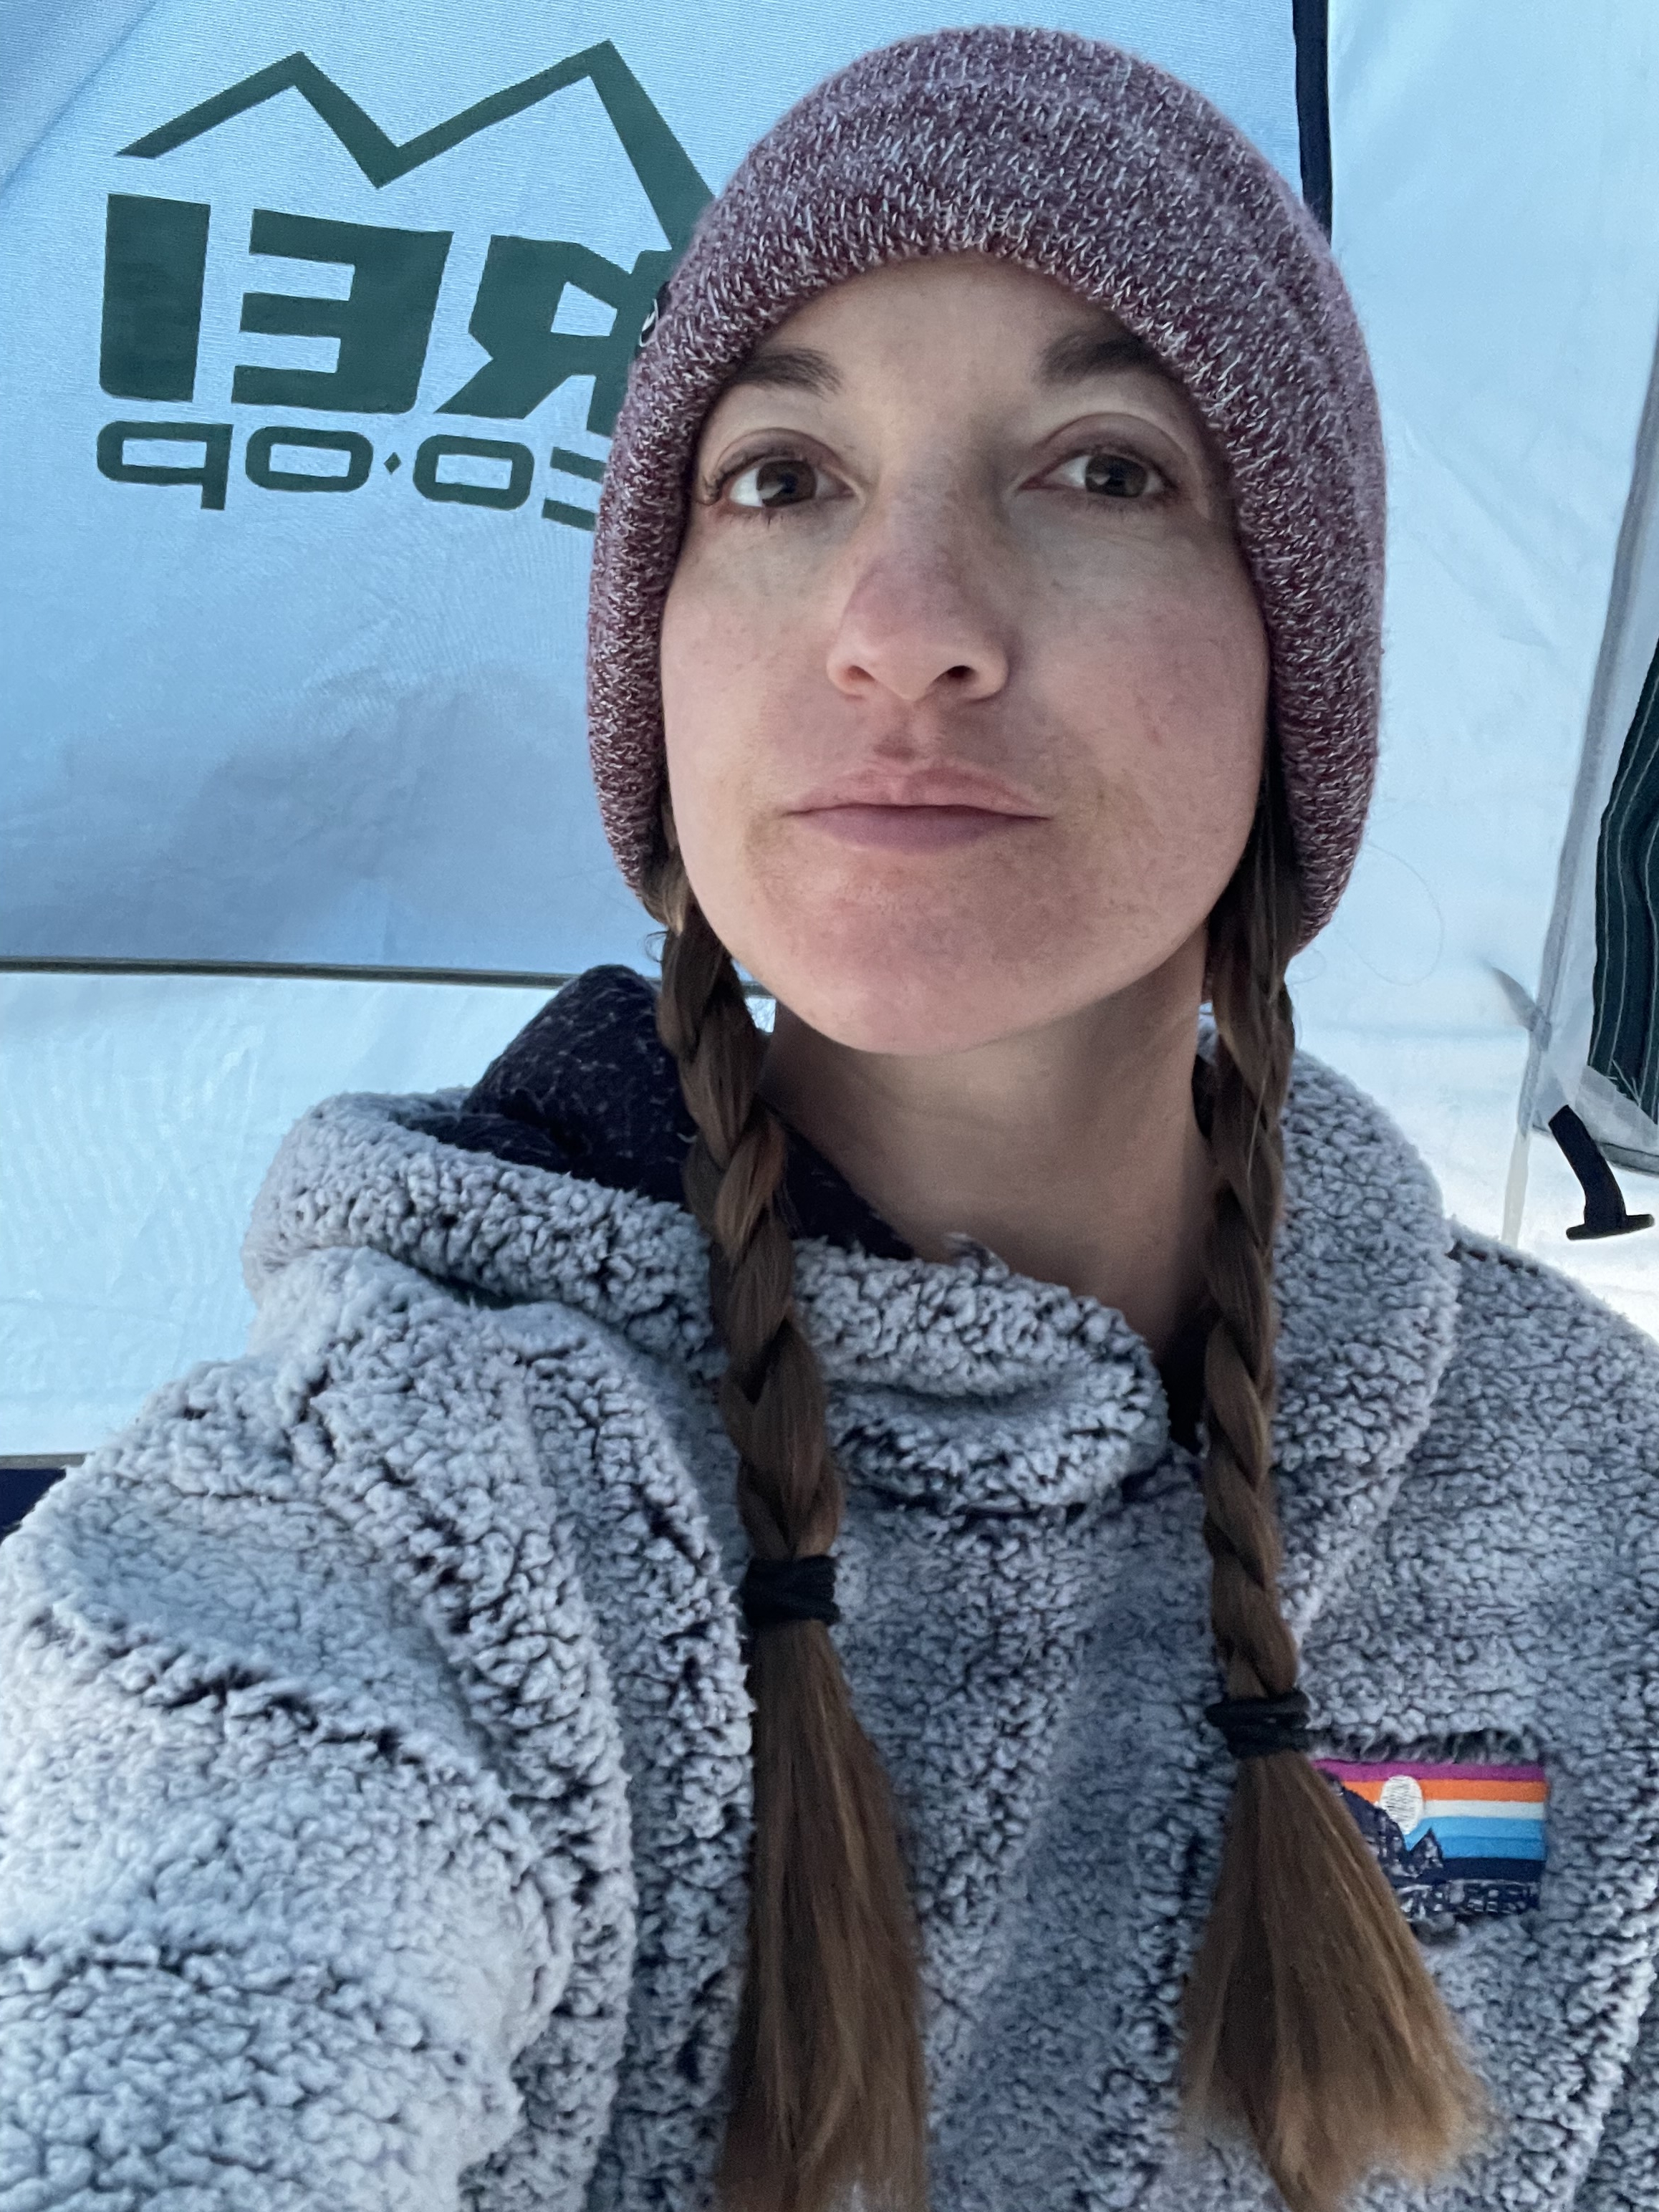
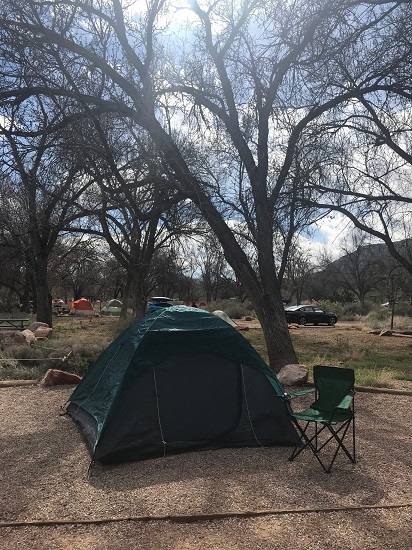
Quite literally-NOT a happy camper.

1.Sleep is essential. Get some at all cost!! I am the world’s lightest sleeper. A pin drop would wake me up. So when 40 mph winds came tunneling through the canyon, shaking and jostling my tent All. Night. Long, every night… I had a hard time with everything I did. It didn’t help that I forgot a pillow, so I bundled up my puffiest gear, but guys—a zipper or button on the face all night long doesn’t exactly feel or look grand the next day. Not mention my neck was tweaked all six ways of something special. The next day, I woke up and rode my bike 6 miles up hill to the Angel’s Landing trailhead and on other days, went hiking and driving to Kolob Canyon and drove for 1 1/2 hour to snowboard. I can say-because of lack of sleep, my motivation and patience was at an all time low, like I had never seen before. Not a good feeling to have.

bike, firewood, snowboard and camping gear all piled in the back of a car

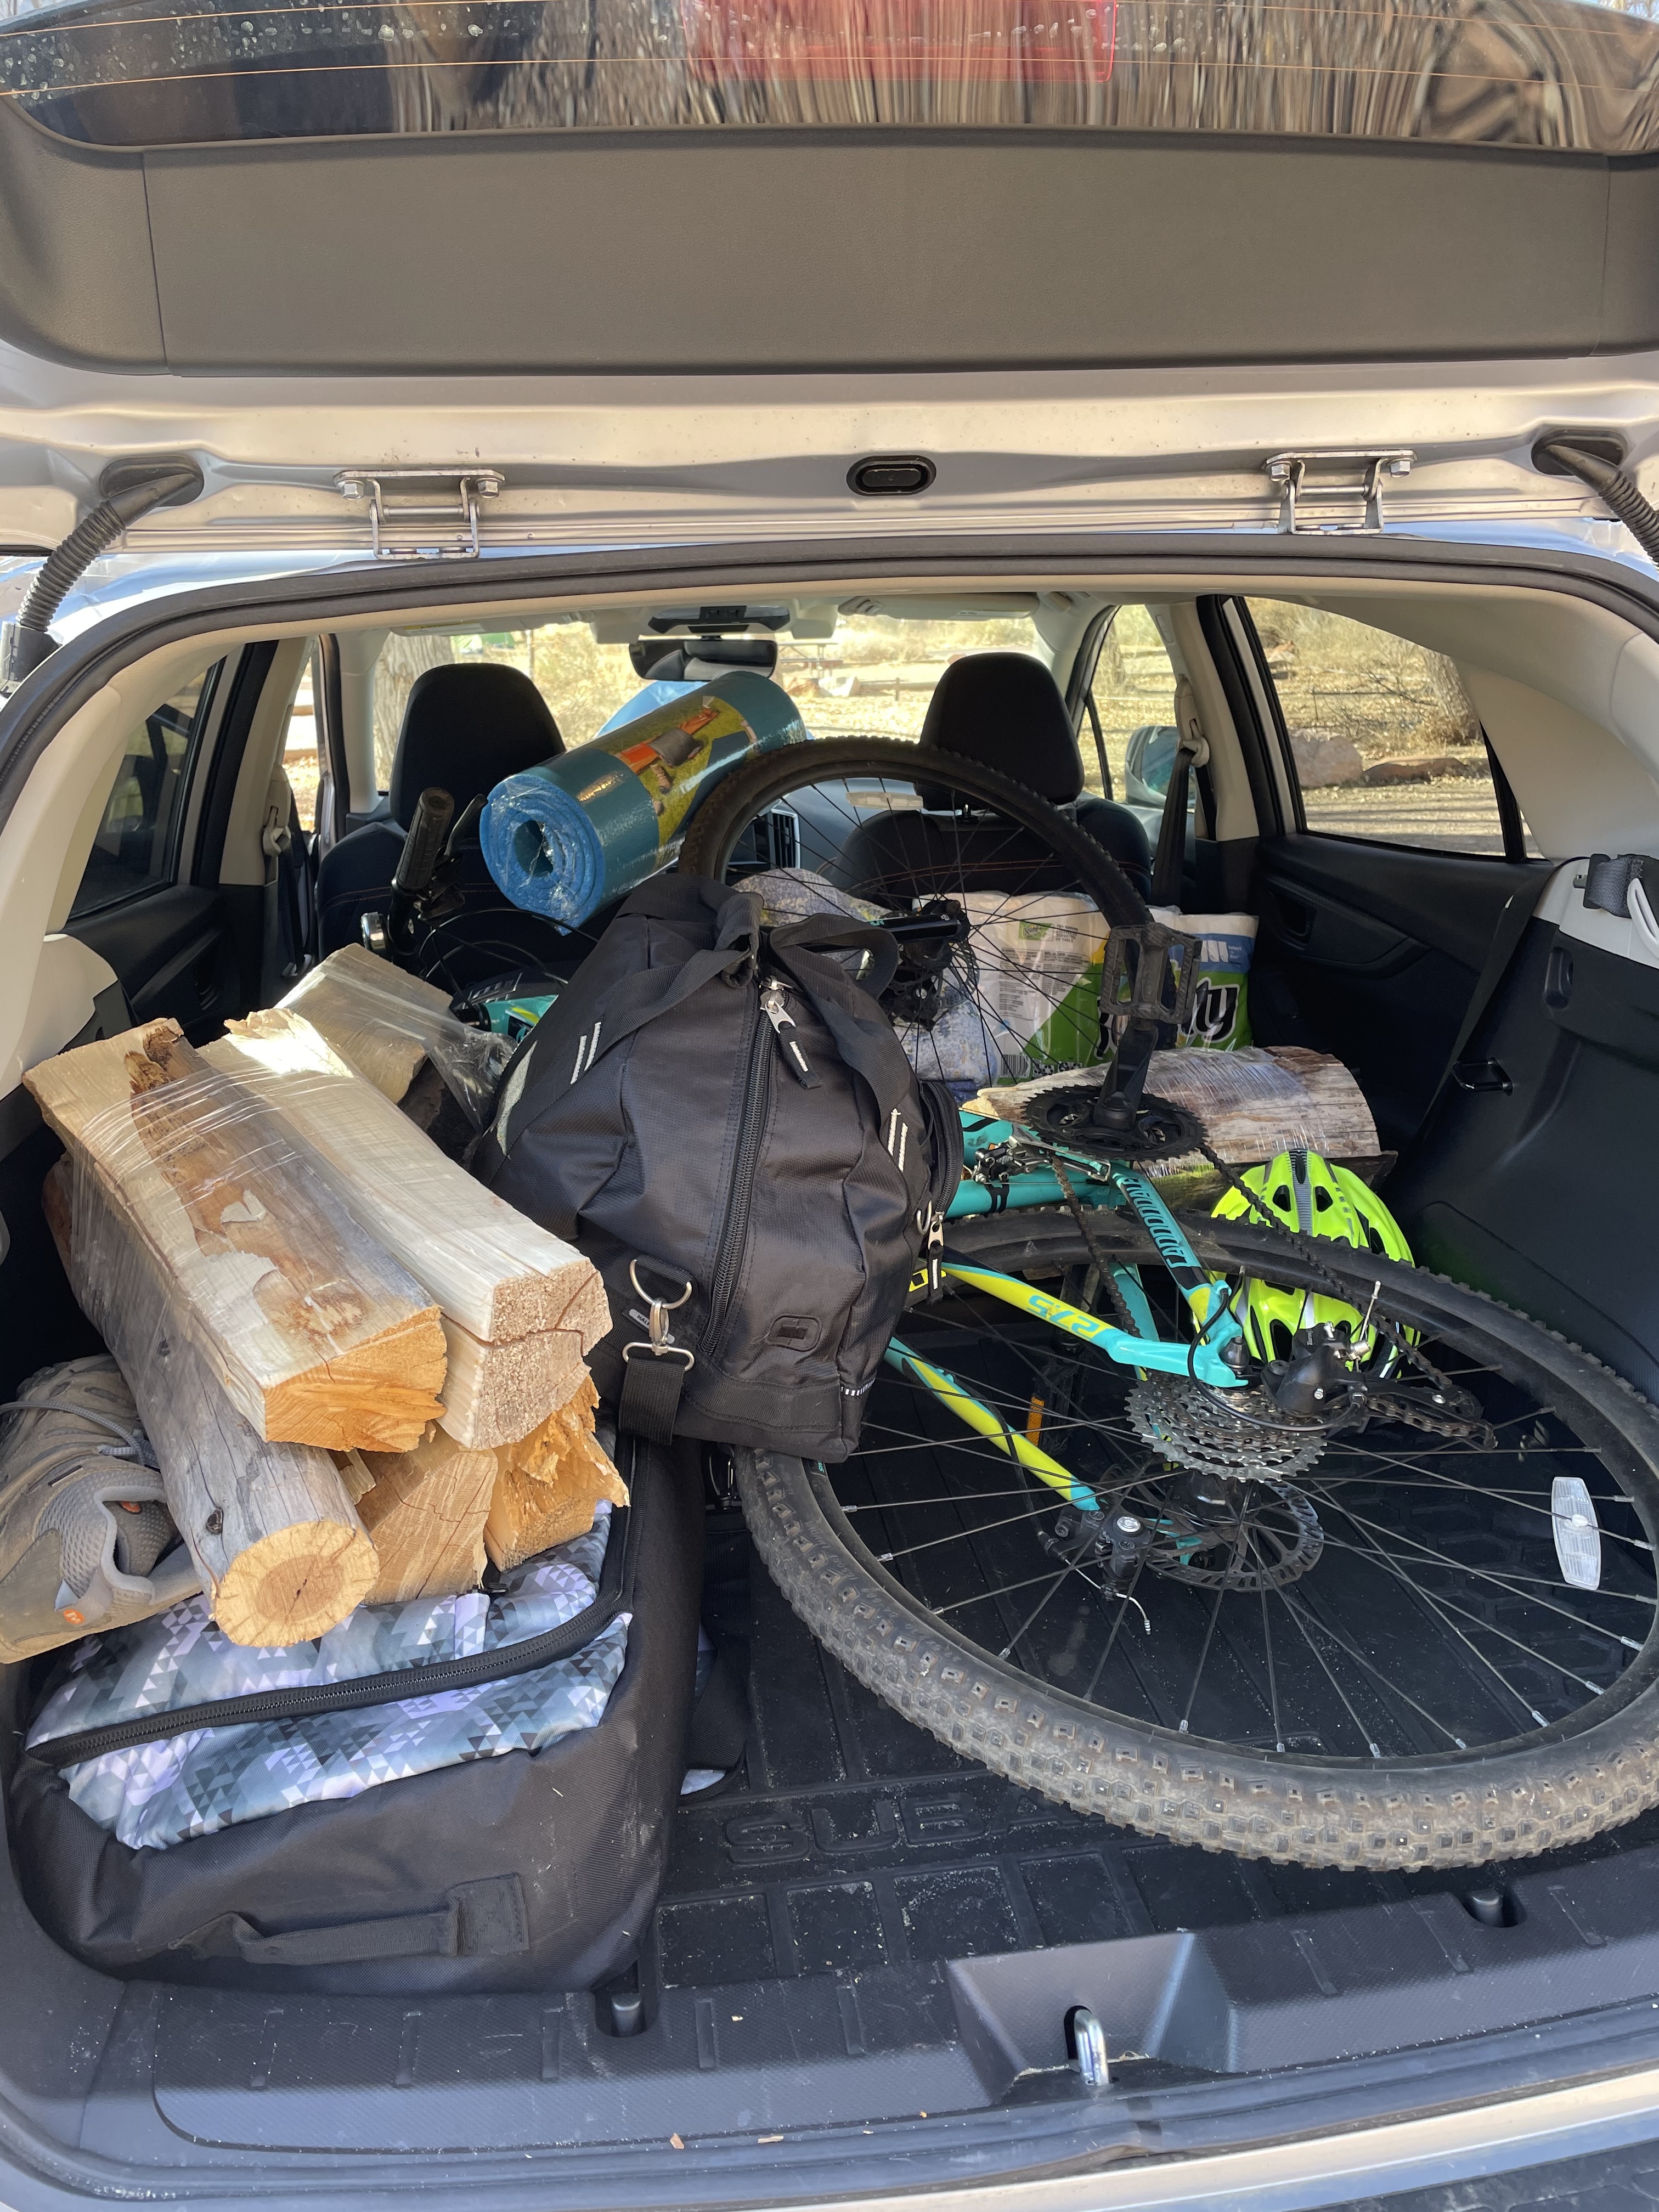
If you look close enough, you can see a kitchen sink.

2. Check your gear. The normally free Zion shuttle was charging $1 for rides and you have to book in advanced to get a ticket. Each day was completely booked and full, but I will add that you can find tickets at the last minute, but my phone didn’t have a great signal, so I brought my bike.
I didn’t know until I was about a mile biking into the canyon on the Pa’rus, but my tires were flat and I was beginning to wonder why I felt so out of shape. Fortunately, I met this nice couple on the trail & they kindly filled up my tires and, already winded, I was on my way a lot faster. It really is a beautiful ride, I highly recommend, but make sure to bring proper gear, like a bike pump.

3. Hydration. Hydration. Hydration. Sometimes when it’s colder, we might forget to drink water, but it’s imperative to do so, especially if you plan to do a strenuous bike/hike and it’s a desert climate. I was so focused on getting to the trailhead, I also forgot to drink water.

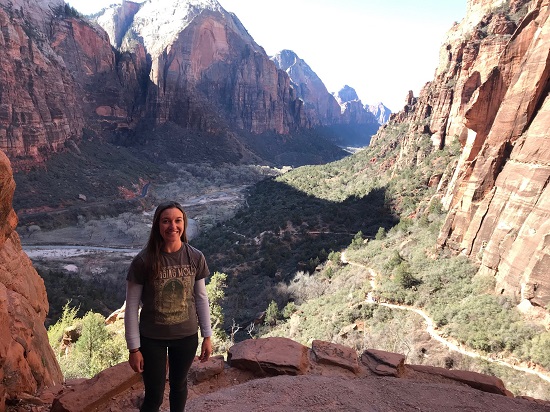
It was late in the day when I finished my 6-mile bike ride & started at the trail (around 11:00 am) and there were a crapton of people. No sleep combined with minimal water and beautiful nature distractions and my literal insatiable determination had me sending one foot in front of the other up the trail. I wanted to get to the top of Angel’s Landing around 1:30 so I could eat something. Why didn’t I eat something before hiking? The crowds + stupid COVID were making me nervous, so my mind was focused on completing the trail and catching the views…and eating my tasty sandwich at the peak, of course.

waterfall and a tree hanging over the water

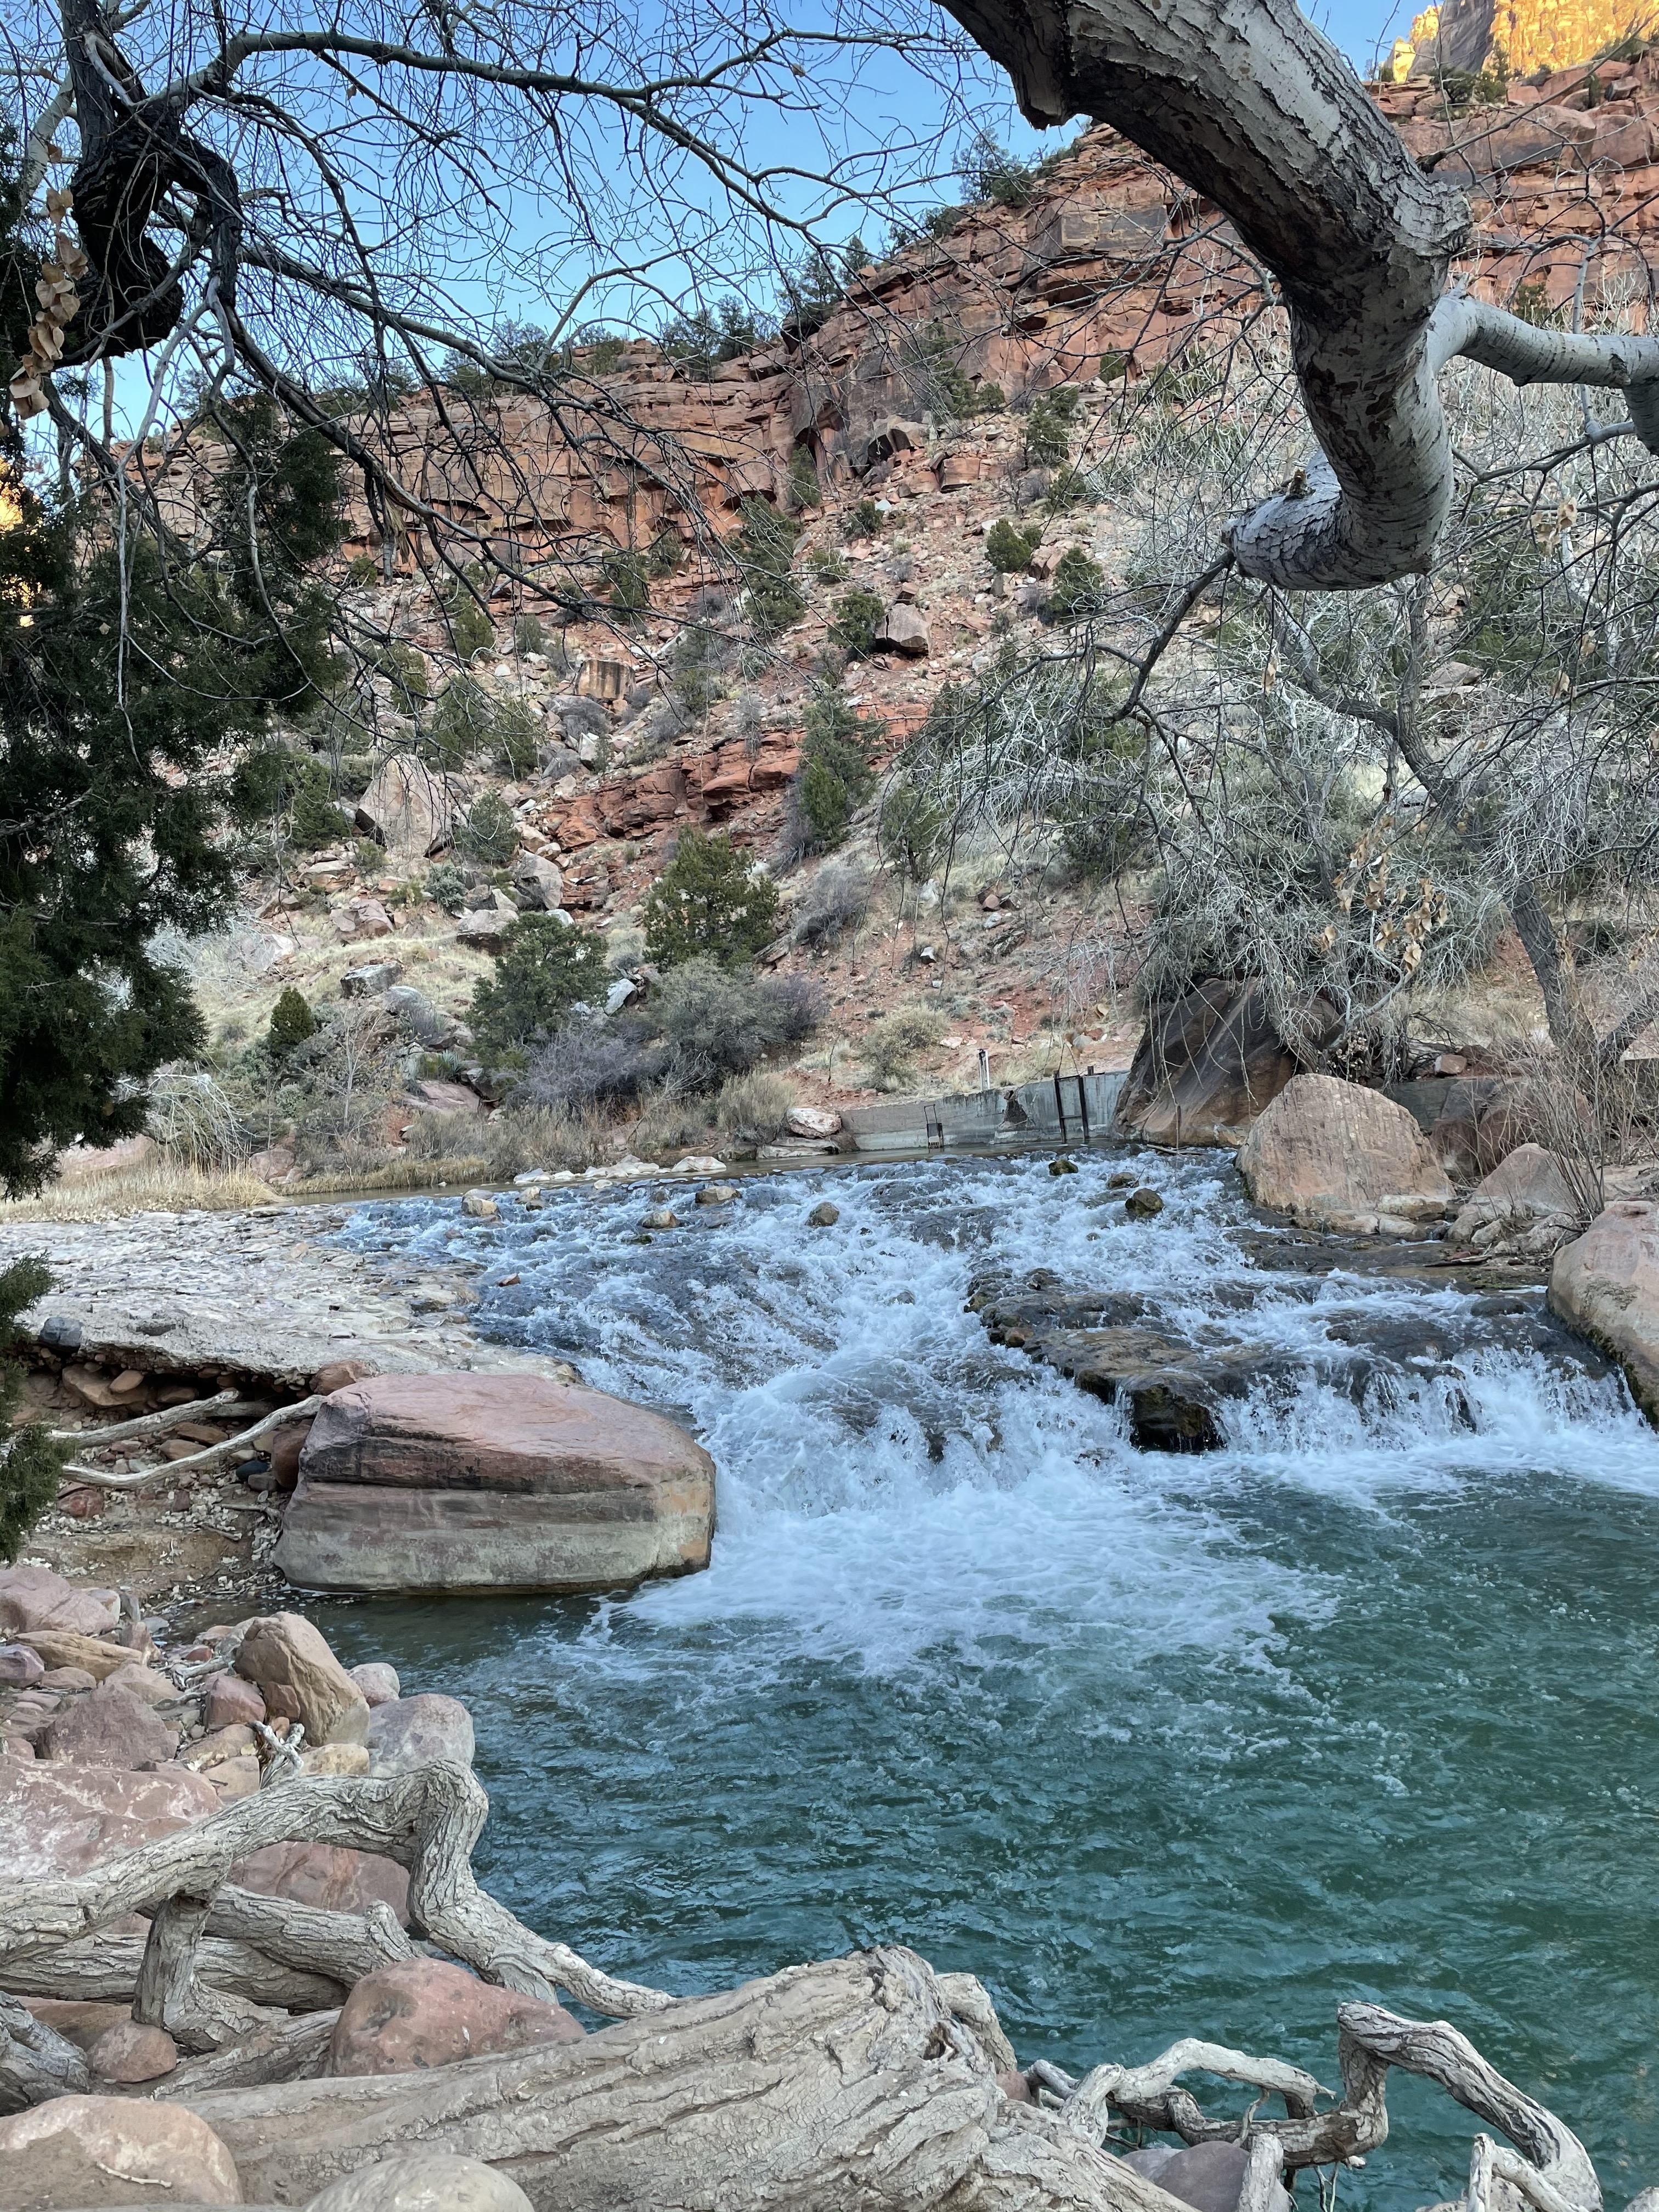
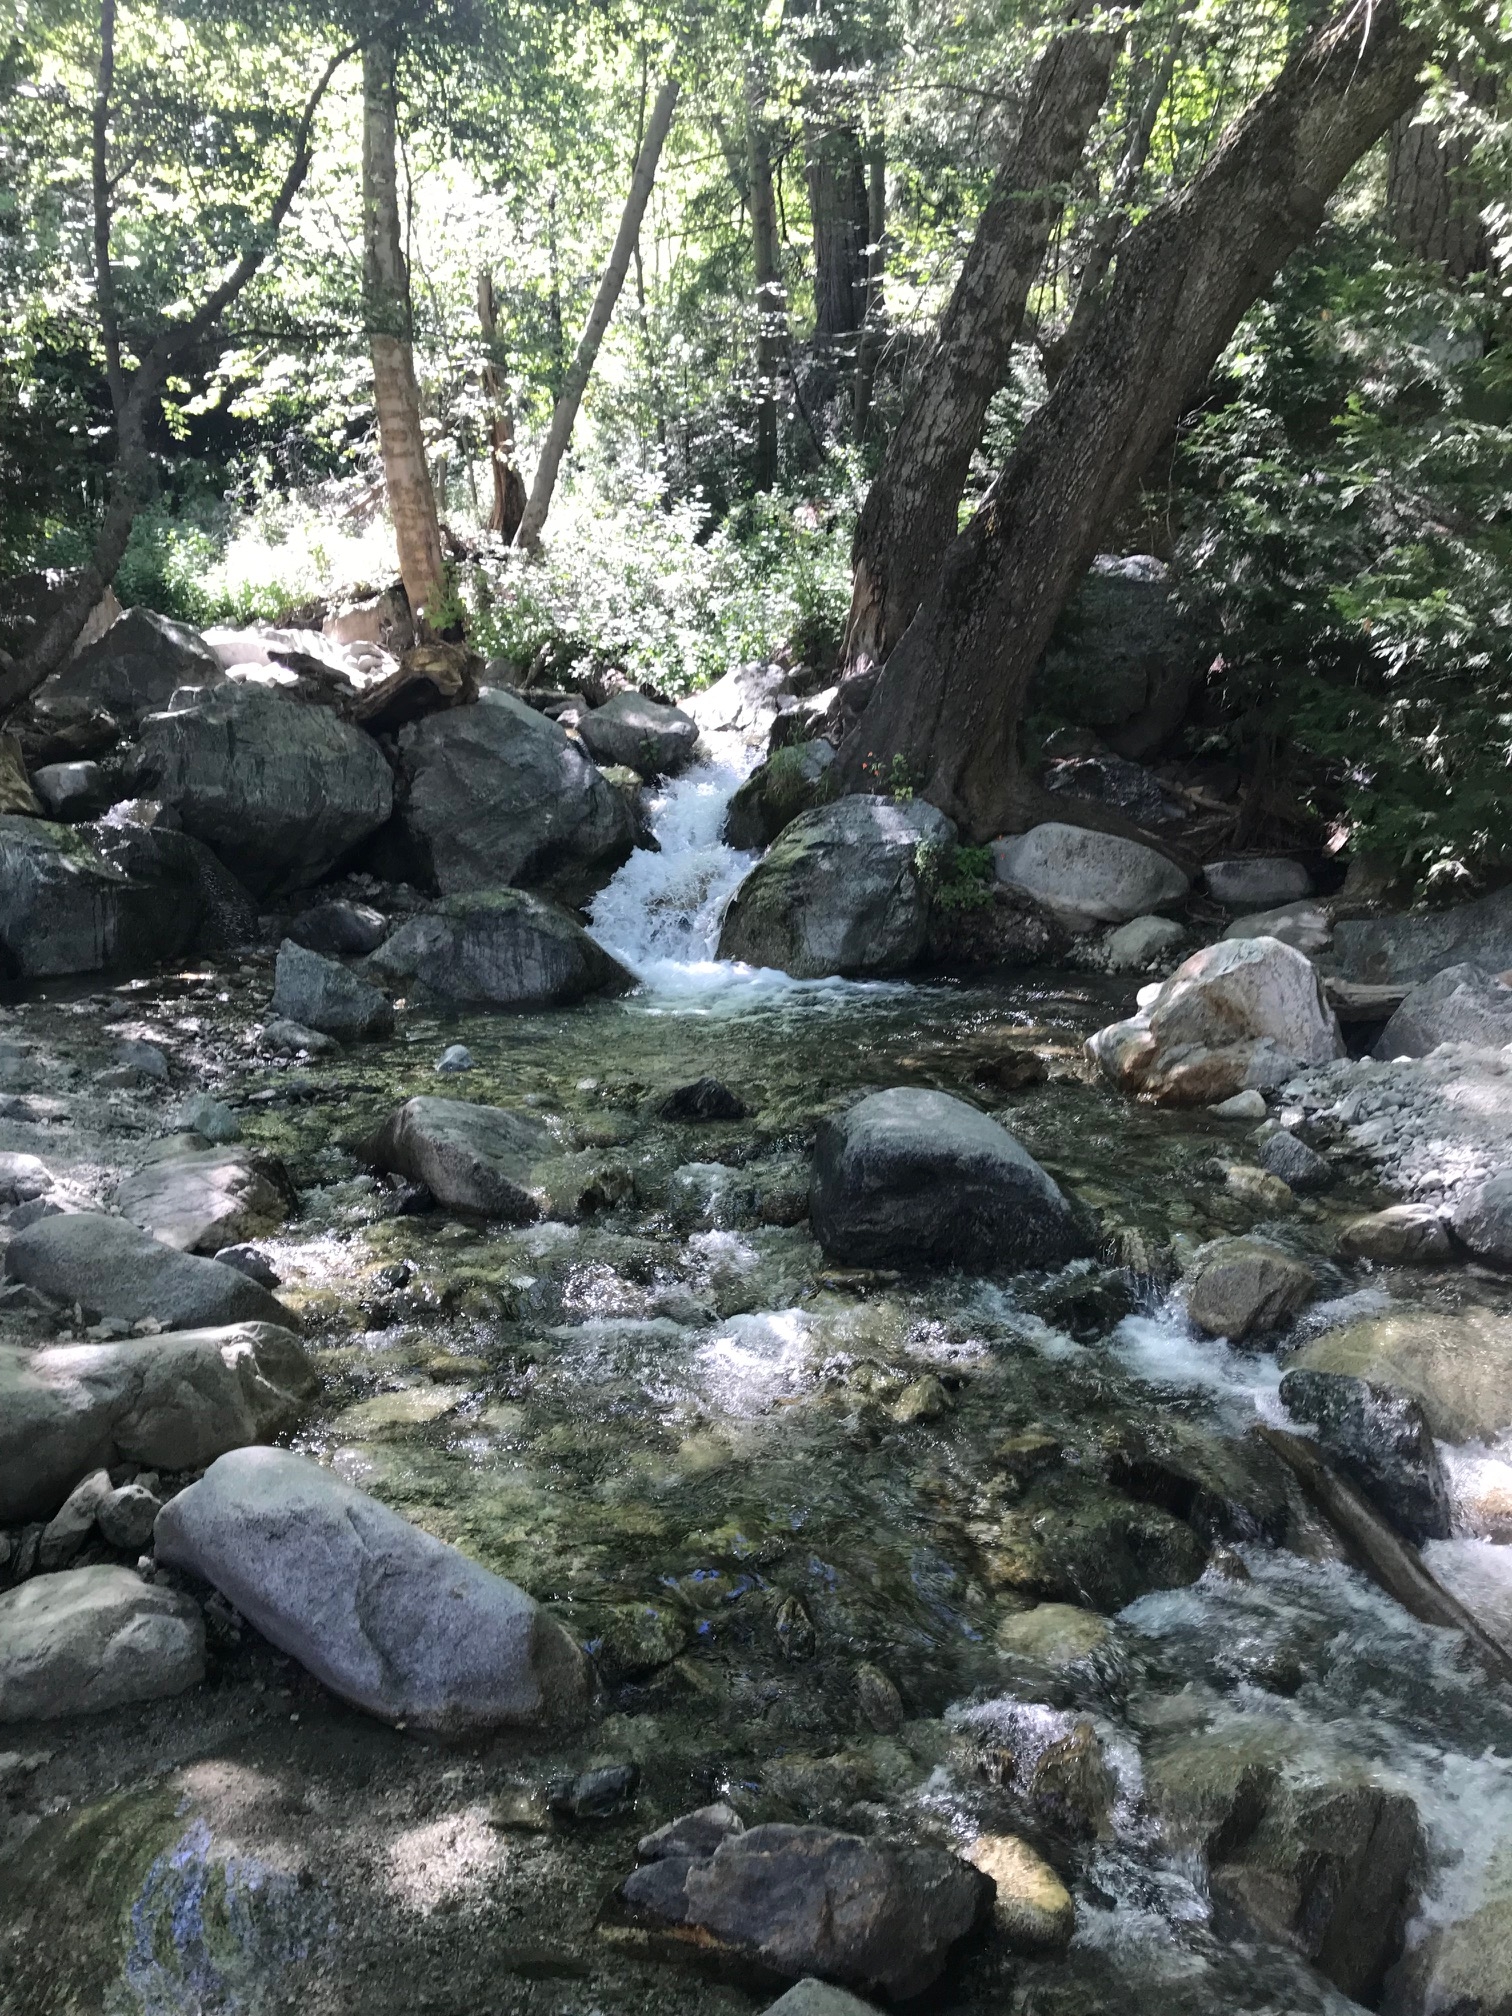
Don’t drink the water! The beautiful Virgin River ain’t too pure, lots of signs everywhere warning you why.

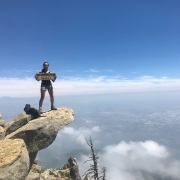
By the time I got to the beginning of Angel’s Landing (the last quarter mile of the West Rim Trail), I heard that someone had fallen off that morning and died and they just reopened the trail. I still went for it. Fuck it. I thought. I think my mentality wasn’t all there because I was pissed off at the world for the unimaginable crowds, the pandemic and the poor person who fell off that morning. Fuck it fuck it fuck it. I’m going.

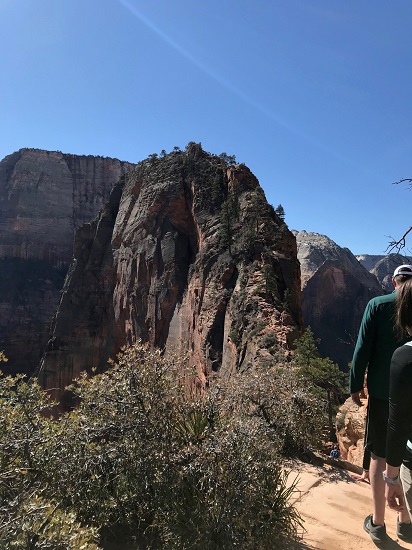
Mindlessly, I proceeded down the spine and clasped the chains. Not shortly into my climb, I slipped and went a-sliding and made a family totally panic. (Sorry, guys) and still thought -fuck it. I continued to go forth, my nerves making me forget to drink water. Even though my stare was mostly straight forward, I still got dizzy with head rushes. By the last couple hundred yards before the official peak, I got so dizzy, I had to sit down. And yea, I was in between hyperventilating and tears when this lovely gal from LA who was climbing behind me, immediately came to my rescue. She sat with me and gave me some electrolyte powder, which I straight shotgunned into my throat and immediately felt like I was foaming at the mouth. Her and her group adopted me and I was so thankful they did. So, nice folks in LA DO exist. :) Before my 6-mile bike ride back to camp, we all shared some margaritas and stories, hydration be damned.

rocks in Utah

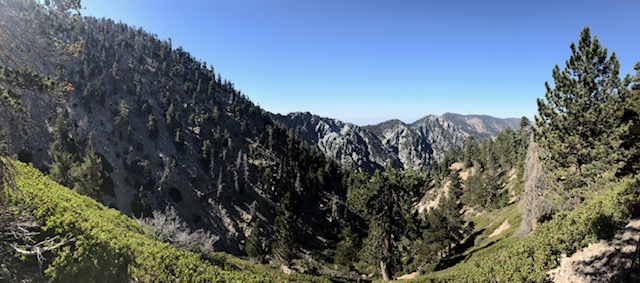
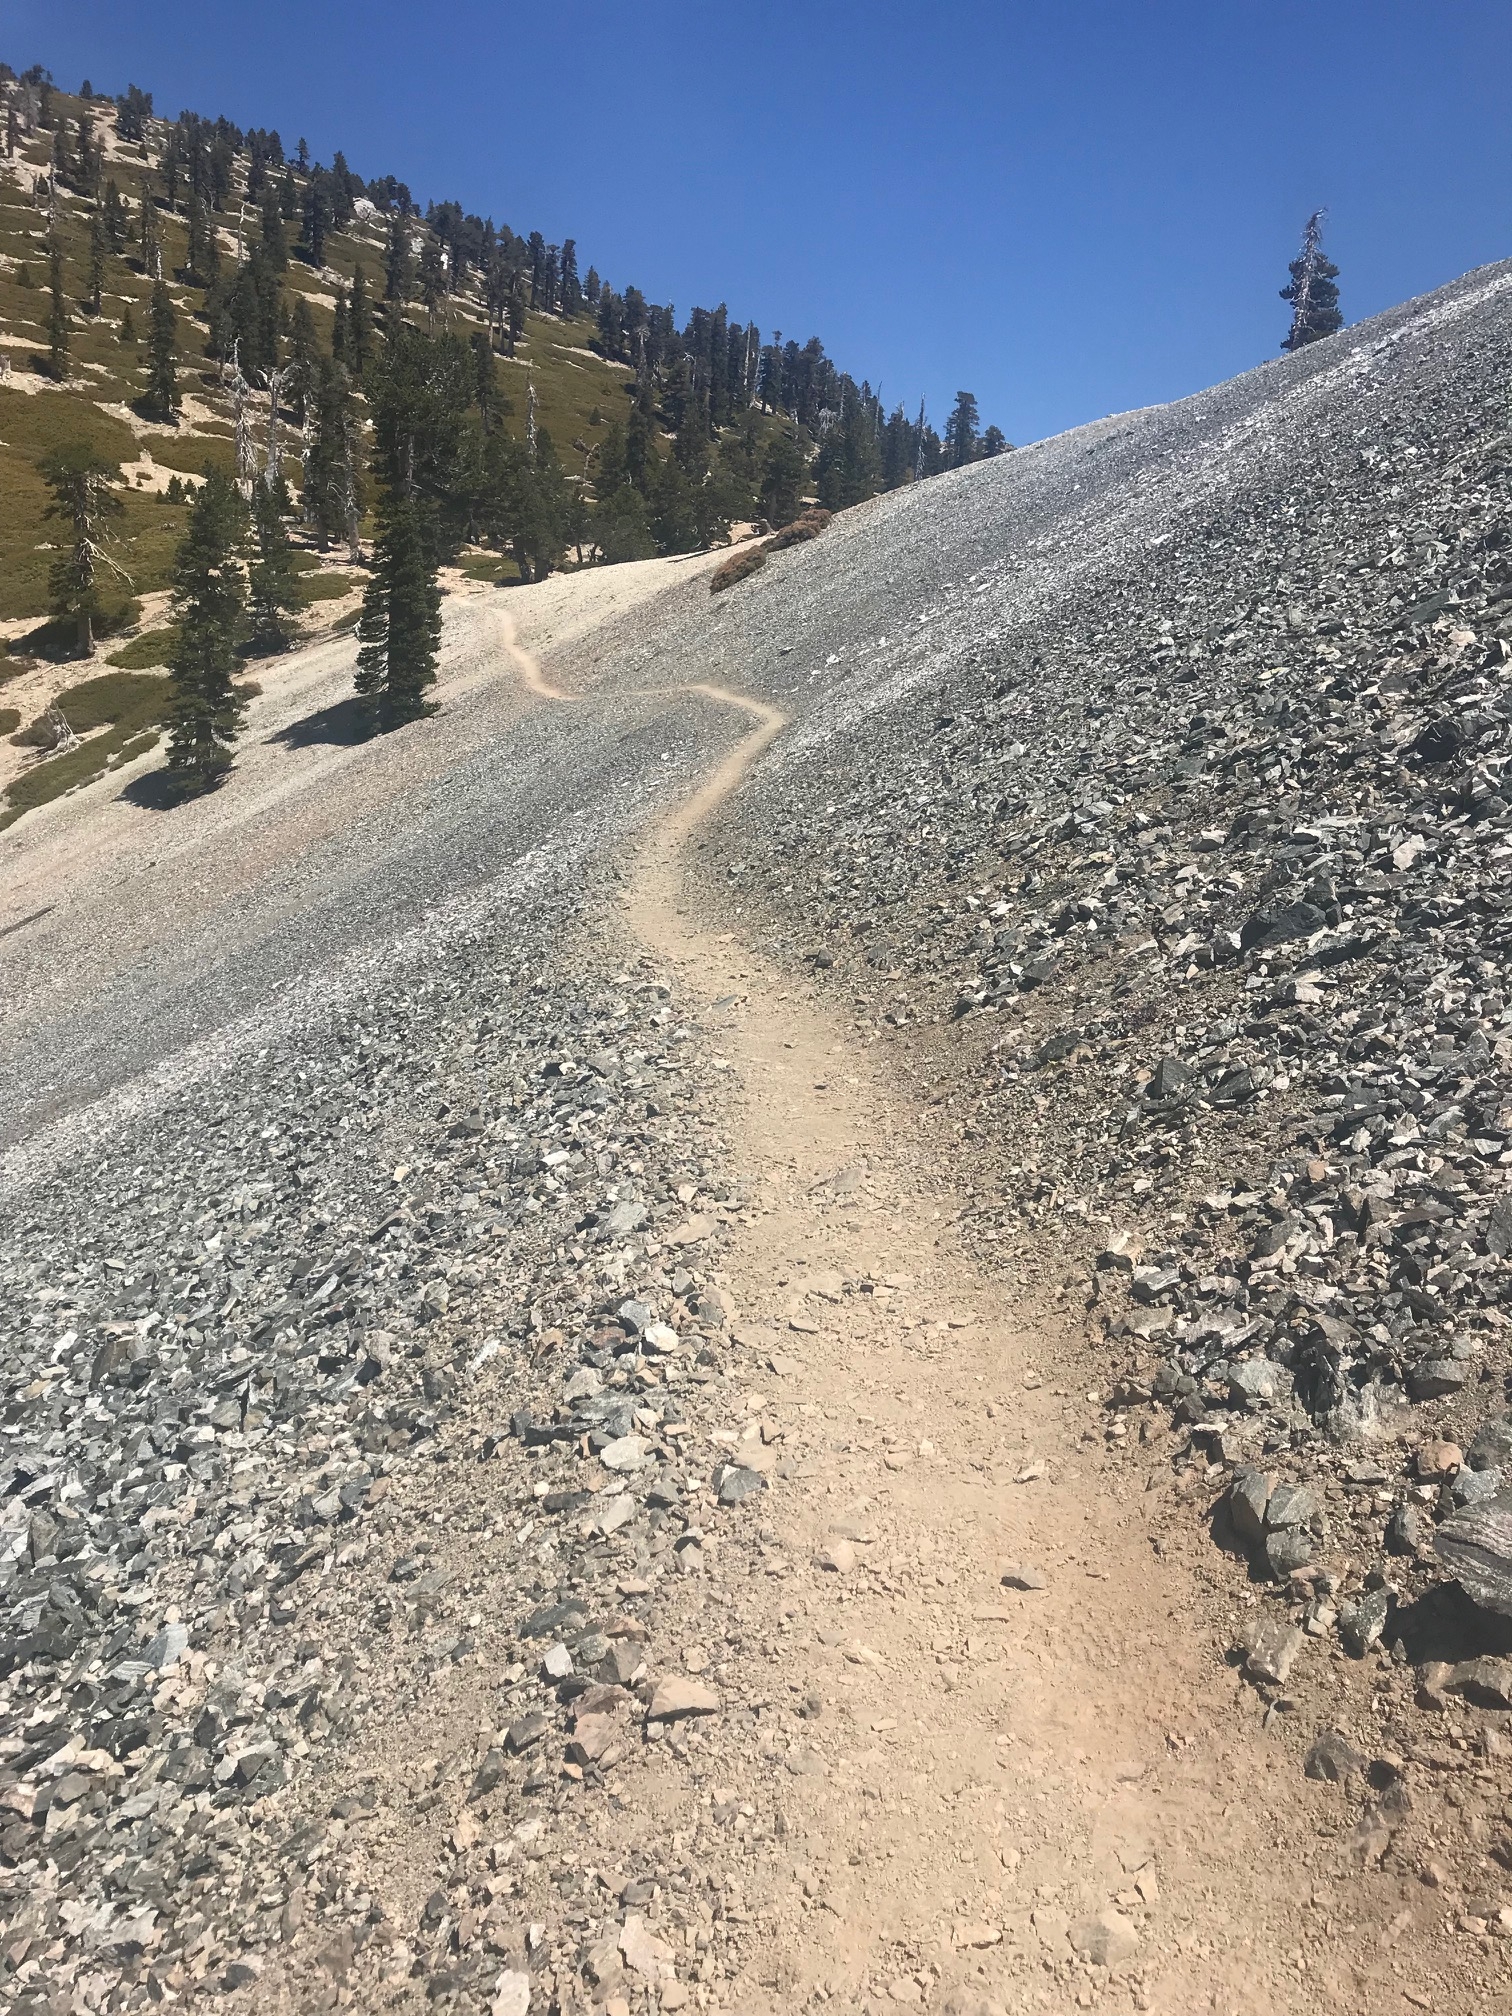
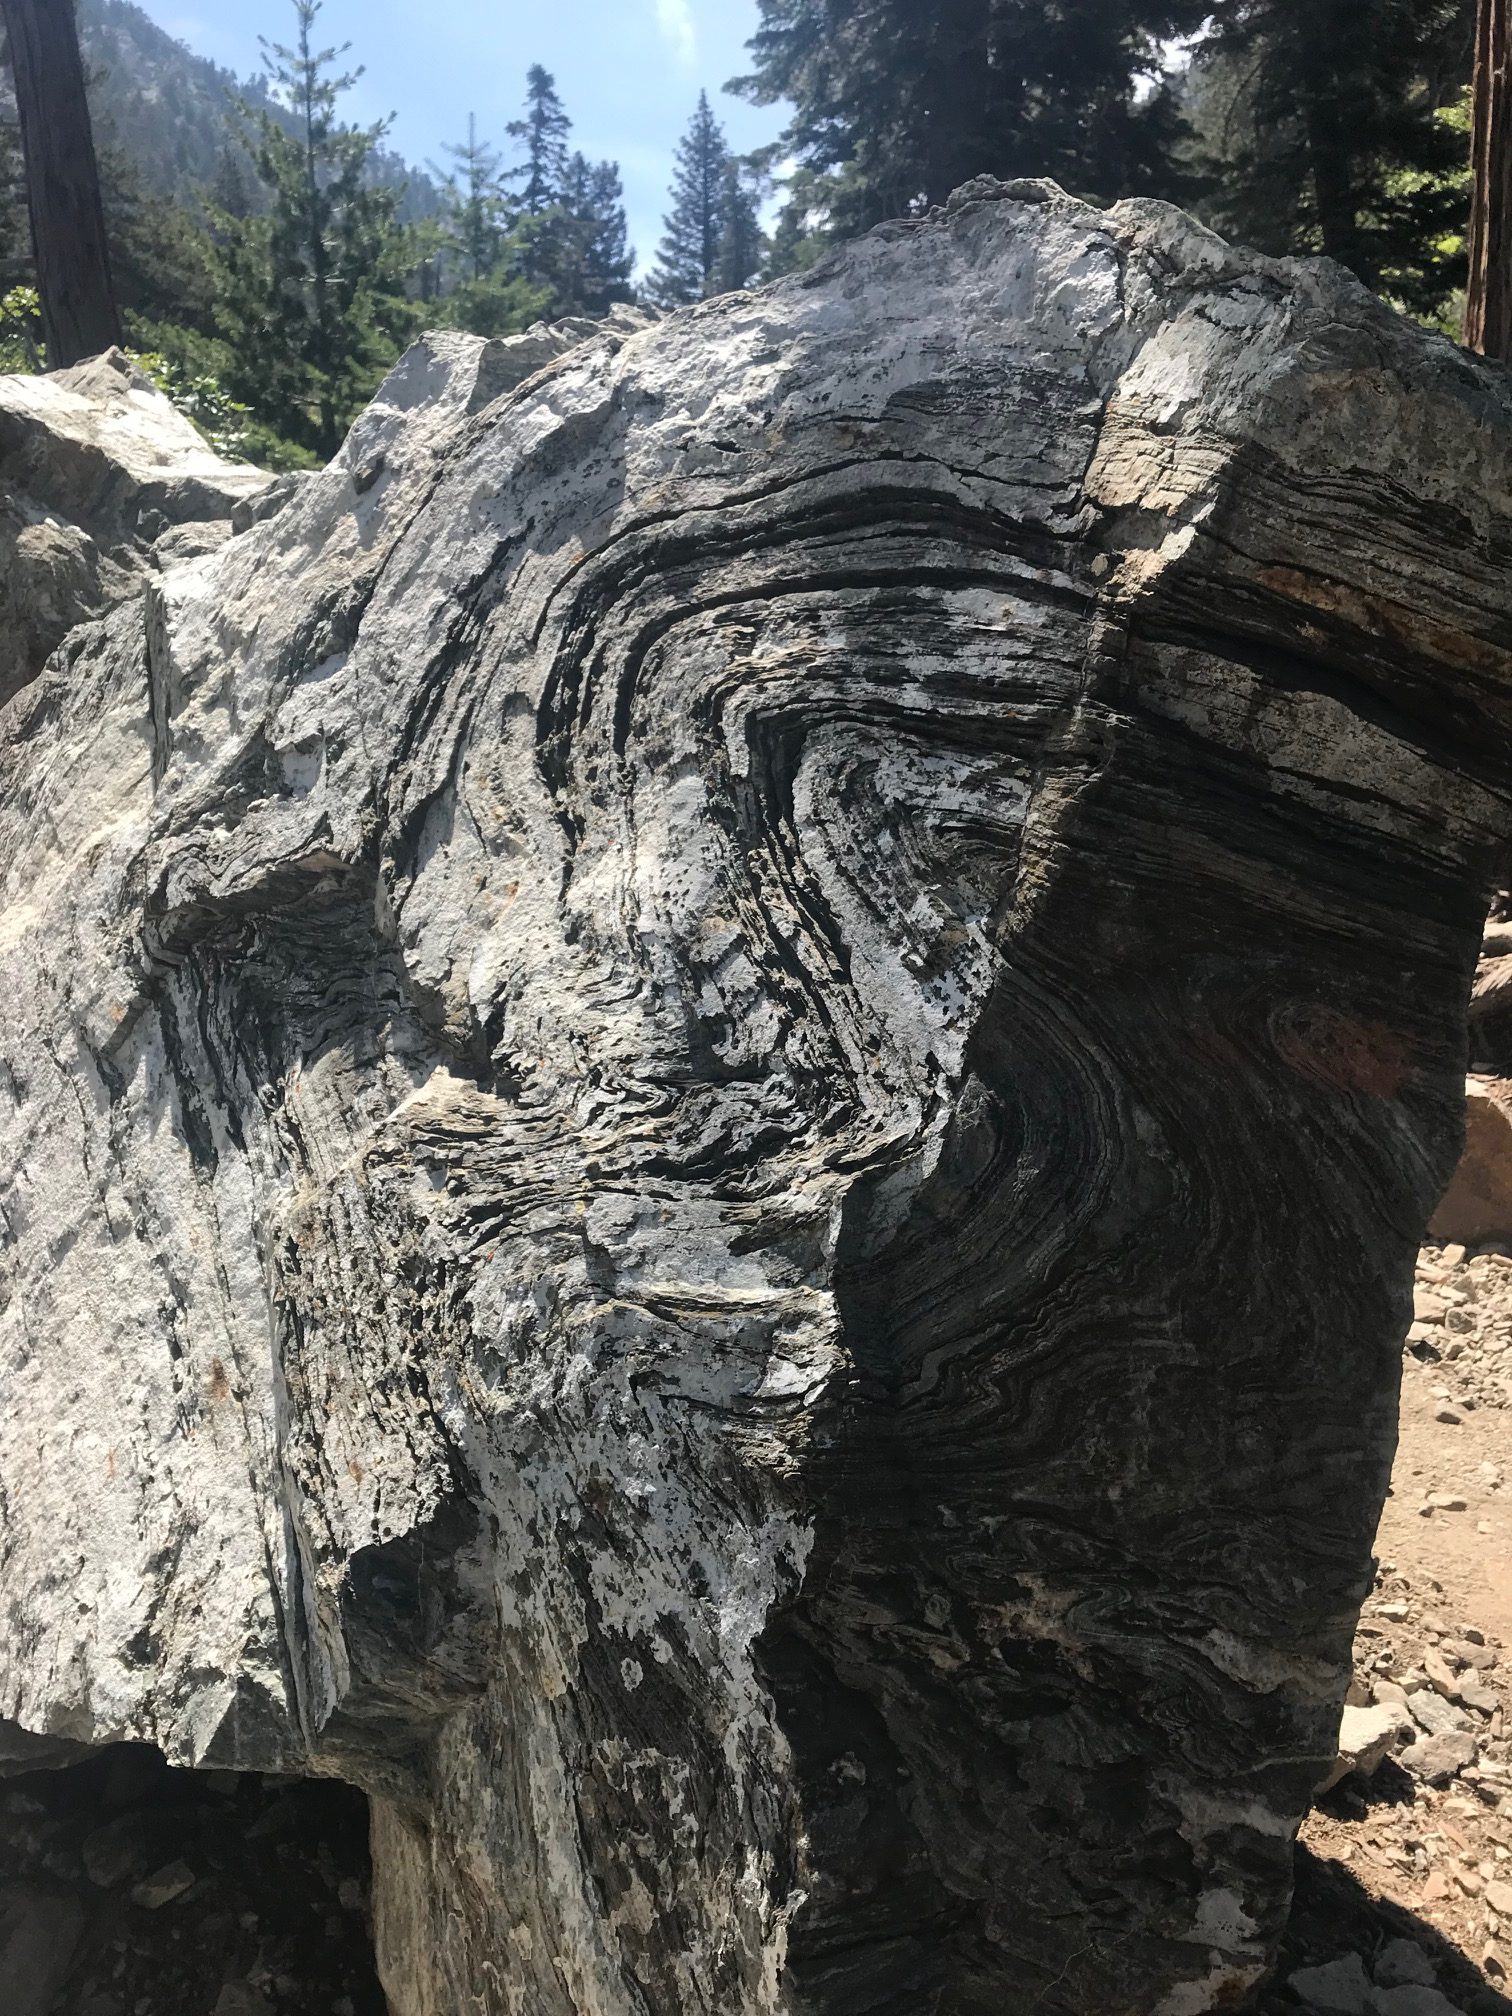
Rocks stand high in the sky, you know how I feel…

4. Eat real FOOD. Maybe I haven’t gotten this camping thing down 100 percent, but I brought dehydrated meals to save on space and to get what I thought was adequate protein. I also brought fresh fruit and snacks for daaaays and plenty of protein bars. After day 2 of dehydrated meals for dinner as well as snacks, sandwiches and fruit, my body wasn’t having it anymore. I couldn’t make myself eat any of my stuff, honestly because all I could think about were eggs, hash browns, bacon and toast with tea or coffee. As I left Zion, I got exactly that at Oscar’s Cafe in Springdale and I could feel my body doing a little happy dance in between bites.

girl with sunglasses and a backpack smiles under red rocks

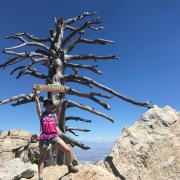
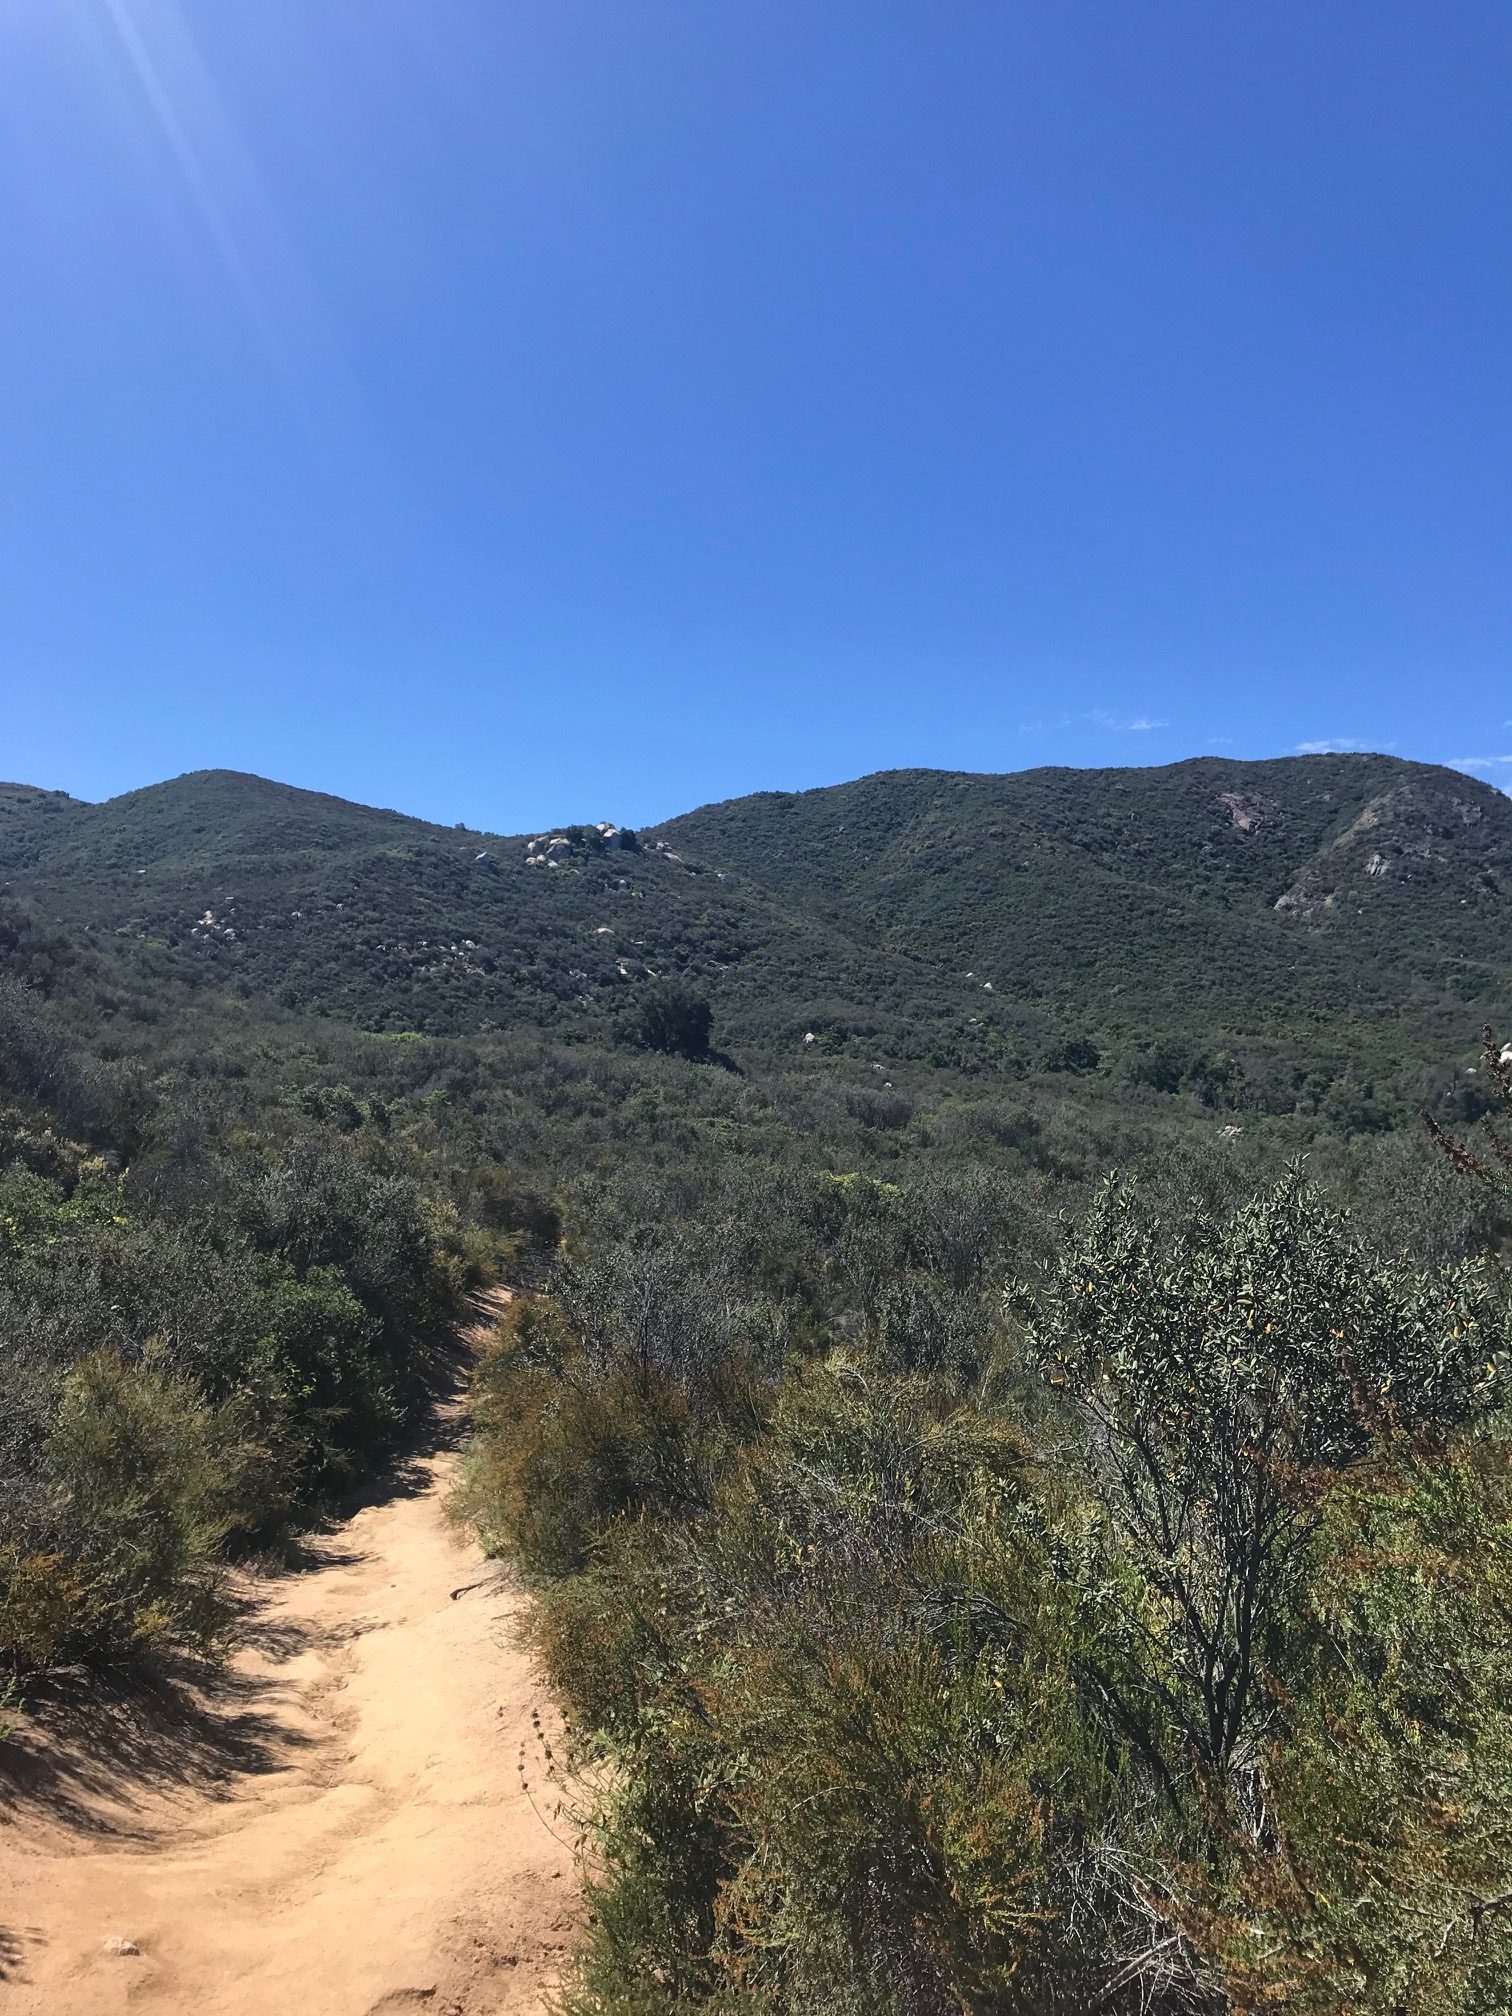
Don’t ask how I mustered that smile. All along the Watchman Trail.

5. Check yourself before you wreck yourself. With closures far and wide and the confines of stay-at-home orders, businesses biting the dust and extra safety protocols for public spaces, people are longing to get out and literally breathe fresh air …without contracting covid, of course. With all this pent up energy, I think I got ahead of myself and forgot to pause and check my mentality before pursuing my annual Zion + snowboarding trip. I was so focused on getting away and getting out…just like everyone else. And my expectations of low crowds, beautiful scenery and adventure did not match the pandemic reality. Crowds were aplenty and I’m trying to learn patience with people and the pandemic times while also looking at what I want out of trips versus what I will actually get.

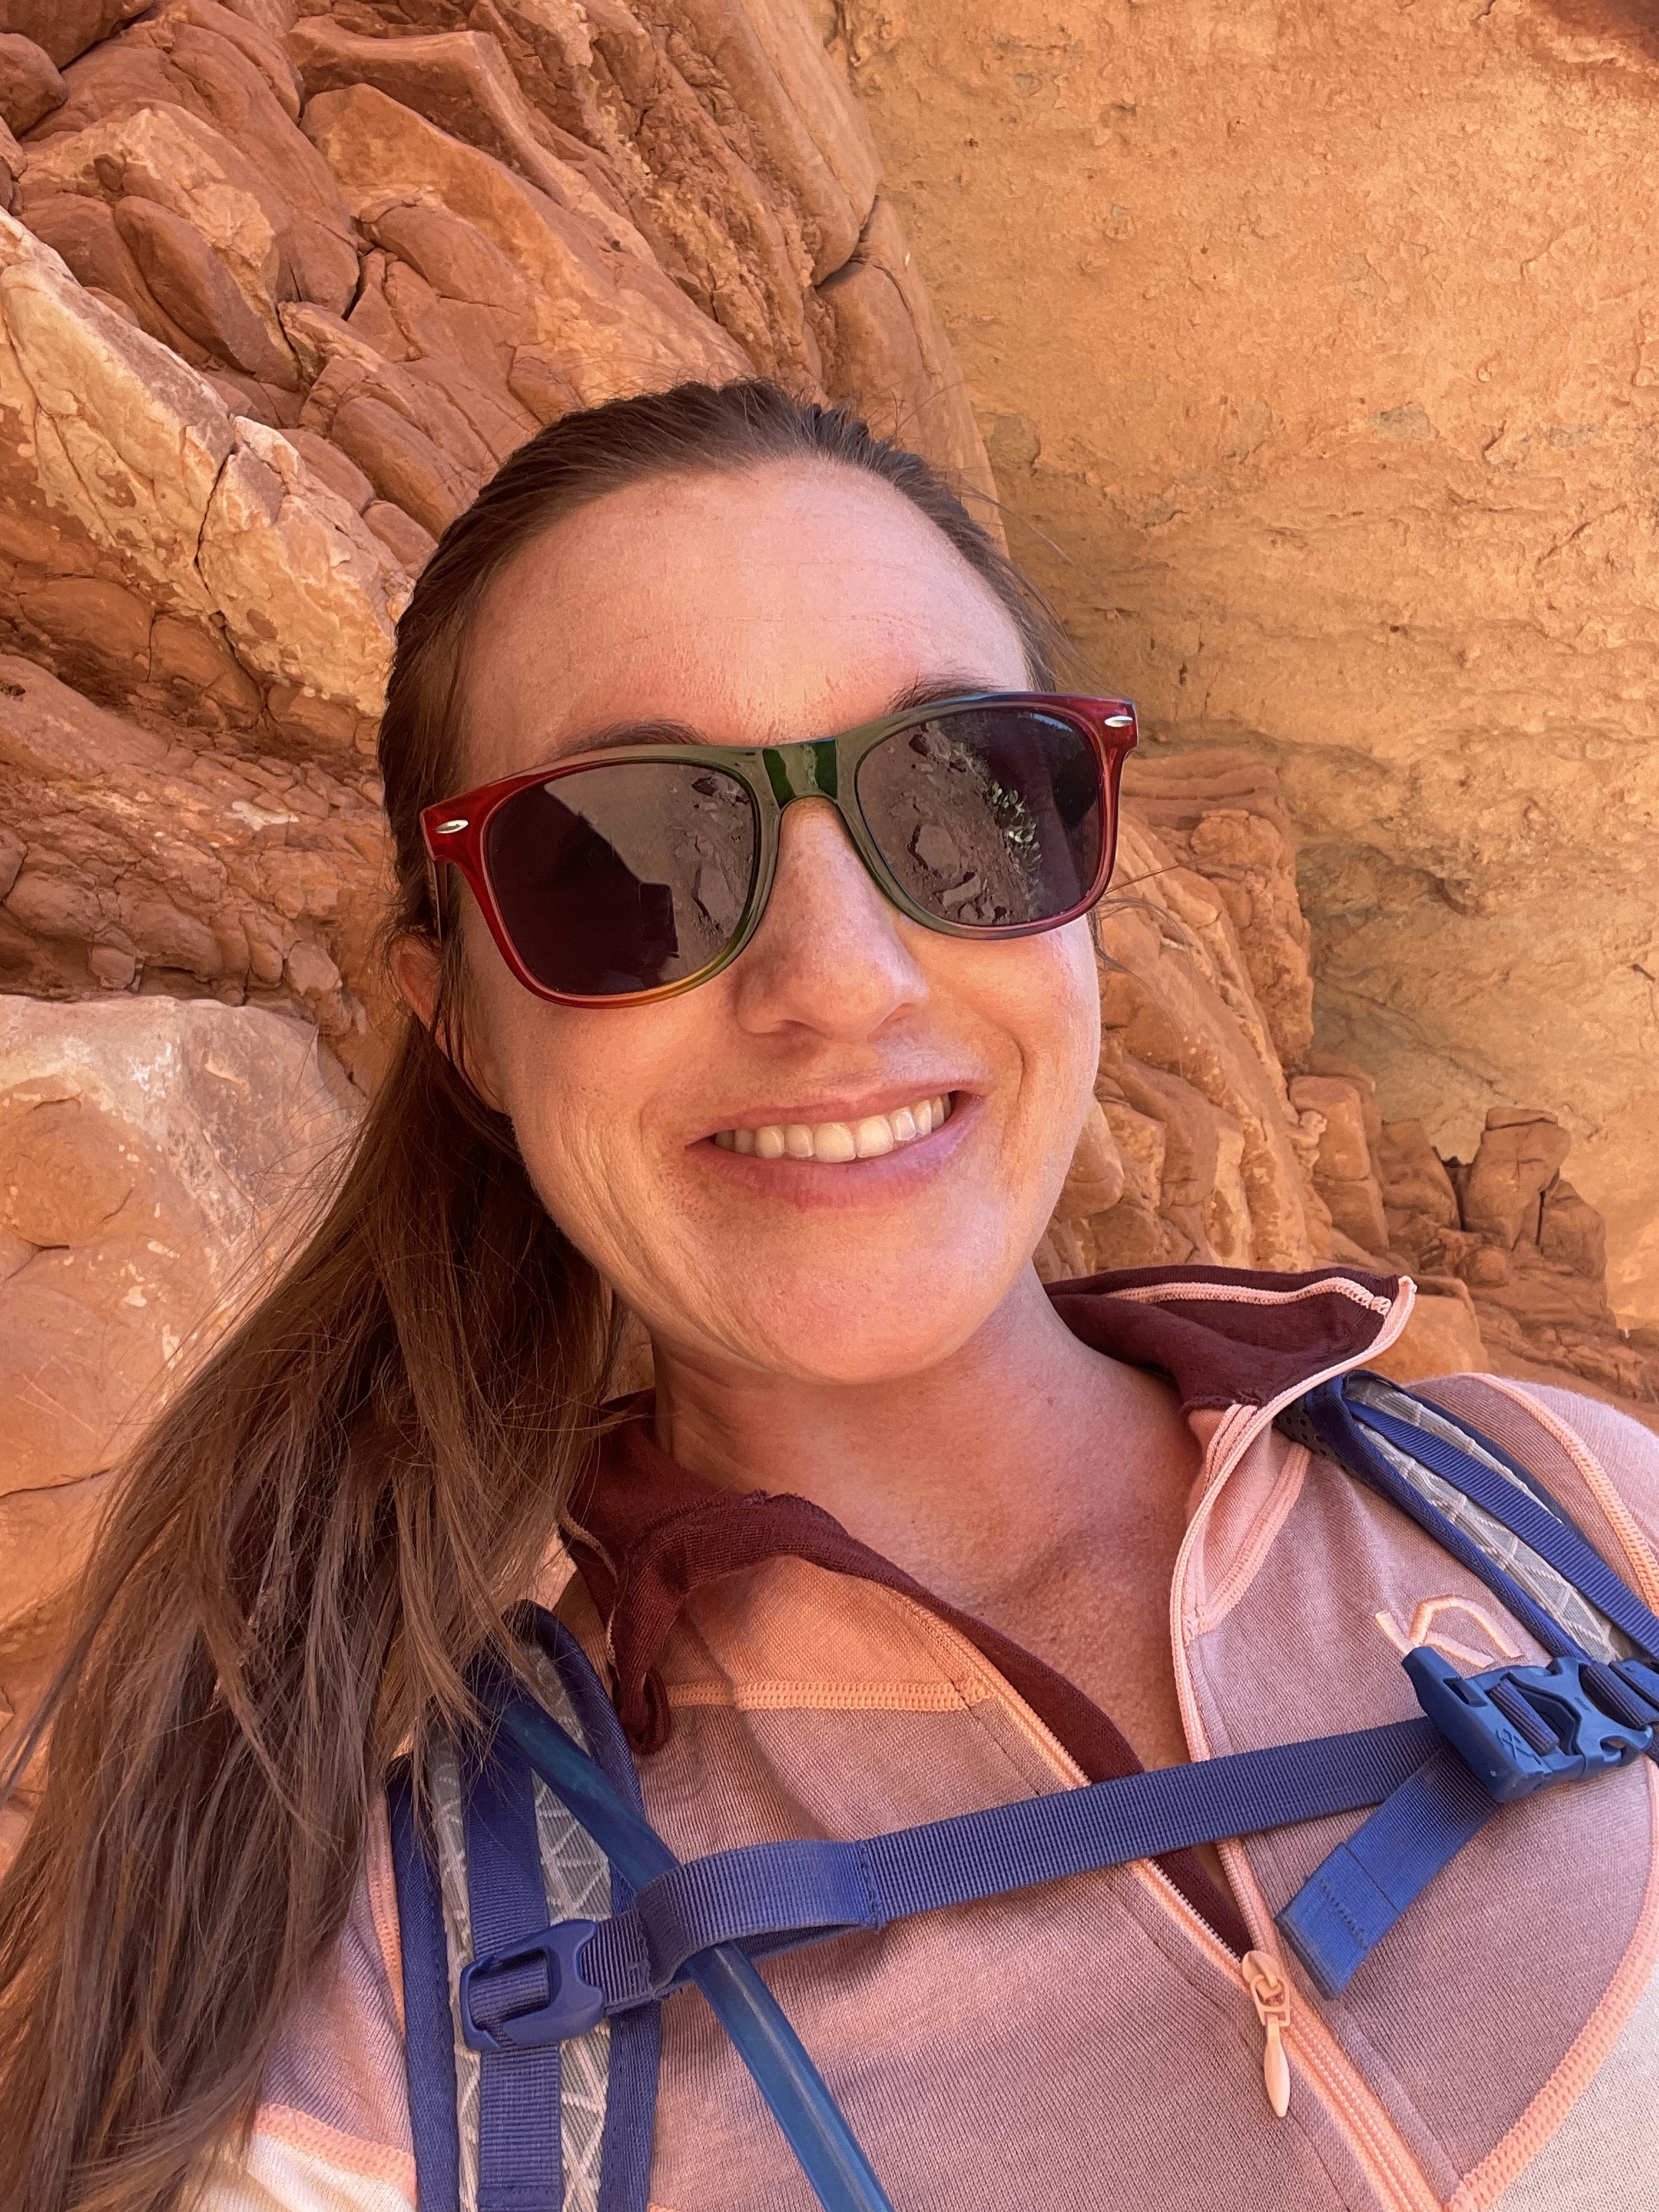
My normal positive mental attitude wasn’t 100 percent there, in case you can’t tell. :D Signs of the times were everywhere, including not only the one death but another suicide at Angel’s Landing earlier that week, crazy crowds like I’ve never seen and constant roadblocks that never used to exist. In hindsight, which, ironically, is always 2020 (haaaa), I should’ve just hiked past Angel’s Landing, found a way to get better sleep and made more of an effort to hydrate myself and eat real food.

mountain slopes covered in snow

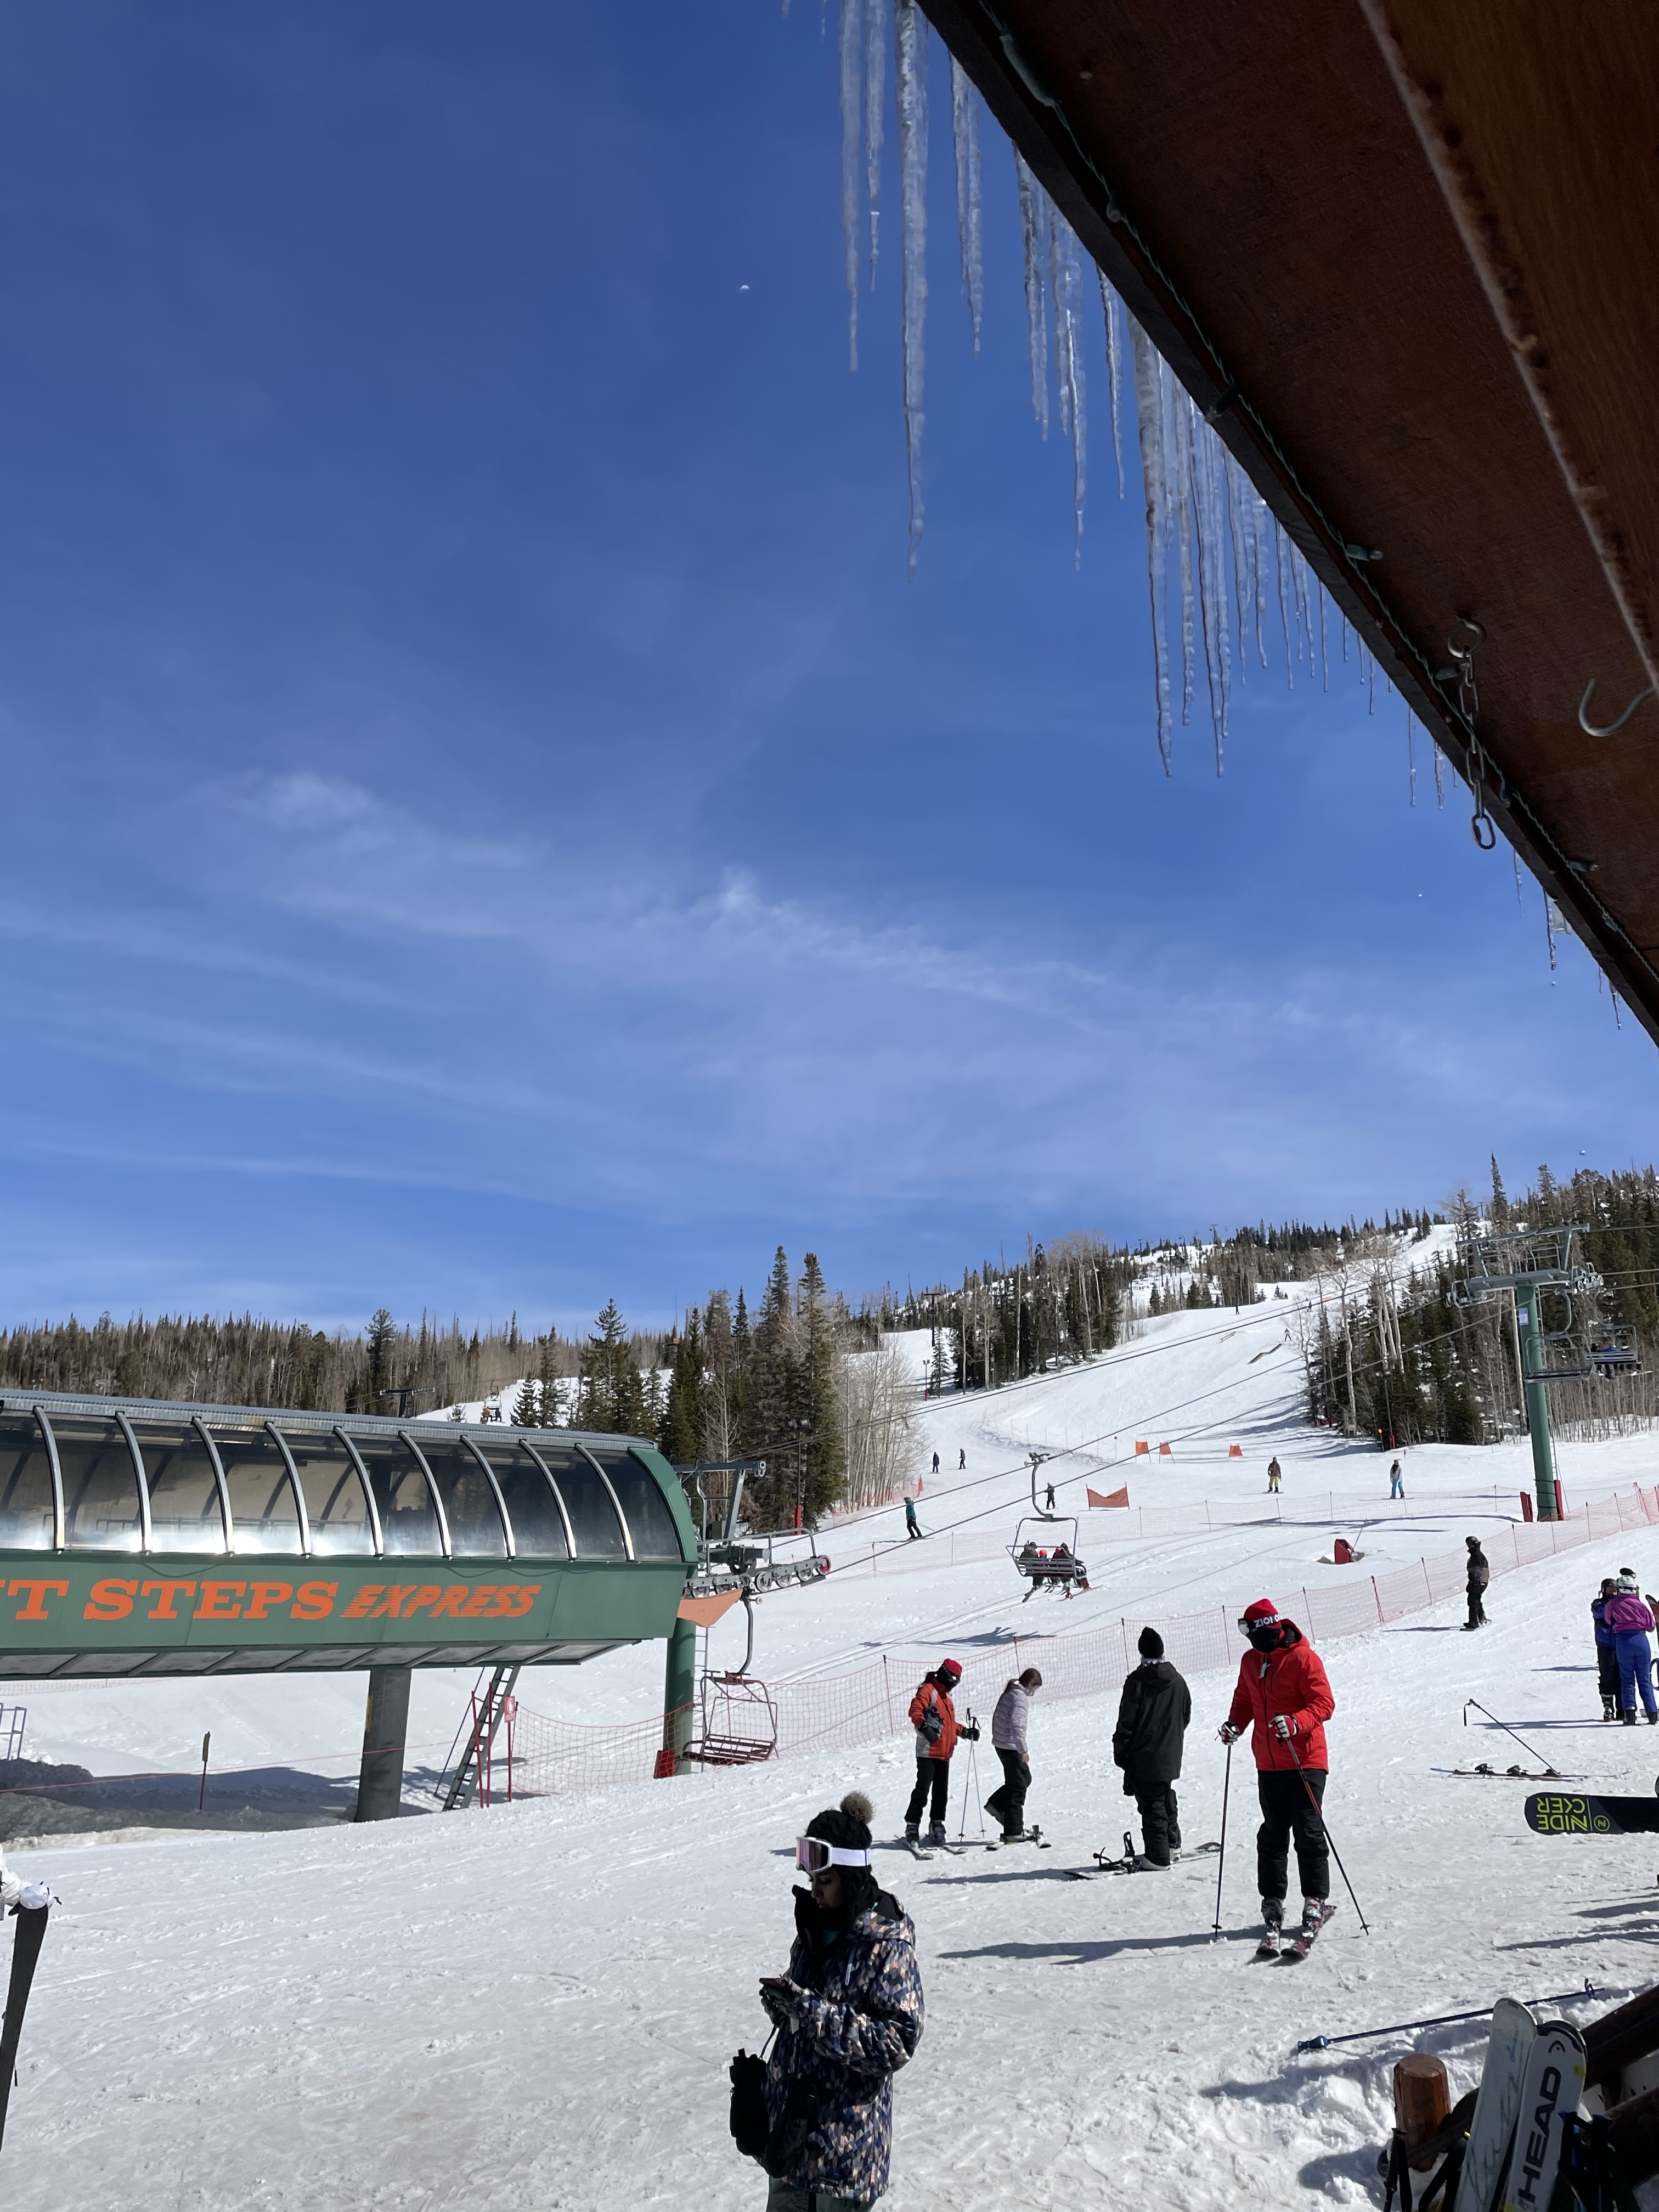
Brian Head Resort in Utah cooled off my hot head.

Snowboarding, on the other hand, was my one saving day and had me leaving southern Utah with a very tired smile.

Hindsight…Maybe we can change that “hindsight is 2020″ thing…


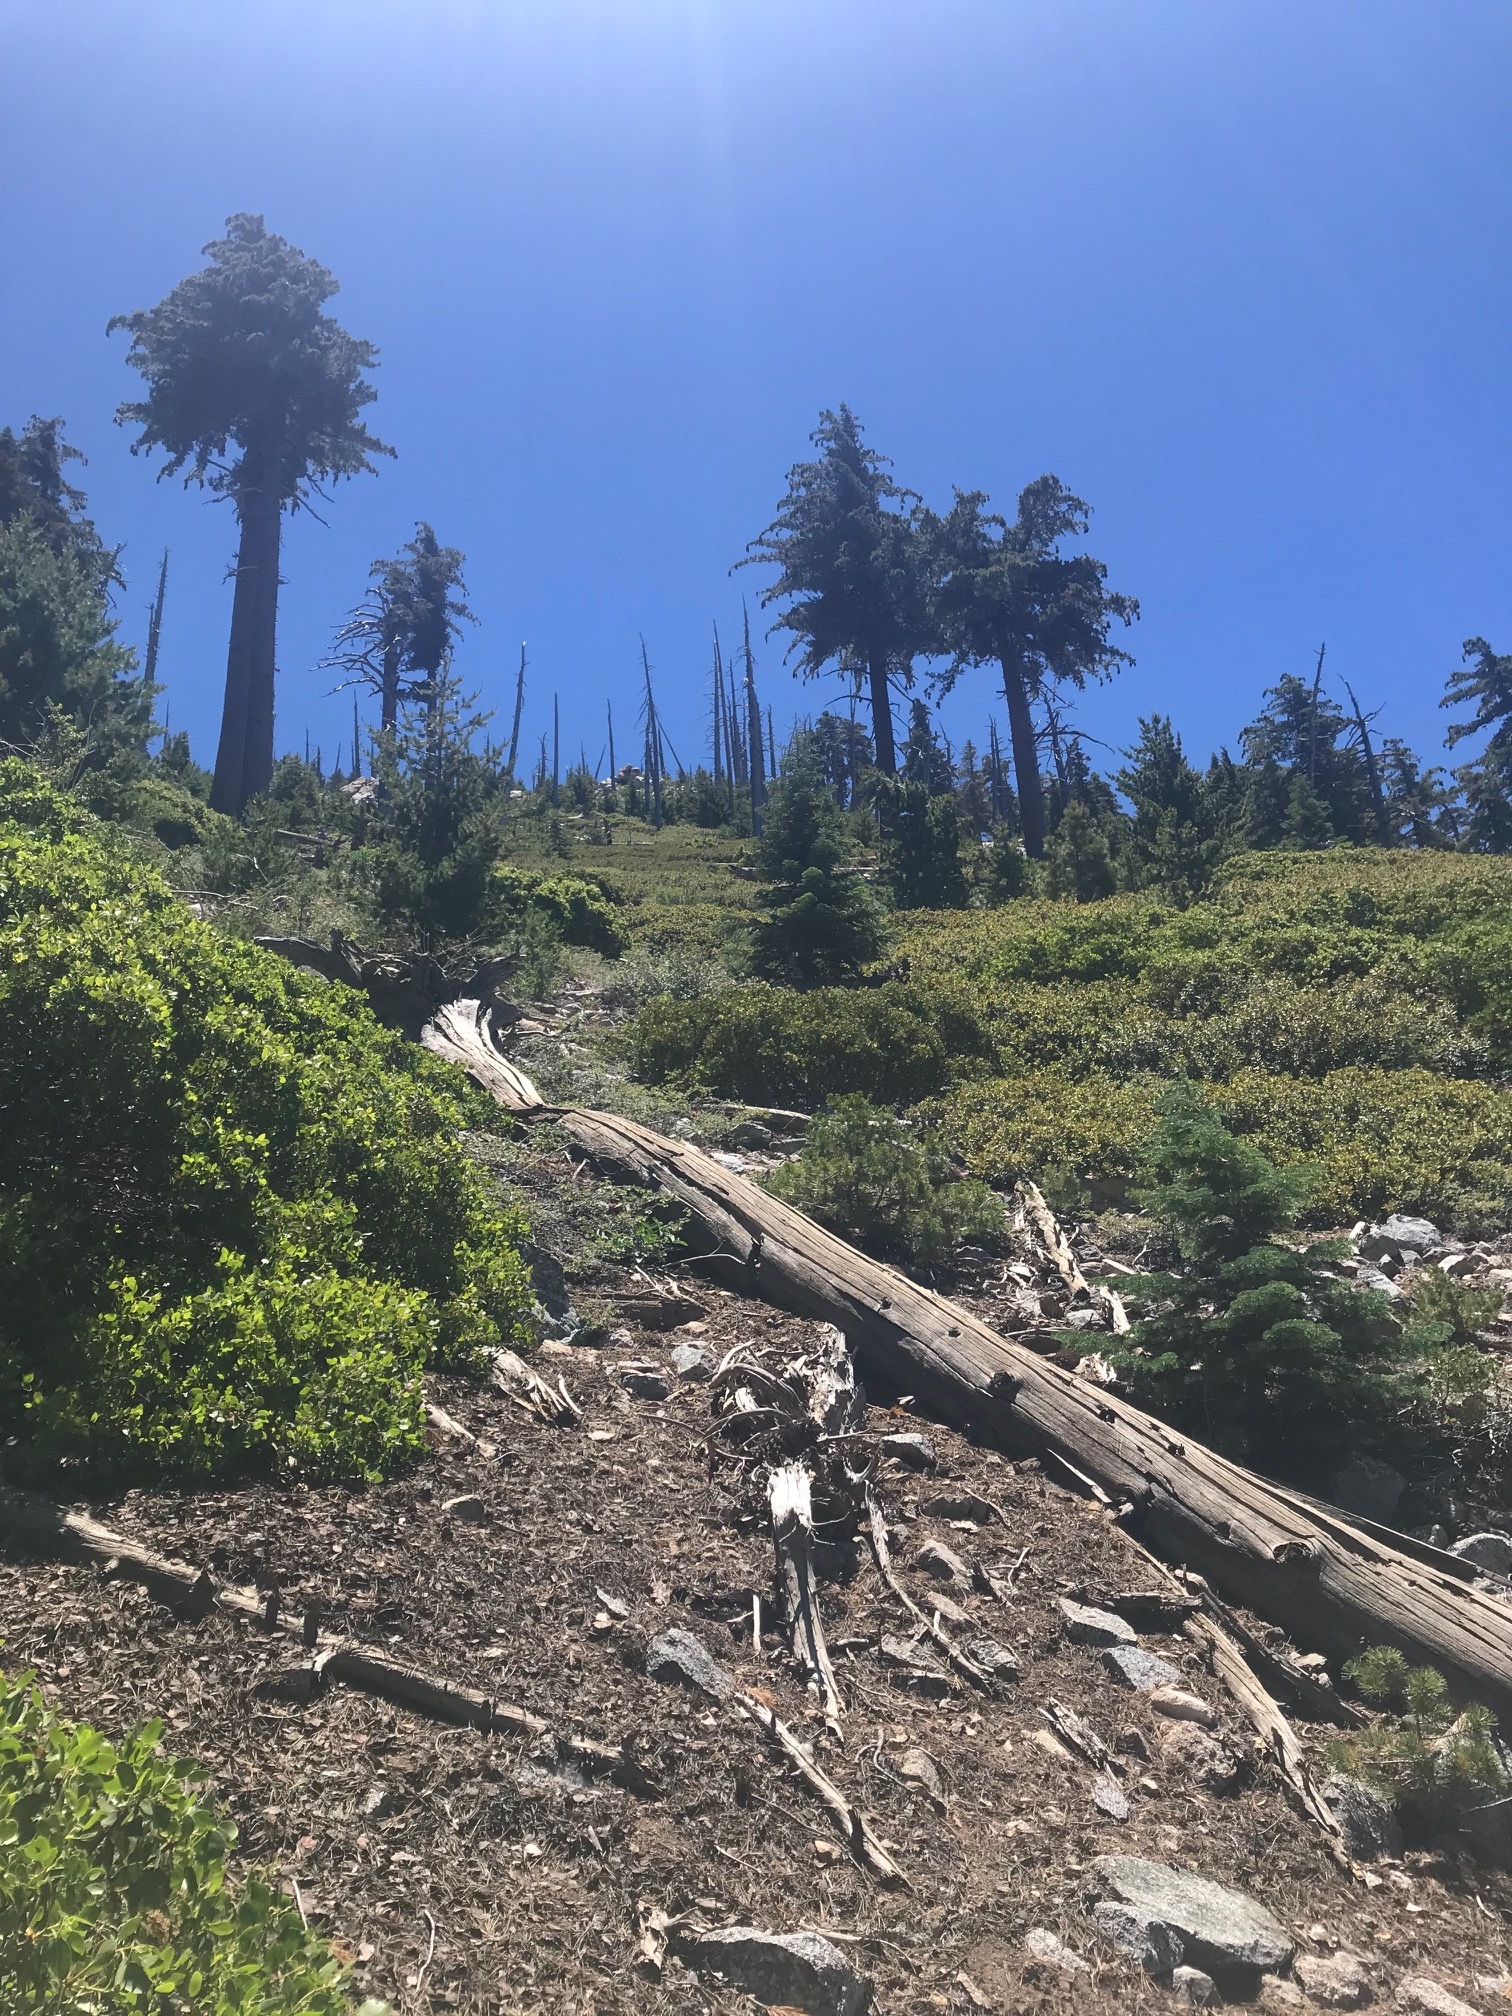
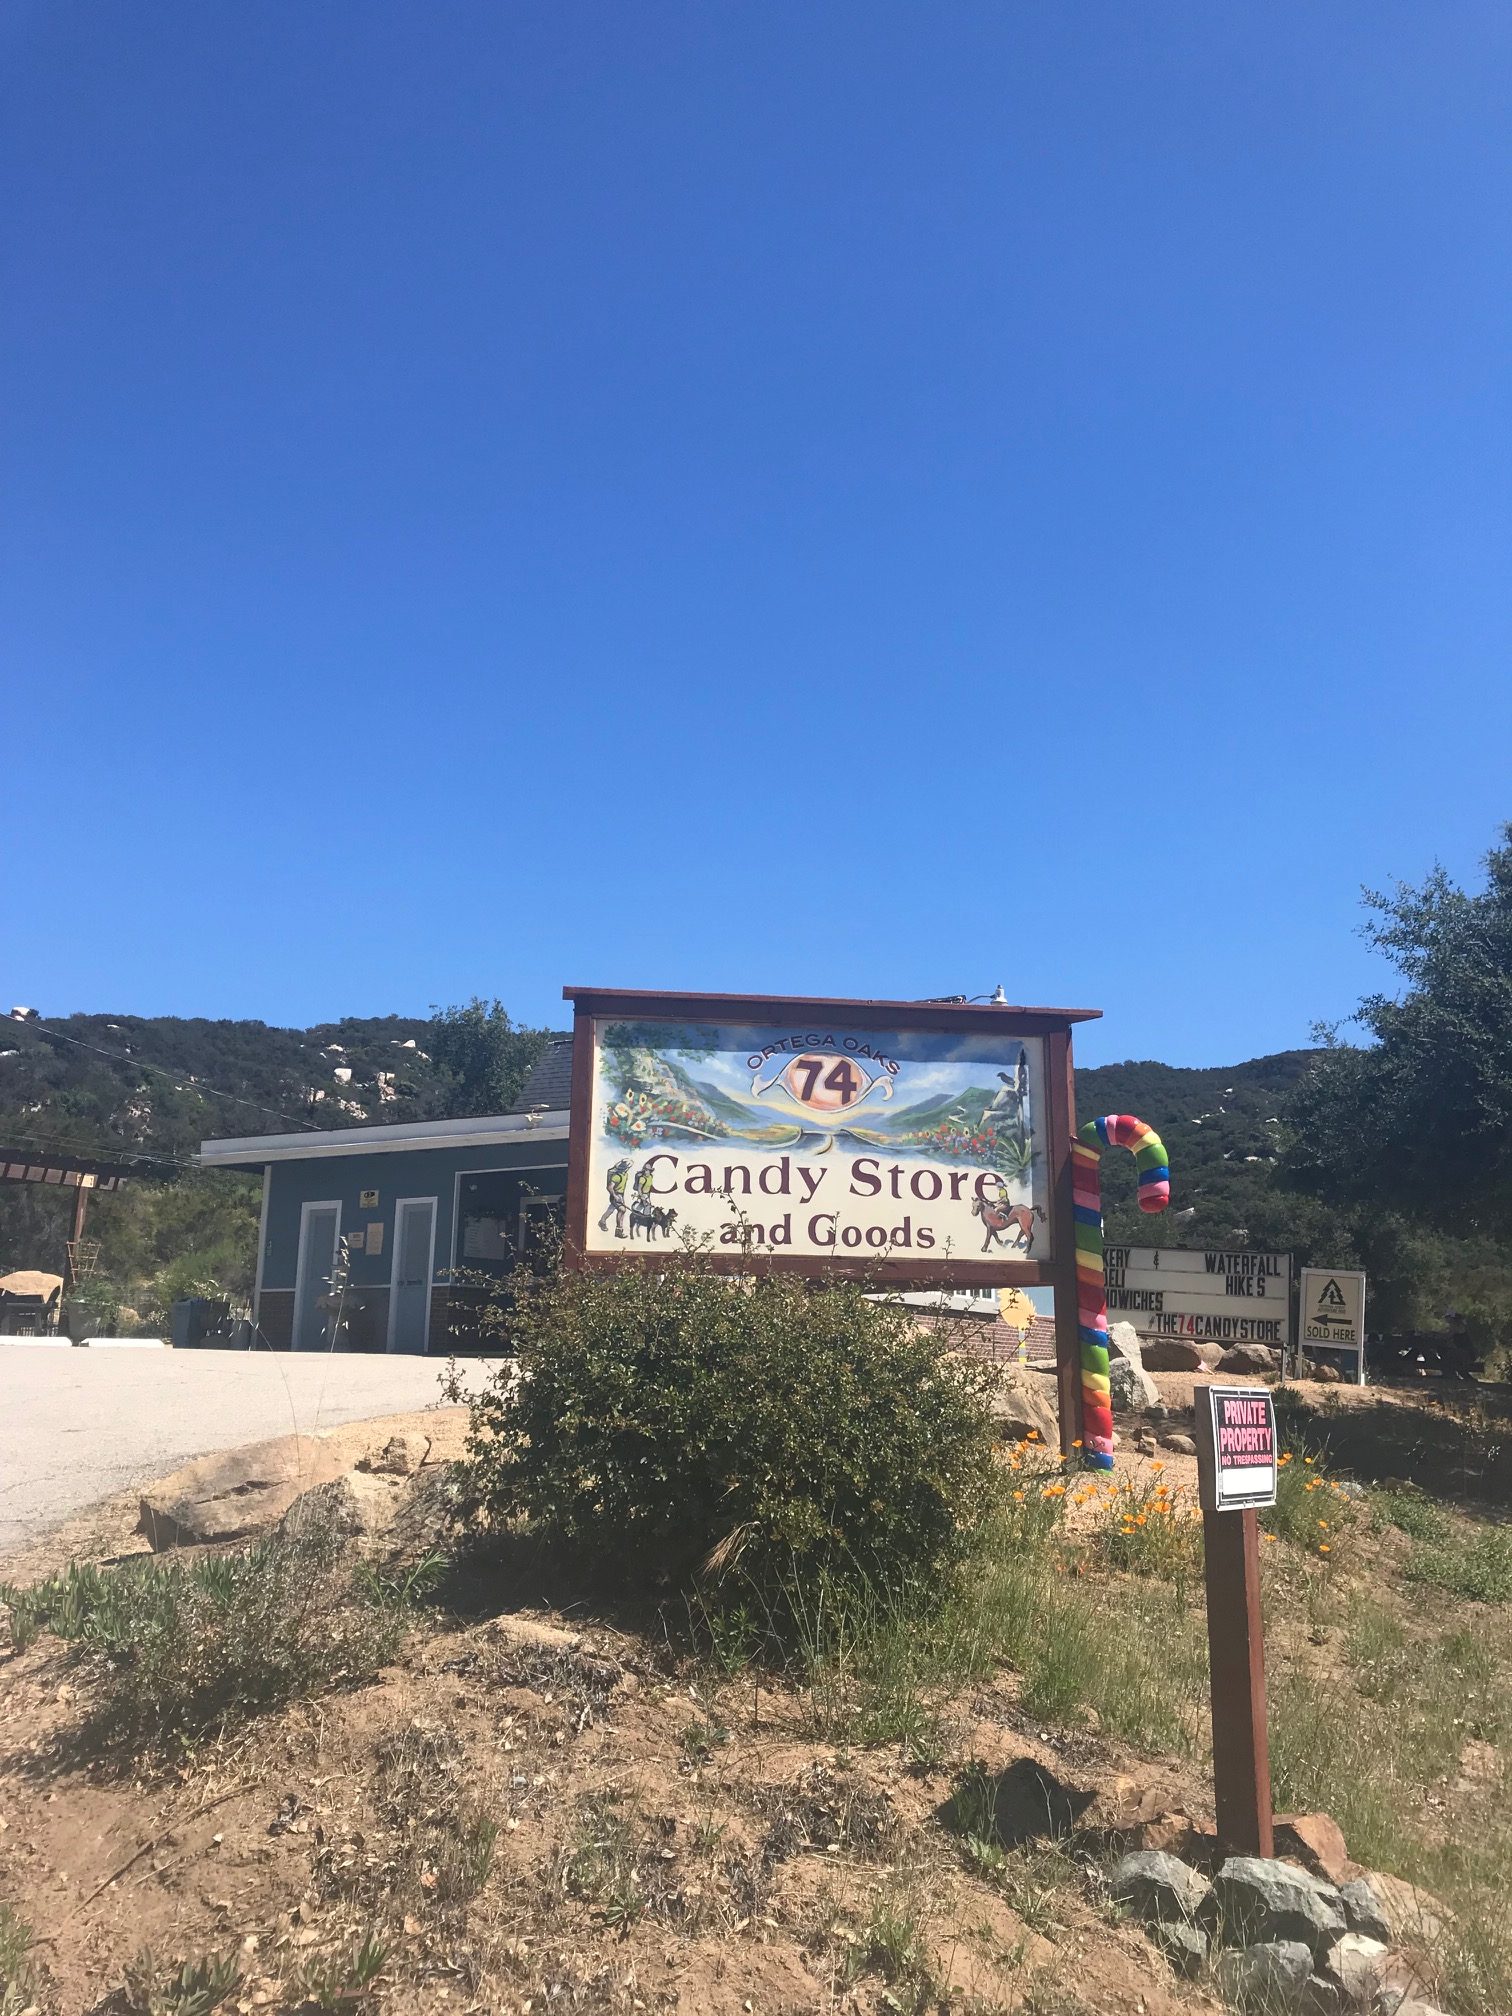
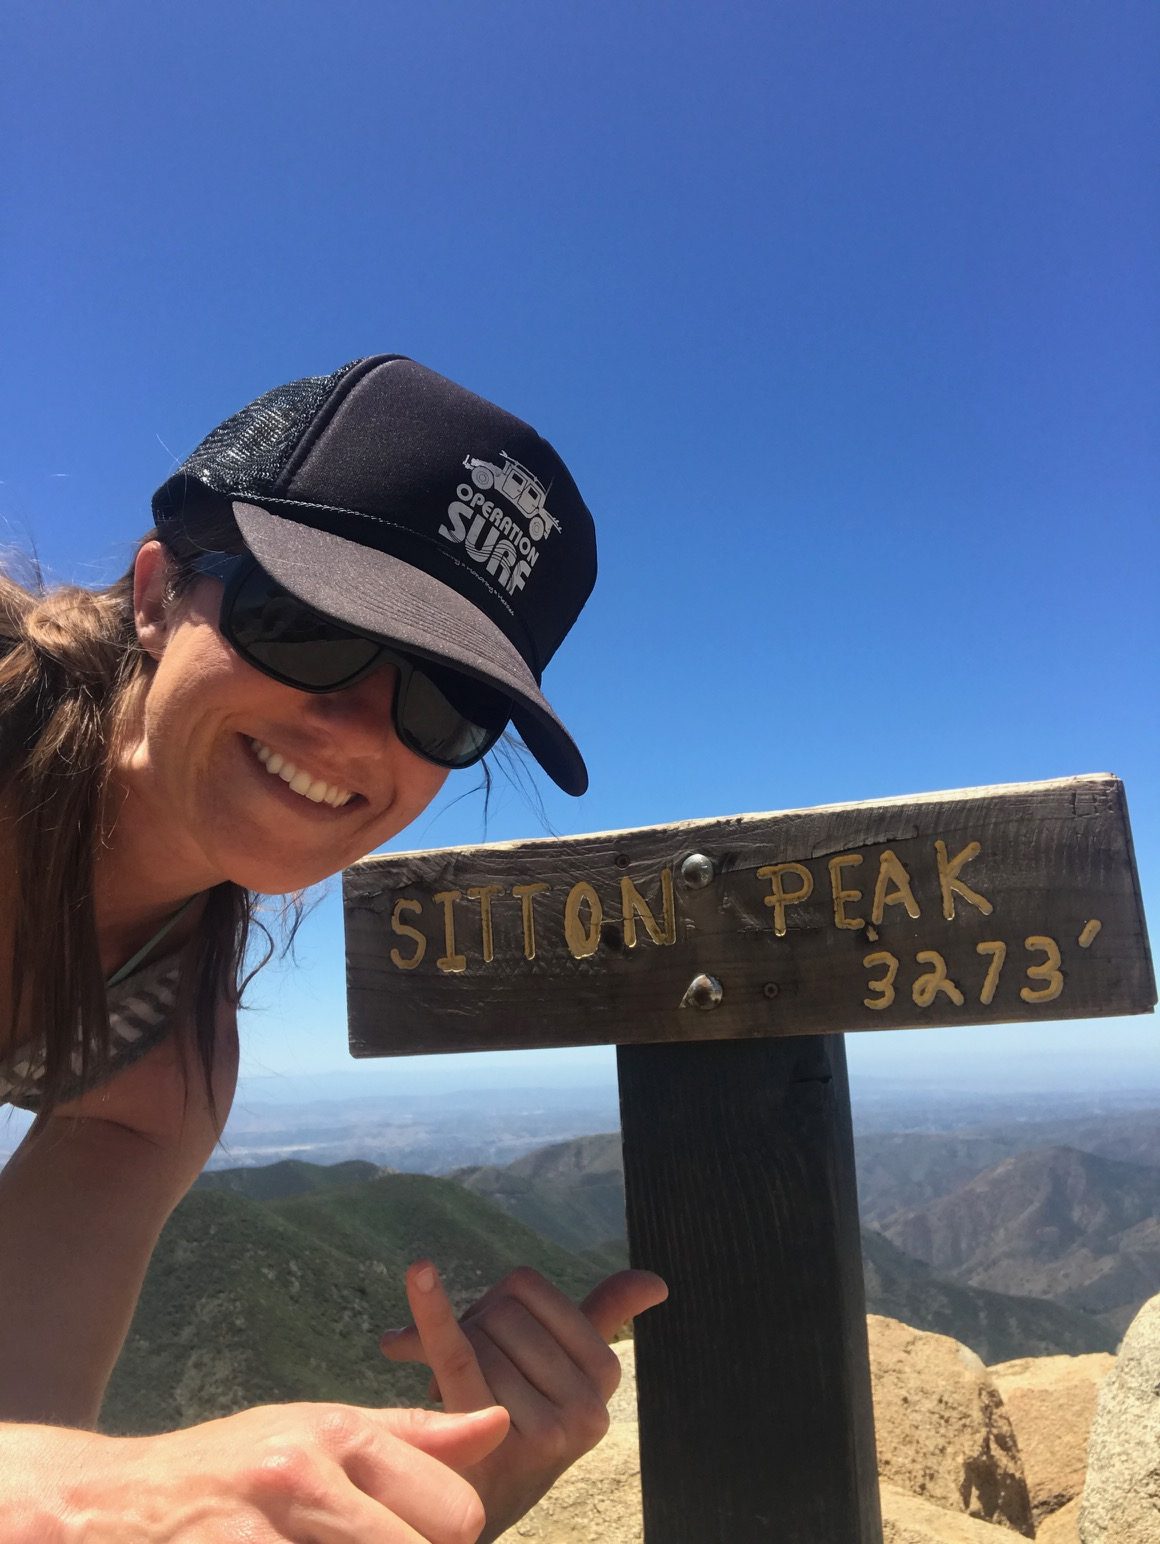
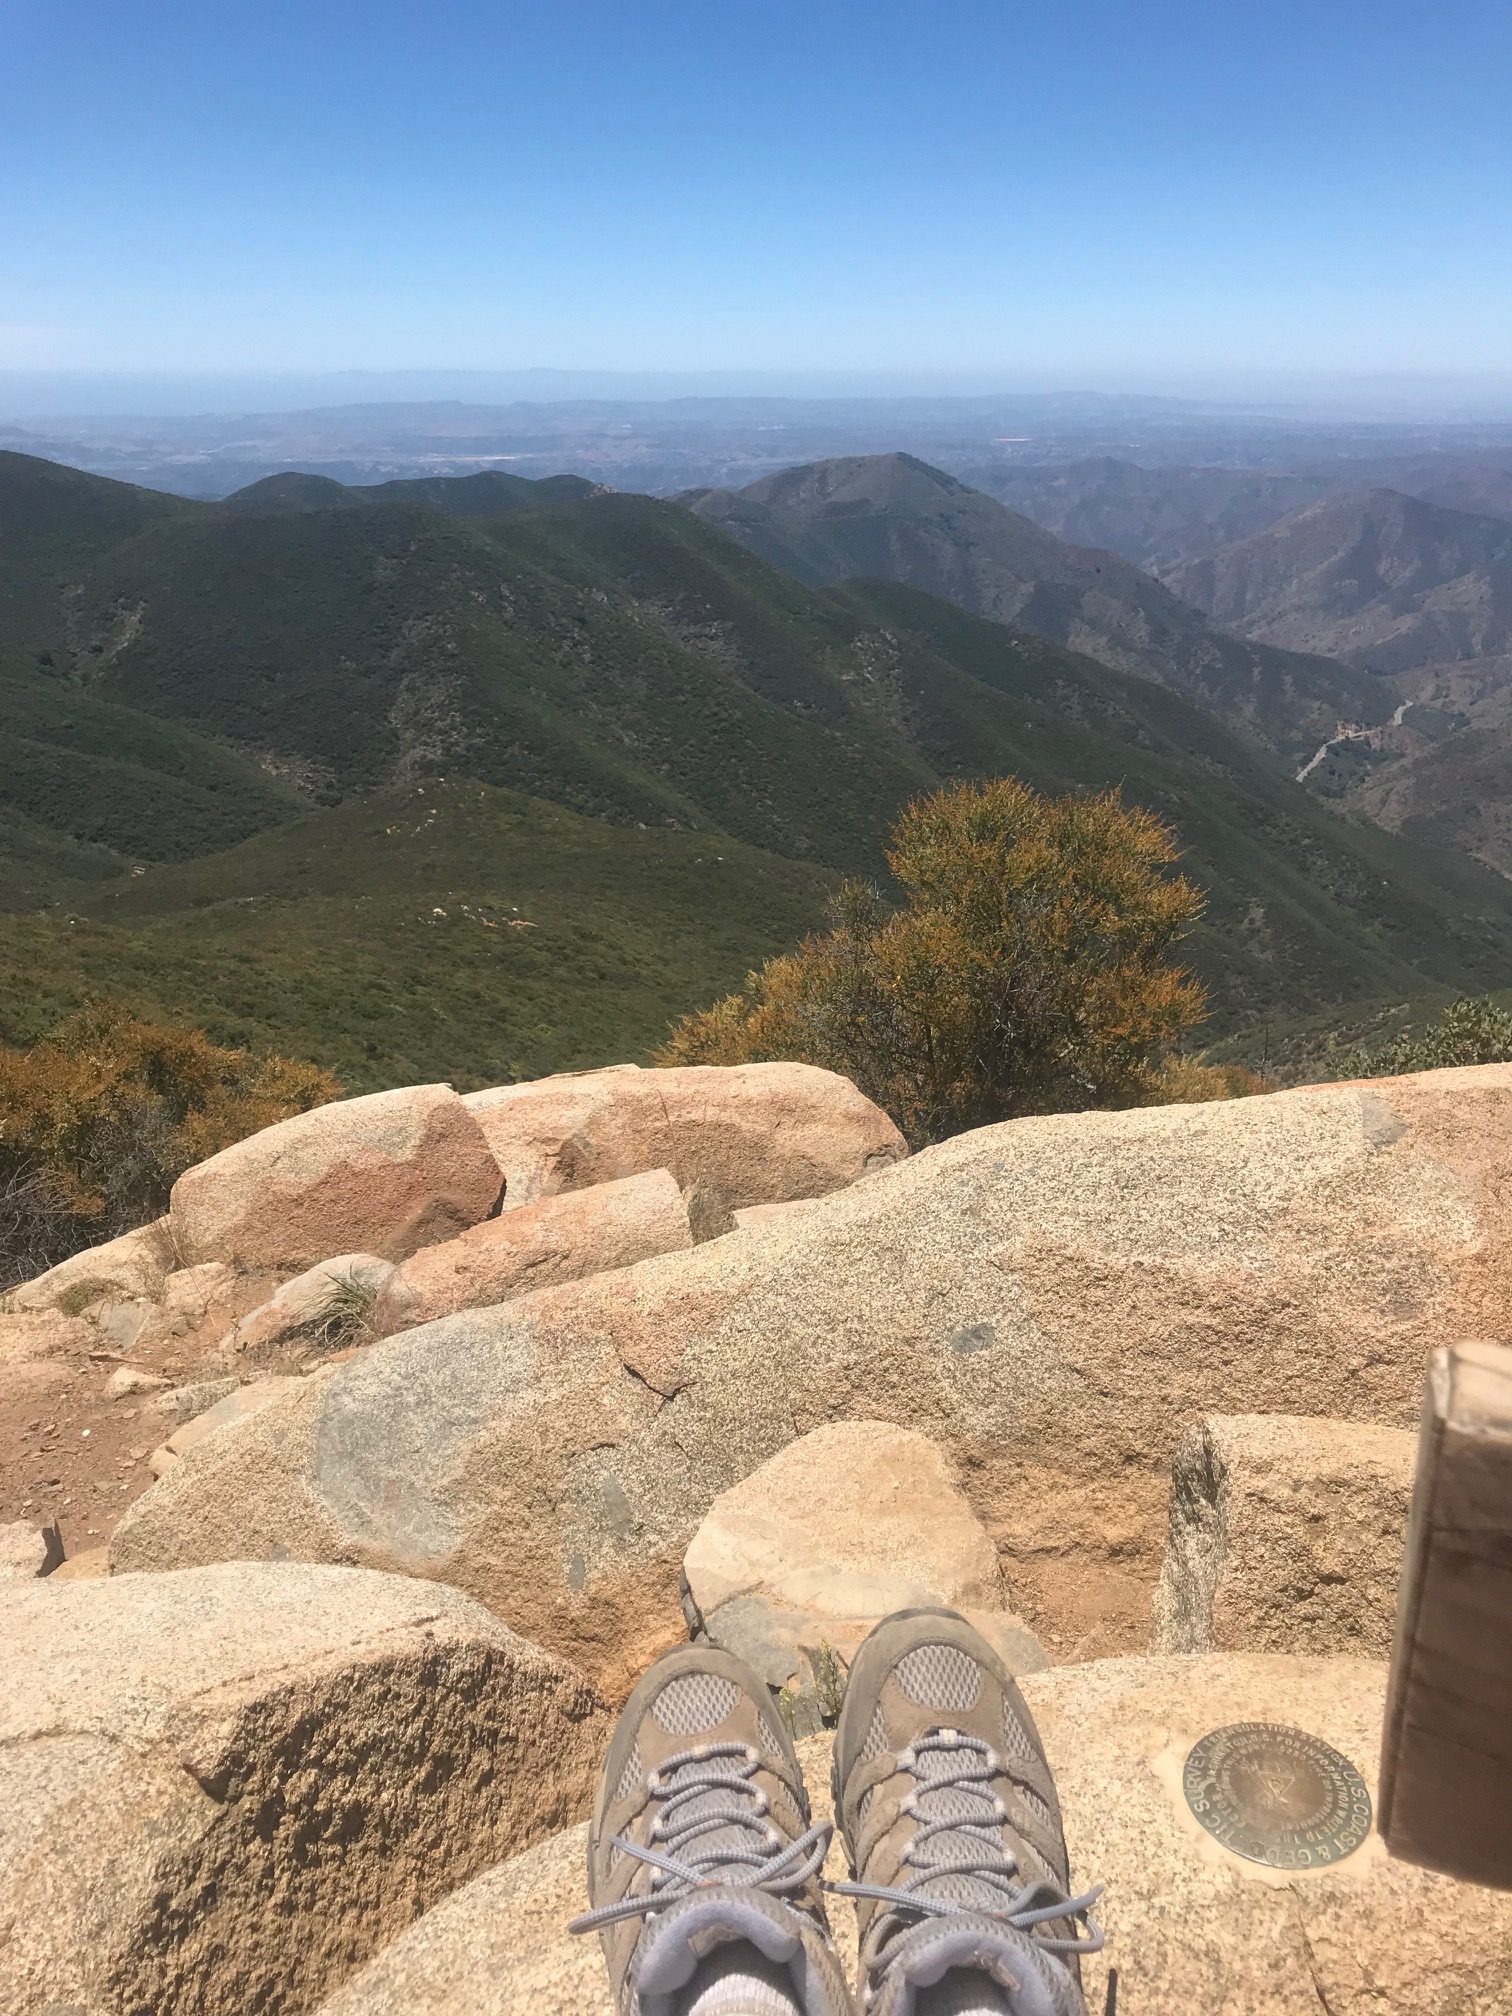
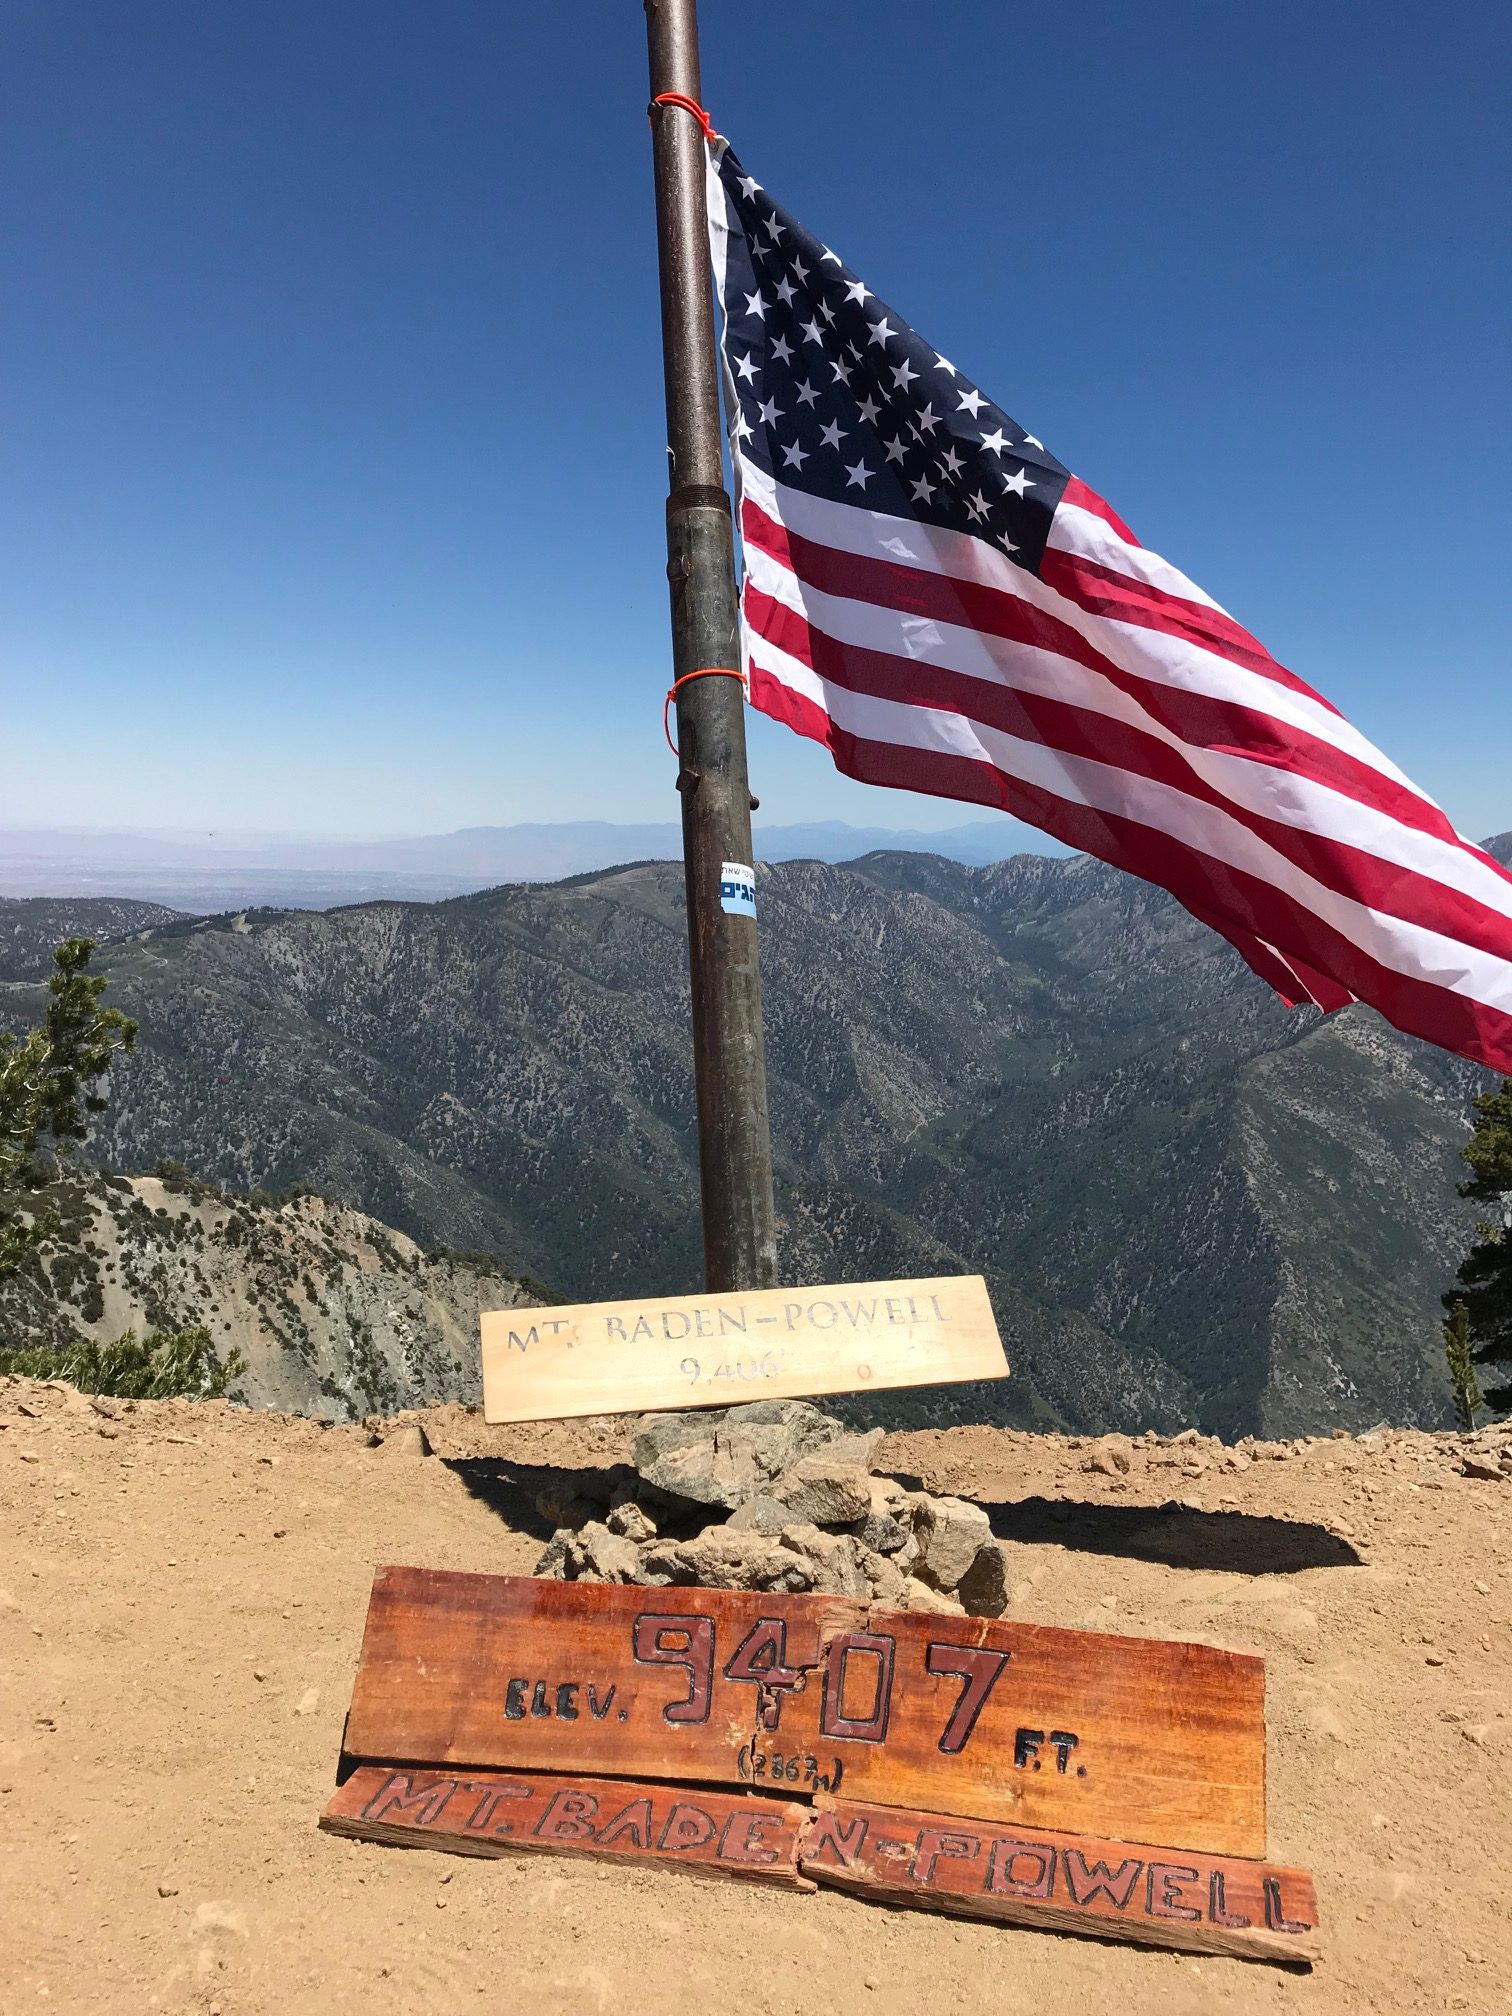
It wasn’t ALL camping mishaps. Check out a few more photos from Zion, Kolob and Brian Head in my album below!

Utah 2021

And a long compilation of my videos from Zion to Kolob Canyon and Brian Head, too:


WATCH: How to Crack Open a Coconut

Quarantine getting you down? Grab a coconut (with some disposable gloves and a mask!) at your local market and take out that pent up aggression! Bonus points for eating a healthy snack. :)
I’ve got a lovely bunch of coconuts! And I don’t know how to get into them–I often hear something like this when the discussion of cocos cracks wide open.

As a long-time fan of fresh coconut water and meat, allow me to impart a few recommendations about the coco cracking process in my video below:

AND! In the video, I mention my favorite smoothie recipe. Check it out:
How to Make the Best Coconut Smoothie 

Peak 6 of 6: Mount San Gorgonio

The grand finale peak had me so very proud…

Sunrise view is so necessary

The Hike:

This is the tallest peak in Southern California towering at 11,503 feet. It is also the longest trail clocking in at 17 miles roundtrip. You should always take careful precautions for any trail, but this one requires a lot of time if you’re on the slower side, like me.

The trail begins with an easy stroll on a straightaway path, Once you cross the large granite riverbed, you arrive at the switchbacks, which are steep and difficult…probably one, if not, THE most difficult part of the trail.

Along the way, you first pass Vivian Creek Camp, which sits at 7,100 feet and shortly after that, you come to Halfway Camp, which is at 8,100 feet. These are located in beautiful, picture-worthy areas, although I did not get to take many photos. This time around I was with a group who was moving quickly, but stopped when I needed to rest.

At 9,200 feet the trail starts to become rocky and a little less shaded, wear that sunscreen! You’ll keep climbing and THINK you see the peak, but no. This happened to my co-worker and I, where we were faked out at least twice, a gut-wrenching disappointment once you can finally see ant-like people traversing across a rocky path towards a peak even further away.

Pano moment

Once you reach the peak, you can see far and wide views from Palm Springs to Big Bear Lake, the desert, the city, more mountains to explore.


Almost there…

Driving Directions: Turn east of off highway 38 to Forest Falls. Continue through Forest Falls to the top end of the Falls Picnic area. Parking is located at the end of the road.


Parking: Good luck! Most parking is taken up by 6:30 a.m., but there is a separate lot below the smelly restrooms. It’s kind of a cruel joke when you are done with the trail.

Roundtrip mileage: 17 miles, 12 hours

Elevation: 11,503 feet

Elevation gain: 5,484 feet

What to bring: At least three liters of water, electrolyte drink, snacks, sunscreen, patience, a smile, a little toilet paper—this will take ALL day

Consider this: This hike is a royal ass-kicker, not because of the steepness like Baldy, but because it is so long. For the most part, the hike is a relatively gradual climb, but there are times where the elevation gets to you and, much like Baldy, you begin to question your sanity. THERE IS NO SHAME IN TAKING BREAKS. I did and often, especially towards the top. It is a good idea to hike a trail that has similar mileage and elevation so you’re not completely blindsided. Baldy’s 13-mile West Rim trail worked nicely for me and took me 2 hours shorter than this one. Be patient with yourself, but know your limits.


Peak 5 of 6: Mount San Antonio, a.k.a. Mt. Baldy

Peak five out of six had me wishing for wings on my shoes…

The Hike:

There are several different trails headed towards the highest peak in the San Gabriel Mountains, however, I picked the West Rim trail, also known as Mt. Baldy Trail #7W12, which is 6 miles one way to the barren peak. Park along Mt. Baldy Road near the visitor center and head down Bear Canyon Road where you’ll walk past a church and a neighborhood of mountain dwelling folk. The trail starts at the end of Bear Canyon Road where you’ll be welcomed by a beautiful bubbling stream and thousands of mosquitos and gnats. For the first 1.6 miles you’re hiking through heavily wooded areas with a fairly easy-going gradient. Once you reach Bear Flat, the trail will appear as if it’s forked. The trail is not incredibly obvious, so bare (ha!) in mind: to continue on the trail, you’ll want to hang a left where you’ll briefly cross a stream and head into a meadow. Signage was rather poor on this trail, so be sure to stay alert.

After the meadow, there is a series of steep switchbacks that warms you up for intensity of the trail. The switchbacks are lined with mostly scrubs, like chaparral, sage and clover patches. Beware of the bees humming along in the clover patches. If you are allergic, it would be wise to bring an epi-pen as a precaution.

One word: Steep.

Once you’ve conquered the switchbacks and have reached about 7,000 feet, there are several shady spots, thanks to the Sugar Pines and White Fir trees. Following along the steep path, you slowly start to think about turning around. Unless you run out of water, don’t do it. Keep going.

Eventually, you reach a large natural depression in the landscape where you can find some shady spots. Re-apply that sunscreen! Following the trail, you’ll reach the west ridge of Mt. Baldy for your last leg—a fairly forgiving climb comparatively.

Reach the top and celebrate! You just climbed the highest point in the San Gabriels. Soak it in. Feel badass because you ARE.

Not the widest path

Driving Directions: From the 210 east towards San Bernardino, exit Base Line Drive, make a right onto Pahua Drive and a right onto Mount Baldy Road. Park along the road and walk towards the old church located on the right side of the road, walk through the neighborhood and eventually you will find the trailhead—one of THREE signs you’ll see along the way. Stay alert.

Parking: Park alongside the road where available. I would not recommend parking in the church lot, although people seem to do it anyway.

Roundtrip mileage: 13.2 miles, 10 hours

Elevation: 10,064 feet

Elevation gain: 5,650 feet

What to bring: At least 3 liters of water, electrolyte tablets, snacks, hat, A LOT of sunscreen, phone/camera, mental sanity

Consider this: Bring all the water you think you need. This trail will push every ounce of brain you have. Just when you think you have the peak in your sights, the trail fakes you out and you’ll keep climbing onto an even steeper trail section than before. Frustration may kick in to a point where you question your sanity and safety. If you feel the need to turnaround, there’s no shame in that. Know your limits. But, if you remotely think you can handle it, DON’T GIVE UP.


Peak 4 of 6: Ontario Peak

Peak four of six had me climbing over downed trees and wishing for a little more water…

Hiking over downed trees ain’t no joke.

The Hike: You start off the same route as Cucamonga Peak—Icehouse Canyon Trail to Icehouse Saddle, which will bring you at about 5.1 miles one way and about 7,600 foot elevation. At the saddle’s fork in the road, you would veer to the right (again, this area has many signs) where you will take a skinny semi-covered trail for 2.8 miles one way to the peak. Along the way, you’ll get a fantastic view of the backside of Mount Baldy, another popular mountain part of the SoCal Six, and a real leg/ thigh killer.

The bubbling stream that I wanted to jump in.

Eventually you’ll come to a part of the trail with tall grass and chaparral scrubs. There will also be downed trees that can impede your literal path, so you might have to hop over a few of those giants. Hike up a hill and come to a saddle area…keep going. Drink up because if you’re as smart as I was and decided to hike at 10:00 a.m. again, then at this point in the trail, an electrolyte tablet might be worth a try. I, however, had none and, therefore, once I reached the actual peak, had less than 2 liters of water left and more than 7.5 miles in midday heat in front of me. Shortly after this hike, I purchased a 3 liter bladder and electrolyte tabs.

Arrive at the peak and check out the spectacular views.

Driving Directions: (same directions as Cucamonga Peak) From the 210 east towards San Bernardino, exit Base Line Drive, make a right onto Pahua Drive and a right onto Mount Baldy Road. The trailhead is located at the end of Mt. Baldy Road, and there is a lot for those who have Adventure or National Park passes. You can also park alongside the road without any ticketing consequences.

The unobstructed view from the top.

Parking: At the end of Mt. Baldy Road on the left side is a lot for folks who have an Adventure or National Parks passes. If you don’t have one, just park alongside the road.

Roundtrip mileage: 15.8 miles, 8 hours

Elevation: 8,696 feet

Elevation gain: 4,240 feet

What to bring: Water, snacks, hat, sunscreen, phone/camera, Adventure Pass

Consider this: Although this is definitely no Sitton Peak, the bugs were still quite annoying. I blame the heat because, once again, as hard as I tried to get out the door early, I made it to the trailhead by 9:45 am on the dot…with much disappointment. Knowing it was going to be a hot one, I decided to hike a little slower, sip water and stop more often.


Peak 3 of 6: Cucamonga Peak

Peak three of six had me second-guessing that I was actually still in Southern California…

Beautiful redwoods dwarf any palm tree.

Beautiful redwoods dwarf any palm tree.

Taking in all the hobbit potential...

Taking in all the hobbit potential…

The Hike: By far one of my most favorited hikes during this challenge. For the first 2.6 miles, you’ll be hiking the Icehouse Canyon Trail, which features beautiful lush foliage alongside a rushing creek. There are also cabins and cairns to ogle at, which make this place look like anything but Southern California. Eventually you’ll make it to a rock quarry-looking area where you can observe very interesting geological rock formations. But don’t get too distracted—it’s easy to lose the trail. Veer towards the right in this quarry-like setting and you’ll come to the 2.5 miles to of the first chunk of the trail, which takes you through more exposeswitchbacks and eventually to the “Icehouse Saddle.” It is during this portion of the hike where you will climb the most elevation as the saddle puts you at about 7,600 feet.

Once you get to the saddle, you can go one of three different routes. I completely geeked out because not only could I see a beautiful forest view into the valley, but I also found more trails/mountains to hike.

Signage will point you straight onwards for another 2.4 miles towards Cucamonga Peak. This trail has a lot of loose gravel, and due to frequent landslides, the gravel often covers up the tiny trail itself. This makes things slippery, so proceed with caution.
And just like this hike description, when you think it’s never going to end, it does. And the view of the inland empire and Apple Valley is spectacular. If there are clouds around, they tend to make your photos look pretty damn cool, too.

Driving Directions: From the 210 east towards San Bernardino, exit Base Line Drive, make a right onto Pahua Drive and a right onto Mount Baldy Road. The trailhead is located at the end of Mt. Baldy Road, and there is a lot for those who have Adventure or National Park passes. You can also park alongside the road without any ticketing consequences.

Back in the day, California was filled with volcanoes...still was a hot place to be. ha! I'm here all night.

Back in the day, California was filled with volcanoes…still was a hot place to be. ha! I’m here all night.

You'd walk right past it and never give it a second thought, but don't forget to check out the old gold mines.

You’d walk right past it and never give it a second thought, but don’t forget to check out the old gold mines.

Roundtrip mileage: 15 miles, 8 hours

Elevation: 8,859 feet

Elevation gain: 4,000 feet

What to bring: Water, snacks, hat, sunscreen, phone/camera, Adventure Pass

Consider this: There are so many cools sights to see along this trail that you tend to forget to sip your water. Cabins, cairns and igneous rocks can easily distractify, but don’t forget to do a sanity check lest your lungs do it for you. Also, be sure to look for the old gold mines along the trail. There’s no signs that point them out, they’re just kind of chillin’, so be on the lookout. If you’re heading toward the peak, they are on your right…because to your left is a straight 1,000 foot drop.


Peak 2 of 6: Sitton Peak

Peak two of six made me consider bug spray! Just when I thought it was safe to wear shorts and a tank top…

The scrubby trail to Sitton Peak.

The scrubby trail to Sitton Peak.

The Hike: A local peak always sounds great, right? Find the Bear Canyon trailhead located behind the old -fashioned Candy Store off Ortega Highway. It’s easy to miss this trailhead, so if the store is open, there’s no shame in asking about the trail location. The store also offers free printed maps. This trail requires a wilderness permit, which is often available at the trailhead to fill out. If not, bring a pen and paper and leave your info in the box.
The hike begins at a moderate pace and is lined with brush and large boulders. It meanders over a creek where there are plenty of trees for shade, although there isn’t much shade elsewhere on the trail. Since there are some areas that appear to be overgrown, I was getting mountain lion vibes, which reinvigorated my machete desires. Since I was sans machete, I sang Yankee Doodle very loudly and made lots of noise as well as carried a walking stick and a rock.

The last portion to the peak is almost a literal climb. At first, it didn’t even appear to be an actual trail since it was pretty steep and looked washed out, but it is and your calves will thank you for the luscious workout.
I started around 10:00am, made it to the peak by just before 1:00pm and back to my car at 3:00pm. Why so fast? Two words: The bugs.

Simply titled Candy Store and Goods off the 74-Ortega Highway. Park across the street.

Simply titled Candy Store and Goods off the 74-Ortega Highway. Park across the street.

Driving Directions: hop on the 5 freeway and exit Ortega Highway (Hwy 74), head towards Lake Elsinore and keep going until you see “Candy Store and Goods.” Park in the national parks parking lot across the street from the store and either pay for parking or display your Adventure Pass. Carefully walk across the street.

Parking: located across the street from the candy store–no parking at the candy store

Roundtrip mileage: 12 miles, 5.5 hours*

Elevation: 3,273 feet

Elevation gain: 2,150 feet

Not sure how I made it without going insane, but I made it!

Not sure how I made it without going insane, but I made it!

What to bring: Adventure Pass, POWERFUL BUG REPELLENT that doesn’t give you cancer, lots of water depending on the air temperature, food, hiking stick, some form of mountain lion defense, courage

Consider this: The bugs are absolutely relentless. If I stopped for longer than 2 minutes, those suckers were on me like, well, flies on meat…that was sweating…because my dumb ass decided to start my hike at 10:00 a.m. Both factors made the hike less enjoyable. For almost the entirety of the hike, I was eaten alive by mosquitoes and horseflies. Have you ever been bitten by a horsefly? They SUCK! And leave big red welts that take too long to go away. The first part of this hike is shrouded in foliage, trees, rocks…lovely vantage points for mountain lions to sneak up on you. I didn’t see any, but it was definitely on my mind since I had a run-in with one 10 years ago in Carbon Canyon.


Taking in the views of the Cleveland National Forest.

Taking in the views of the Cleveland National Forest.

Peak 1 of 6: Mt. Baden-Powell

Peak one of six was a doozy for my first ass-kicking/toe-kicking hike…

Mt. Baden-Powell summit, as my toes live and breathe.

Mt. Baden-Powell summit, as my toes live and breathe.

The Hike: Part of the infamous Pacific Crest Trail (PCT), this hike is incredibly steep. You will feel every foot of elevation gain as you traverse the 40 (that’s right: 4-0) switchbacks up and up and up some more. If you haven’t done this hike before, you might ask folks “how much farther?” to which, no matter where on the trail you are, you will hear: “Only a half mile more!” The trail stays covered in pine, oak and cedar trees for the majority of the trek, however, once you reach the last REAL half mile, it becomes fairly exposed. Beautiful 360 views of the desert, cities and mountain ranges lay before you once you get to the exposed peak.

On the way down, be sure to show some love to your “little piggies,” a.k.a.: your toesies. Because the hike up is so steep, your toes will pay the price coming back down since they are essentially being jammed into the front of your shoes. Bring band-aids, do a toe sanity check and tread VERY carefully. No matter how carefully I walked, I still managed to slip and fall on my booty a couple of times. BE CAREFUL.
Driving Directions: head east on I-210/Foothill freeway, take CA-210 and I-15 north to CA-138 west in San Bernadino county.
Your GPS may tell you to keep going, but be sure to look for two parking lots on both sides of the road just before GPS’ end mark. Depending on where you’re coming from, one parking lot requires an Adventure Pass or National Parks Pass. The other lot is free of charge, just be wary of the jagged gravel.

Roundtrip mileage: 8.9 miles, about 5 hours*

As you can see--not exactly flat.

As you can see–not exactly flat.

Elevation: 9,400 feet

Elevation gain: 2,900 feet

What to bring: Water, food, hat, phone/camera, band aids, a smile, Adventure Pass


I had to...

I had to…

Consider this:
There are 40 switchbacks up to the Baden-Powell summit, they seem never-ending, but they do end. They do. And you will never be so glad to see a bald-looking path once you are, literally, out of the woods and those switchbacks. Be wary of future hike recommends from anyone who has traversed the PCT (Sean Jansen!!) In late June, you may see remnants of snow on the ground, which, of course, I had to touch.

Intro-ing My Journey with the SoCal Six Peak Challenge

I bet y’all are wondering: where’d the surfer girl go? What’s with the land adventures? What gives?
There comes a time where…nah, I’m not gonna go into this lecture–I honestly got tricked into taking on this challenge after a series of life-changing/stressful events. I needed peace and escape and I gotta credit my best nature-loving junkie pal Sean Jansen with this adventure.
Sean—you started it! You’ve turned me into a land lubber.

And, now I’m forever grateful.

As I was saying…I needed escape from the norm. As the summer crept into air vents and AC bills across Riverside and other sweltering inland counties and states, I knew anything that resembled a beach would be a ZOO. And grumpy territorial locals combined with those touting soft tops, frosted tips and sweet ignorance, (PLUS traffic), had me reeling for an alternative nature-bound escape.

Enter the mountains, which have semi-eluded my interest until now. Hiking is fully a part of my outdoor geekiness. After getting tricked into hiking up one peak, a fellow hiker asked if I was doing the “SoCal Six Peak Challenge,” which I had no idea what that was, but could guess given the context clues.

And so it was ingrained in my brain: hike six peaks in Southern California

Technically there are 12 peaks within this challenge, but the most common one is the “SoCal Six,” which you can find here.
Follow me on my adventure to hike six of Southern California’s noteworthy peaks! Who knows…maybe I’ll do 12? No promises.

Stay tuned to my blog and Instagram. I’ll give ya my skinny on some of Southern California’s not-so-skinny mountain peaks.

Two hard and fast recommends if you decide to attempt:

    Purchase an annual Adventure Pass for $30 or a National Parks Pass for $80. They are available at any REI store or any ranger station.
    Be sure to bring more water than you think you need. I recommend 2 liters at the very least. On a hot day with a long hike and lots of elevation in front of you, I recommend at least 4.5-5 liters. Water weighs two pounds per liter, but trust me—it is worth every pound.

And…don’t worry—there will be ocean waves, too.

Disclaimer: My estimated time to complete each trail is based on my personal pace, which I have averaged at around 2 miles an hour. Your results and experiences may vary depending on the weather, stamina, water supply, mental sanity, etc.

*All photos and videos are my own

Facing Fears Solo in Zion National Park

Timing is everything.

And it just so happened that minutes after I gushed to my boss about wanting to do a solo camping trip, my co-worker messaged the team saying that he had an extra camp site at Zion National Park. Instantly, I responded with “mine…please.”

Watchman Campgrounds picturesque peaks.

Watchman Campgrounds picturesque peaks.

It has been 10 years since I’ve camped by myself…Big Sur in 2009, right around the same time of year, was the first and last time I had pitched a tent, lit a fire and truly struck out into a space with zero cell phone reception. I toggled with the idea of bringing someone along, but my mind immediately screamed: NOPE. There were times where I’d view the estimated air temps for that week and it mostly read in the mid 50’s for the high and the upper 20’s for the low. Again: still going.

I got yelled at by both parents and most co-workers were in disbelief.

Still.
Going.

Of course I began to question myself: Could I still light my own camp fire? Build my own tent? Cook my own food? Protect myself from predators in and out of the park? YES.

The first time this tent has seen the light in five years. Sad, but true.

The first time this tent has seen the light in five years. Sad, but true.

After staying Thursday night at the disgusting Rio resort/hotel in Vegas, I powered through Sin City’s dust, desert and debauchery for a couple more hours to Zion and arrived (after many photo stops) Friday afternoon. I could not wait to escape that blasted hotel room that reeked of smoke. Despite it’s salacious  party-hardy reputation, Vegas has never been interesting to me. In fact, it makes me want to run far far away every time. Funny enough–I got more bug bites in the hotel room than I did camping.

When I arrived to my campsite, the beautiful landscape jutted towards puffy white clouds that swiftly blew past the peaks of the park’s beautiful precipices. I was in utter shock and awe having done zero research (naturally) before my solo adventure outside of consistently bugging my co-worker for info. I immediately began to set up my more than 10 year old tent–it’s previous adventure was five years ago in Baja with six wave-hungry boys and myself. The Baja dust and dried mud still sifted around the tent’s interior and, as I opened it up, I let out a big “AWWWWE” remembering that epic surf trip five years ago while, in the same breath, scoffing in shame as it was the last adventure this tent had seen.

After the tent was set up, my co-worker and his wife stopped by to say hello. I also got to know my fellow semi-solo female camper neighbor, who helped me pull up my tent. I later spied her chopping firewood with an ax, which made me feel oddly proud that I asked for her help. Shortly after the set-up, I hopped onto a free shuttle that takes people into the park. I decided to check out the Upper Emerald Pool Trail, a small half-mile trip to a water fall, stocked with crowds, kids and strollers. YAY. So after the brief stroll, I made my way down Sand Bench trail, which had no one. As the sun started to set, I turned around and headed towards camp, where I successfully lit a camp fire and cooked freeze-dried soup and paired it with a salad I picked up from the grocery store earlier.

The night came quickly and after my fire died, I huddled in my tent equipped with quilts, two sleeping bags, beanies, gloves and a solid book. But, I never sleep well when it comes to camping. I woke up at 3-ish a.m to the distant sound of coyotes barking. As I stirred in my sleeping bags, the frigid air felt numb against my face and proceeded to sneak through any available crevice.
In short: brrrr

The first portion of the Angel's Landing hike, right before you get to Refrigerator Canyon.

The first portion of the Angel’s Landing hike, right before you get to Refrigerator Canyon.

My 7 a.m. wake-up proved even more difficult than sleeping as getting out of the warmth of my sleeping bags was especially challenging.

Wellll, I’m up! Time for breakfast and the infamous Angel’s Landing hike. No big deal, I thought, as I scarfed my oatmeal and green tea. I will do as much as I can and there’s zero pressure, despite my dizzying fear of heights. But–I often push through because am also very stubborn and goal-oriented. I knew I had to do the hike that has a reputation for treachery. Six people have died attempting the last half-mile and the park makes sure people are aware of that and recommends anyone with heart or lung problems and anyone afraid of heights to not attempt. Of course, I had to at least SEE this beast of a climb.

This hike certainly ain’t no Angel…in fact, she’s a real bitch.

"The Spine" looking nice 'n spiney.

“The Spine” looking nice ‘n spiney.

The first 2 miles of the Angel’s Landing follow along a paved road of the West Rim Trail and I will mention, you really start to feel the 1,500 elevation gain towards the top of the longer switchbacks. Try not to get too dizzy because it might not be the highest point of the trail, but it’s still a long way down. After this portion, you come to the only shaded part of the trail known as “Refrigerator Canyon,” which has a small creek and hanging plants and trees. I recommend doing some calve stretching because shortly after this section, you arrive at “Walter’s Wiggles,” which are 21 switchbacks named after the park’s first superintendent. This, outside of the climb, is the most difficult part of the trail as it will wear you down.

If you make it through Walter’s Wiggles, you come to what looks like the top, but no. It is merely a resting/lunching place before you (or should you) take on the last half-mile of Angel’s Landing known as “The Spine”–duly noted for it’s narrow shape and sheer drop-offs. When I tackled this part, there was a hefty line of people (somehow) going both ways on the very narrow path that is, YES, mostly lined with chains for grip. I stood in line and the first third of the half mile climb (not really hike), was what I thought to be the peak, but no–my mouth agape as the rest of the “spine” came into view.

I thought, well I’ve come this far, and it wasn’t as bad as I thought, maybe I’ll just keep going. 

Thank you for being my model, fellow photog, because I really didn't want to take a selfie. No fear at the peak of Angel's Landing.

Thank you for being my model, fellow photog, because I really didn’t want to take a selfie. No fear at the peak of Angel’s Landing.

A small part of my stomach was doing loop-de-loops as I climbed up and down, over and out very VERY carefully. One step in the wrong direction, one trip over a jagged rock and you fall to certain death thousands of dizzying feet below. The people in front and behind me became my best friends as I climbed with an 15 extra pounds on my back. I think I would’ve felt a little safer without my 15-pound backpack, but I wouldn’t have been able to eat my delicious turkey avocado sandwich at 5,790 feet. No, I wasn’t having that.

So, I committed to the rest of The Spine and eventually made it to a very unobstructed 360-degree view of Zion National Park. As  I got to the peak, my heart bursted with excitement and fear all at once. I dare not test my balance coupled with my tired legs and quickly found a lunch spot. My turkey and avocado sandwich never tasted so good. I sat for a moment, took in the beauty that is Zion and then decided to go back down since it was, at this point, past noon. I felt the sun fry my cheeks as I carefully stood up to hike down. Despite the fact that I was still shaking in my hiking boots, I was so proud that I made it to this place and didn’t give up.

Not too close to the edge. Yay conquering fears!

Not too close to the edge. Yay, conquering fears!

The climb back down, however, felt scarier than climbing up. For you climbers/hikers: capitalize on SQUATS because you gonna need ’em. No matter how much my thighs trembled, I forced myself to keep moving despite my semi-lighter backpack falling around my shoulders with each steep descend. At the Spine’s final third portion, there were some rude people who decided to not wait for oncoming traffic on the narrow one-way ridge, and some other folks had to literally grab me and hold me so those rude people would not push me over the edge. I am very grateful for those who were keeping me and the two girls behind safe.

Once I got to the resting space, I felt a wave of relief wash over me as my thighs continued to tremble.

I did it, I thought. I fucking did that shit.

As cheesy as this might sound, a special feeling remained in me for the rest of the day. I couldn’t wipe the smile off my face as I continued to hike more of the West Rim Trail, Weeping Rock and a small portion of the Narrows. I absolutely HAVE to come back here–no question in mind.

My only real question that remains is: will I attempt Angel’s Landing again? Maybe or maybe not, but, not gonna lie: hang gliding, sky diving, rock climbing…these activities have a little more potential for future fear conquering.