Posts

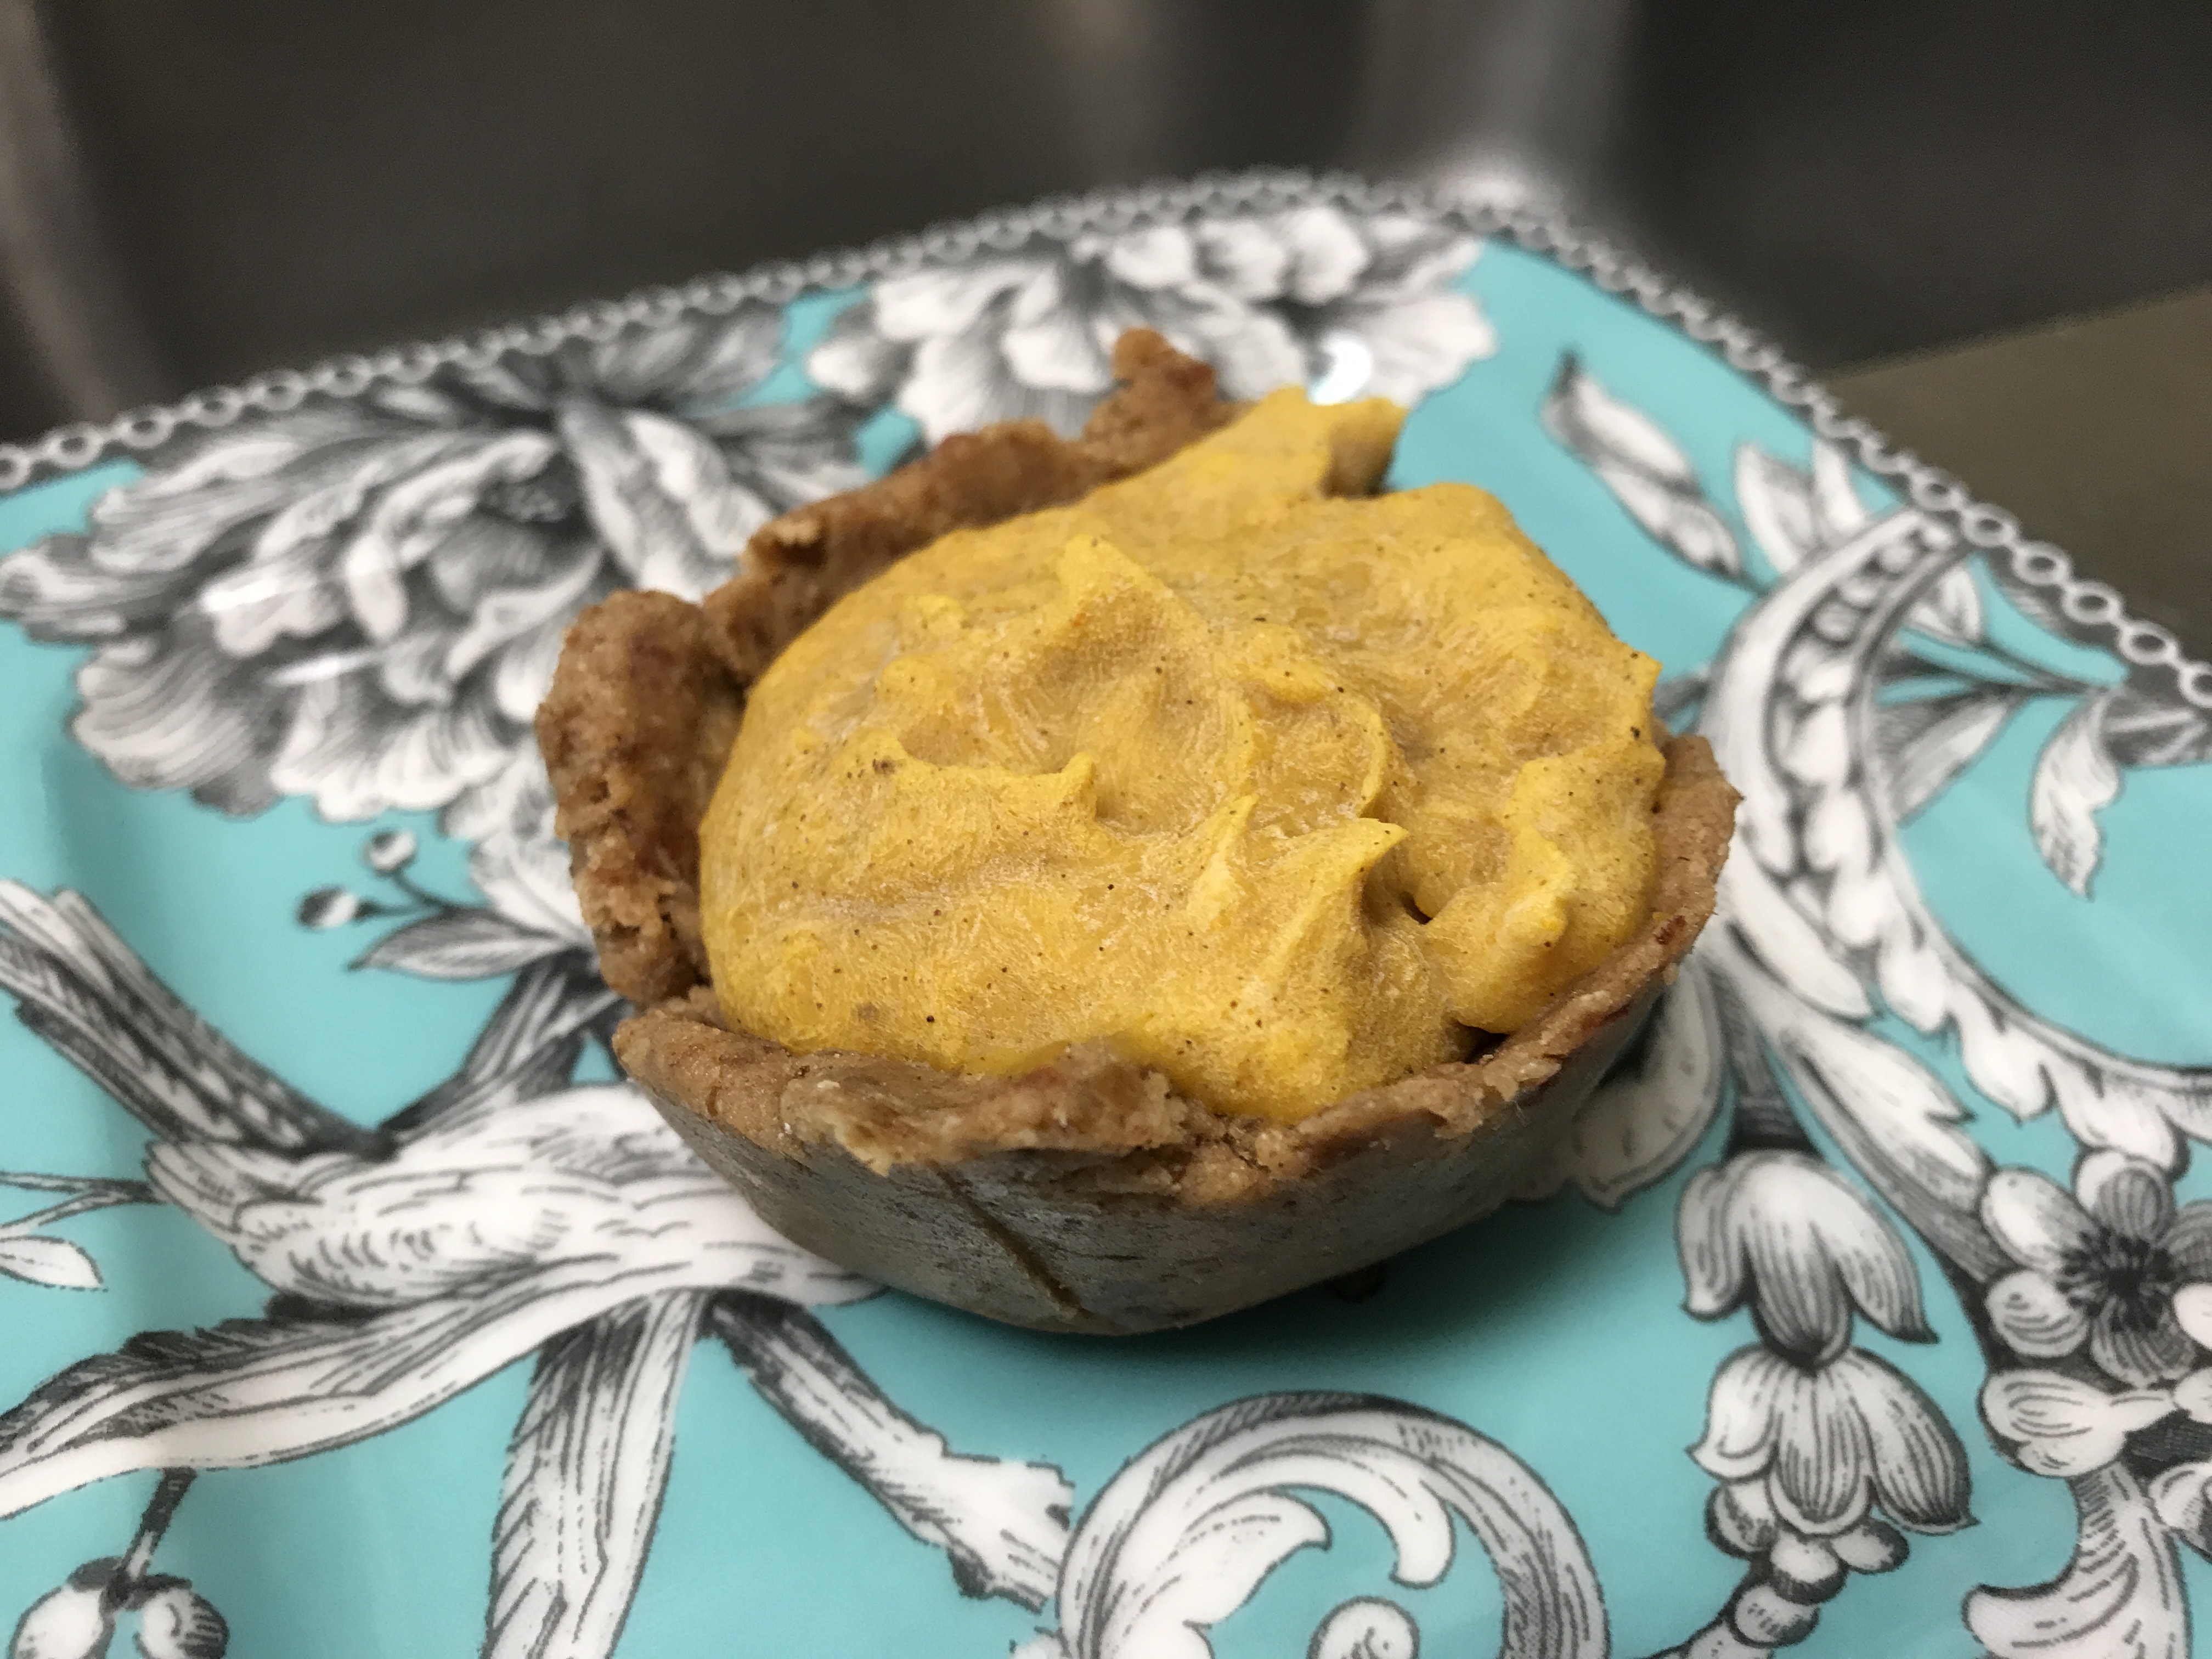
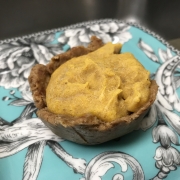
Recipe: Pumpkin Protein Cups

Fall is one of my most favorite times of the year! Not only does California get perfectly groomed waves combed by off-shore IMG_0855
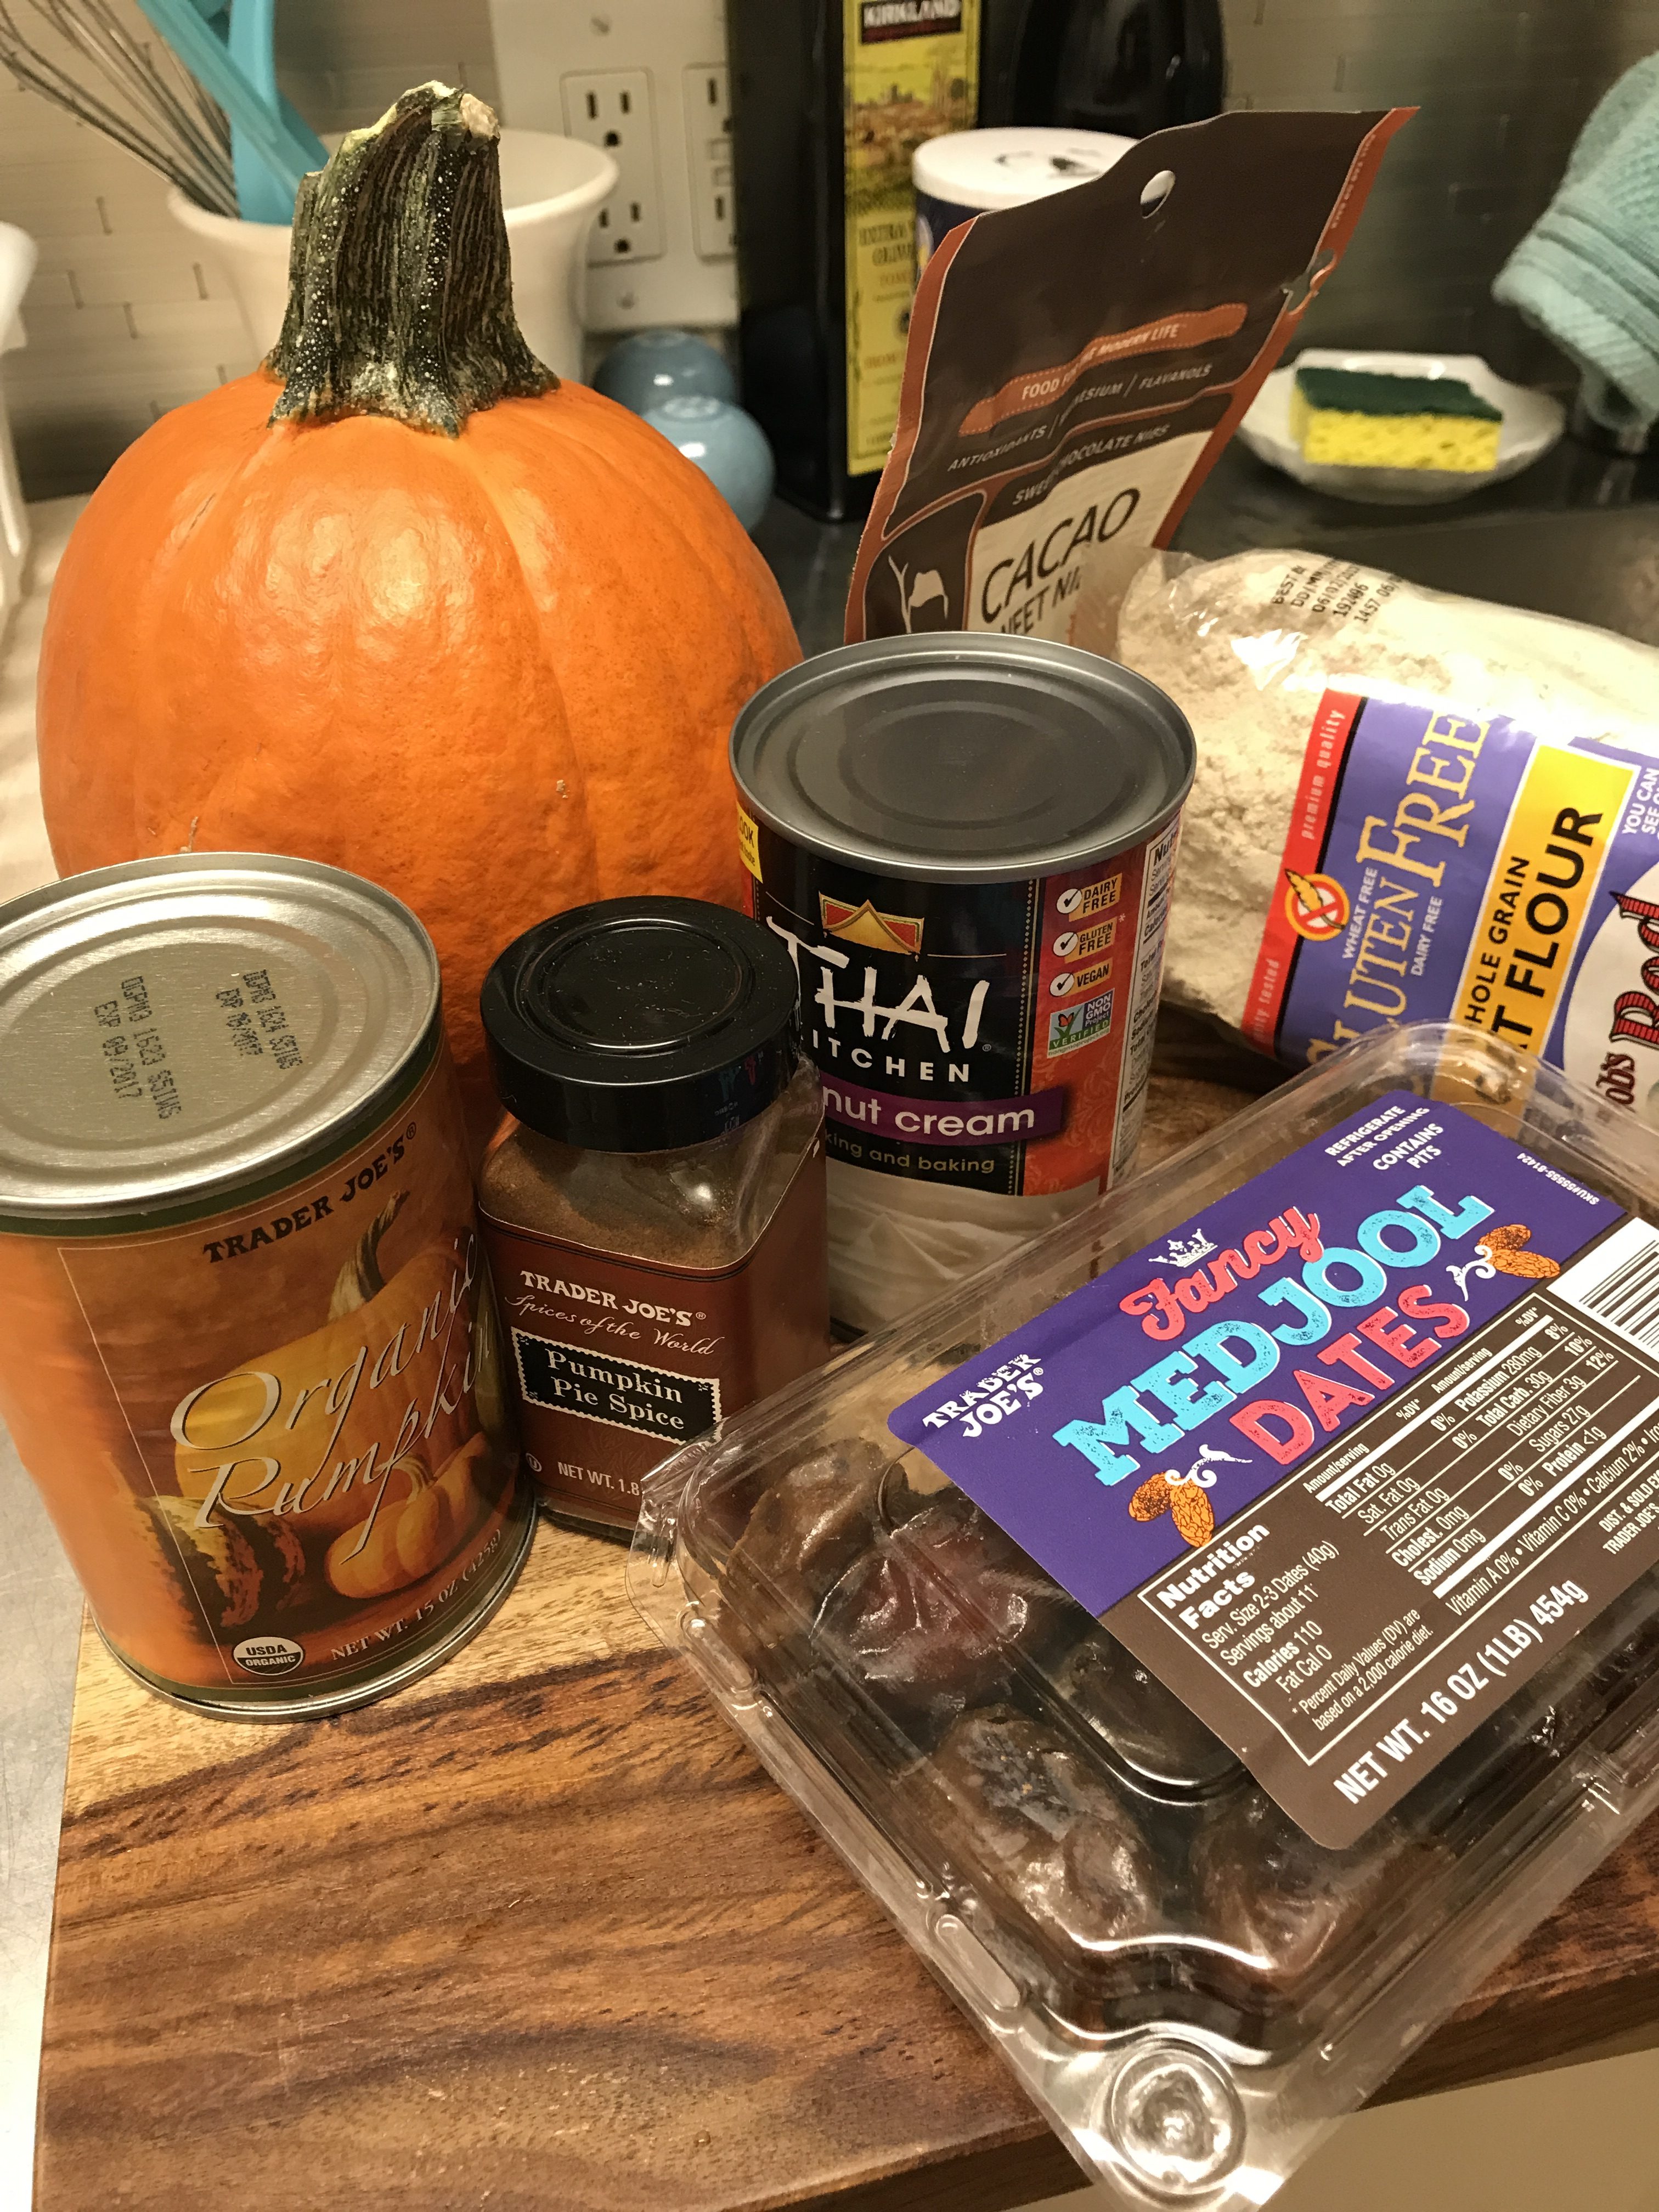
conditions, but there are also a plethora of yummy recipes to explore. I generally try to lean towards the healthier version of the many Fall baked goods, specifically ones that are simple. It’s so fun to make something that does not require tons of sugar and butter, which often result in eaters remorse for me.

I found this recipe on One Green Planet’s “Food Monster” section.

Tried it, had a few modifications and looooooved it. Give it a shot!

Crust:

  • 1 1/4 cup gluten-free organic oat flour (or sub with almond flour or any other GF flour)
  • 2 tablespoons protein powder of your choice
  • 1/2 teaspoon pumpkin pie spice
  • 1 cup soaked Medjool dates
  • 2 tablespoons maple syrup (or sub with agave or honey)
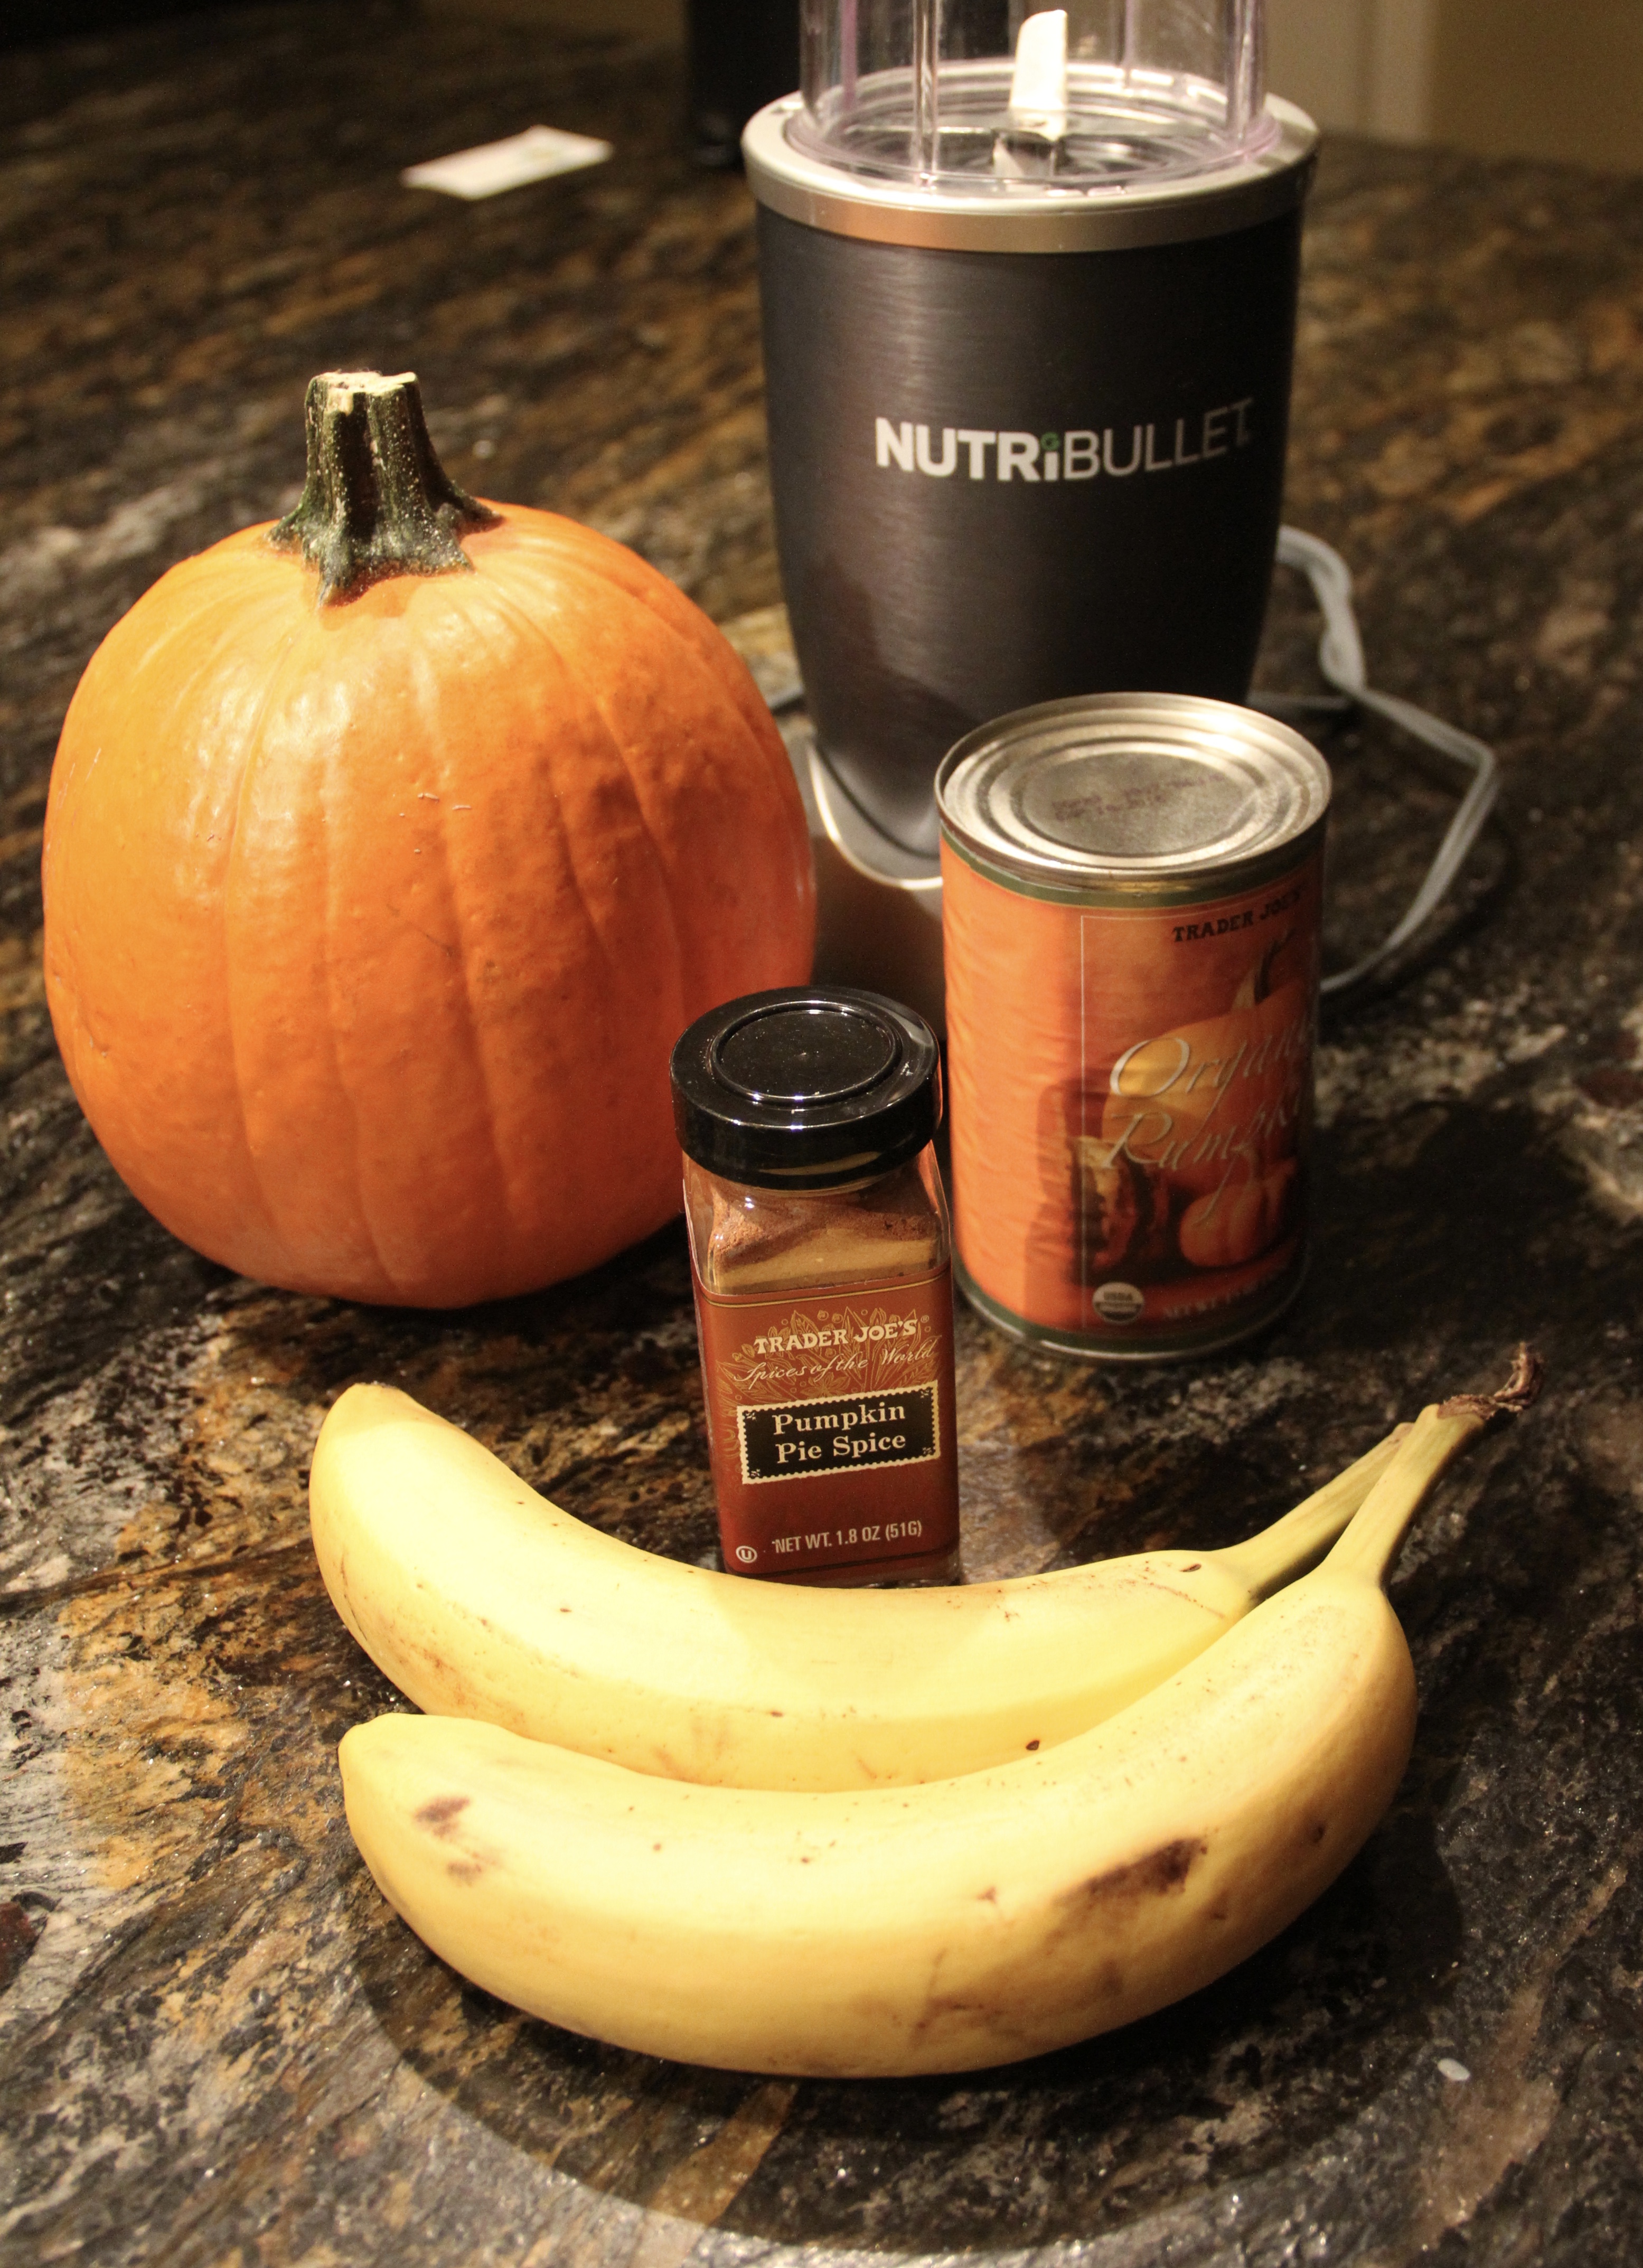
Filling:

  • 1 cup pumpkin puree
  • 1/4 cup coconut cream
  • 2 tablespoons maple syrup (I used Agave)

Directions:

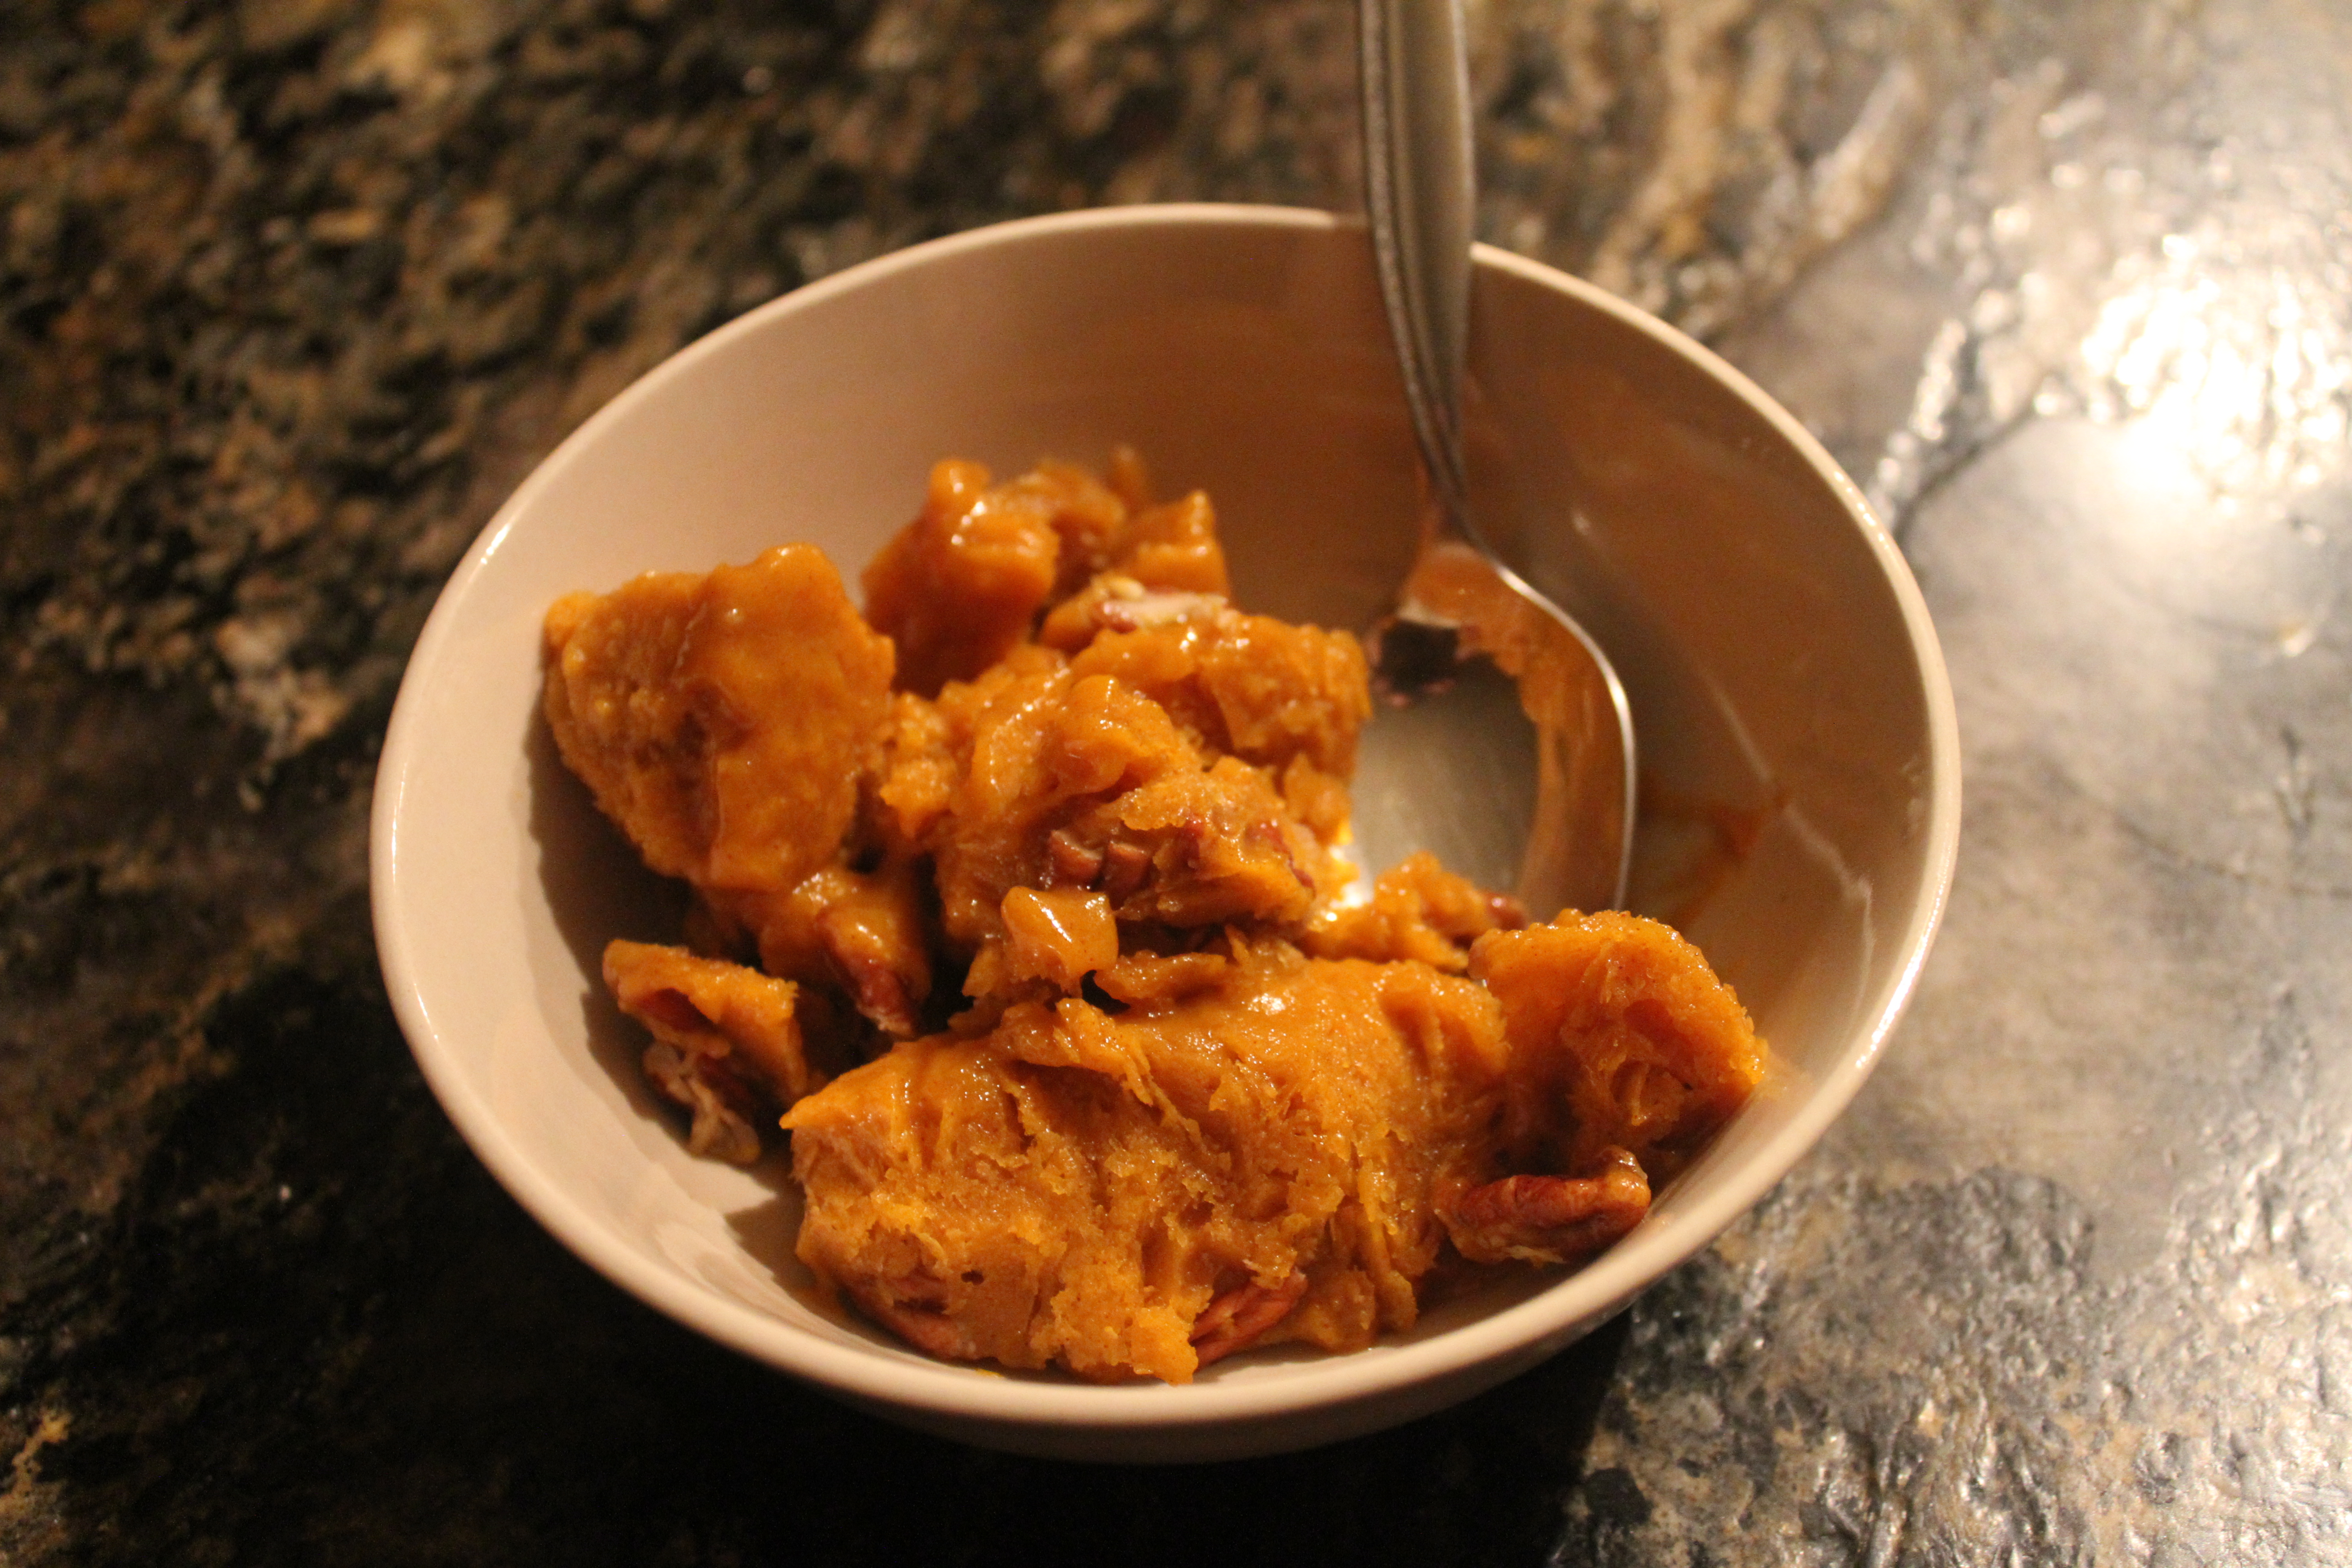
Soak the Medjool dates in warm/hot water for about 10 minutes to soften. In a food processor, blend the GF flour of your choice, protein powder, pumpkin pie spice, softened dates and maple syrup to form a semi-sticky but malleable dough. Line cupcake tin with wax paper and/or cupcake cups. Scope enough dough to line the inside of the cupcake cup, based on your preference. I lined it 1/2 an inch. The more dough you use, the less cups you will create.
Refrigerate the cups and begin on the filling. In a small bowl, whisk together pumpkin puree, coconut cream and maple syrup (or sweetener of your choice) until well-combined. Scoop filling into the cups, add toppings, if desired, and stick in freezer for 15 minutes.

Consume, enjoy, pumpkin-fy your life!

IMG_0865


Recipe: Pumpkin Ice Cream

It’s officially fall! …Right?IMG_9219

Despite the fact that where I live the air temp still pushes towards the triple digits, I find myself in the fall mood. Somehow soups and casseroles or anything involving additional heat just doesn’t feel right…literally.

Though the closest thing we have to a leaf color change is due to California’s serious lack of water, I can always dream of seasons that include cute sweaters and unique soup recipes. Until then—let’s compromise!

Pumpkin Ice Cream, folks! (er, um…emphasis on the ICE). I initially found this recipe on good old Pinterest (surprise!) which lead me to The Gracious Pantry blog. I’m not exactly a health nut, but I do like to experiment with new and seemingly simple recipes that involve minimal ingredients. While I generally avoid dairy, the concept of frozen bananas passed off as “ice cream” was one I had seen repeatedly in other vegan recipes.

Does it work? I mean– How can you go wrong with bananas, maple syrup and pumpkin?! Easy assembly, guilt-free post 8 p.m. snacking, festive flavors and, best of all, weather-appropriate!

Oh yea—I confess: Coincidentally I already had all of the ingredients, too. :D


Ingredients:

  • 4 Bananas, sliced and frozen overnight
  • 1 cup pumpkin puree
  • 1/3 cup maple syrup (or honey! :) )
  • 1 1/2 teaspoon pumpkin pie spice
  • 1/3 cup pecans

Directions:

With the exception of the pecans, put all ingredients into your most awesome food processor or blender. Blend until creamy. Add pecans for a most awesome fall crunch. Store in freezer-safe container overnight. Remove from freezer. Use an ice pick to consume (but not really).


You will want to let the ice cream sit out for a few minutes before carving into it…unless you want to warm up those pumpkin carving muscles. This ice cream is yummy, but dense. Patience is a virtue, but if your sweet tooth hits you at 8:03 p.m., know that you will be eating this ICE cream by 8:33 p.m.

Happy fall eating!


IMG_9231


Going Bananas!

These are no ordinary cookies...

These are no ordinary cookies…

My recent culinary obsession has been fixated on healthier alternative ingredients such as applesauce for sugar and garbanzo beans for…well, pretty much anything.

I confess: Pintrest has been the pinnacle of my online searches, as of late and I seem to find the most interesting recipes, tips and photos…sorry, Google. :)

It’s that time of the year where sugar laden cookie classics appear from the long traditional woodwork and pump legalized crack dosages in the form of sugar through blood streams across the nation. Somehow I justify my guilty consumption by the lack of sleep from dawn patrol sessions, holiday parties, the 80/20 rule and the time-swallowing gift “hunting and gathering” process. I’ve discovered battling cracked out lineups, trekking from parking spots located on Planet X and then doing the shoulder bump through aisles at the malls and stores are quite the calorie burners!!

In the midst of a sugar cacophony, I find these banana chocolate chip cookies are a simple cookie alternative that will ‘wow’ your pals, keep your stomach from boiling over and quell those guilty feelings as you squeeze into that wetsuit…if you feel that sort of thing during the holidays:

Ingredients:

Banana cookie swag: some consumption may be required.

Banana cookie swag: some consumption may be required.

  • 3 ripe Bananas-peeled (these serve as the substitute for butter)
  • 1 Tablespoon of a nut butter of your choice (I like almond or sunflower seed because the taste isn’t as distinct  as peanut butter)
  • 1 Tablespoon honey
  • 1/2 cup rolled oats
  • 1/4 cup semi-sweet chocolate chips (yes these have a bit of sugar, however, add your favorite cacao alternative!)
  • Dashes of cinnamon (cinnamon junkie over here!)*
  • 2 teaspoon flax seed
  • 1/4 cup walnuts*

*This recipe is completely customize-able, so I add the walnuts and cinnamon because I think these ingredients go so well together.*

Directions:

The inside scoop on banana cookie goodness.

The inside scoop on banana cookie goodness.

Preheat the oven to 350 degrees. Put all ingredients in a mixing bowl and smash together with a fork. Make sure to break up those clumps of the bananas…unless your going for the chunky monkey effect. Spoon mixture onto greased up tray and bake for 8-10 minutes. Once the tops of the cookies are about a golden brown, remove from oven and let them cool for 5 minutes…if you can stand the wait. These cookies are pretty delicate, so letting them cool is essential. Once the cookies are cooled and your house smells amazing, consume at will.

WARNING: These cookies have been known to disappear if left out. No exact cause has been determined, however, it is believed family members, friends, co-workers and roommates are to blame.