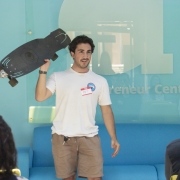
Sean Jansen is a rare human being who delights in the most amazing and intimidating of experiences. From driving solo to the further outreaches of desolate Baja coastlines to braving Northern California’s frigid large surf, to taking off for years on end to travel the world, he’s always got an adventure up his sleeve–which is why I didn’t flinch when he told me about trekking the ENTIRE Pacific Crest Trail.
Born and raised in San Clemente, California, Jansen grew up surfing San Clemente’s wide variety of waves and absorbing the beach culture lifestyle. He currently enjoys chilly surf breaks, incredible nature preserves and a solid Eel River IPA about 950 miles north of his hometown in Humboldt county. Since a Lower Trestles session in 2010, he’s been a good friend of mine and has continually motivated me to surf harder, go outside of the proverbial orange bubble and enjoy nature.
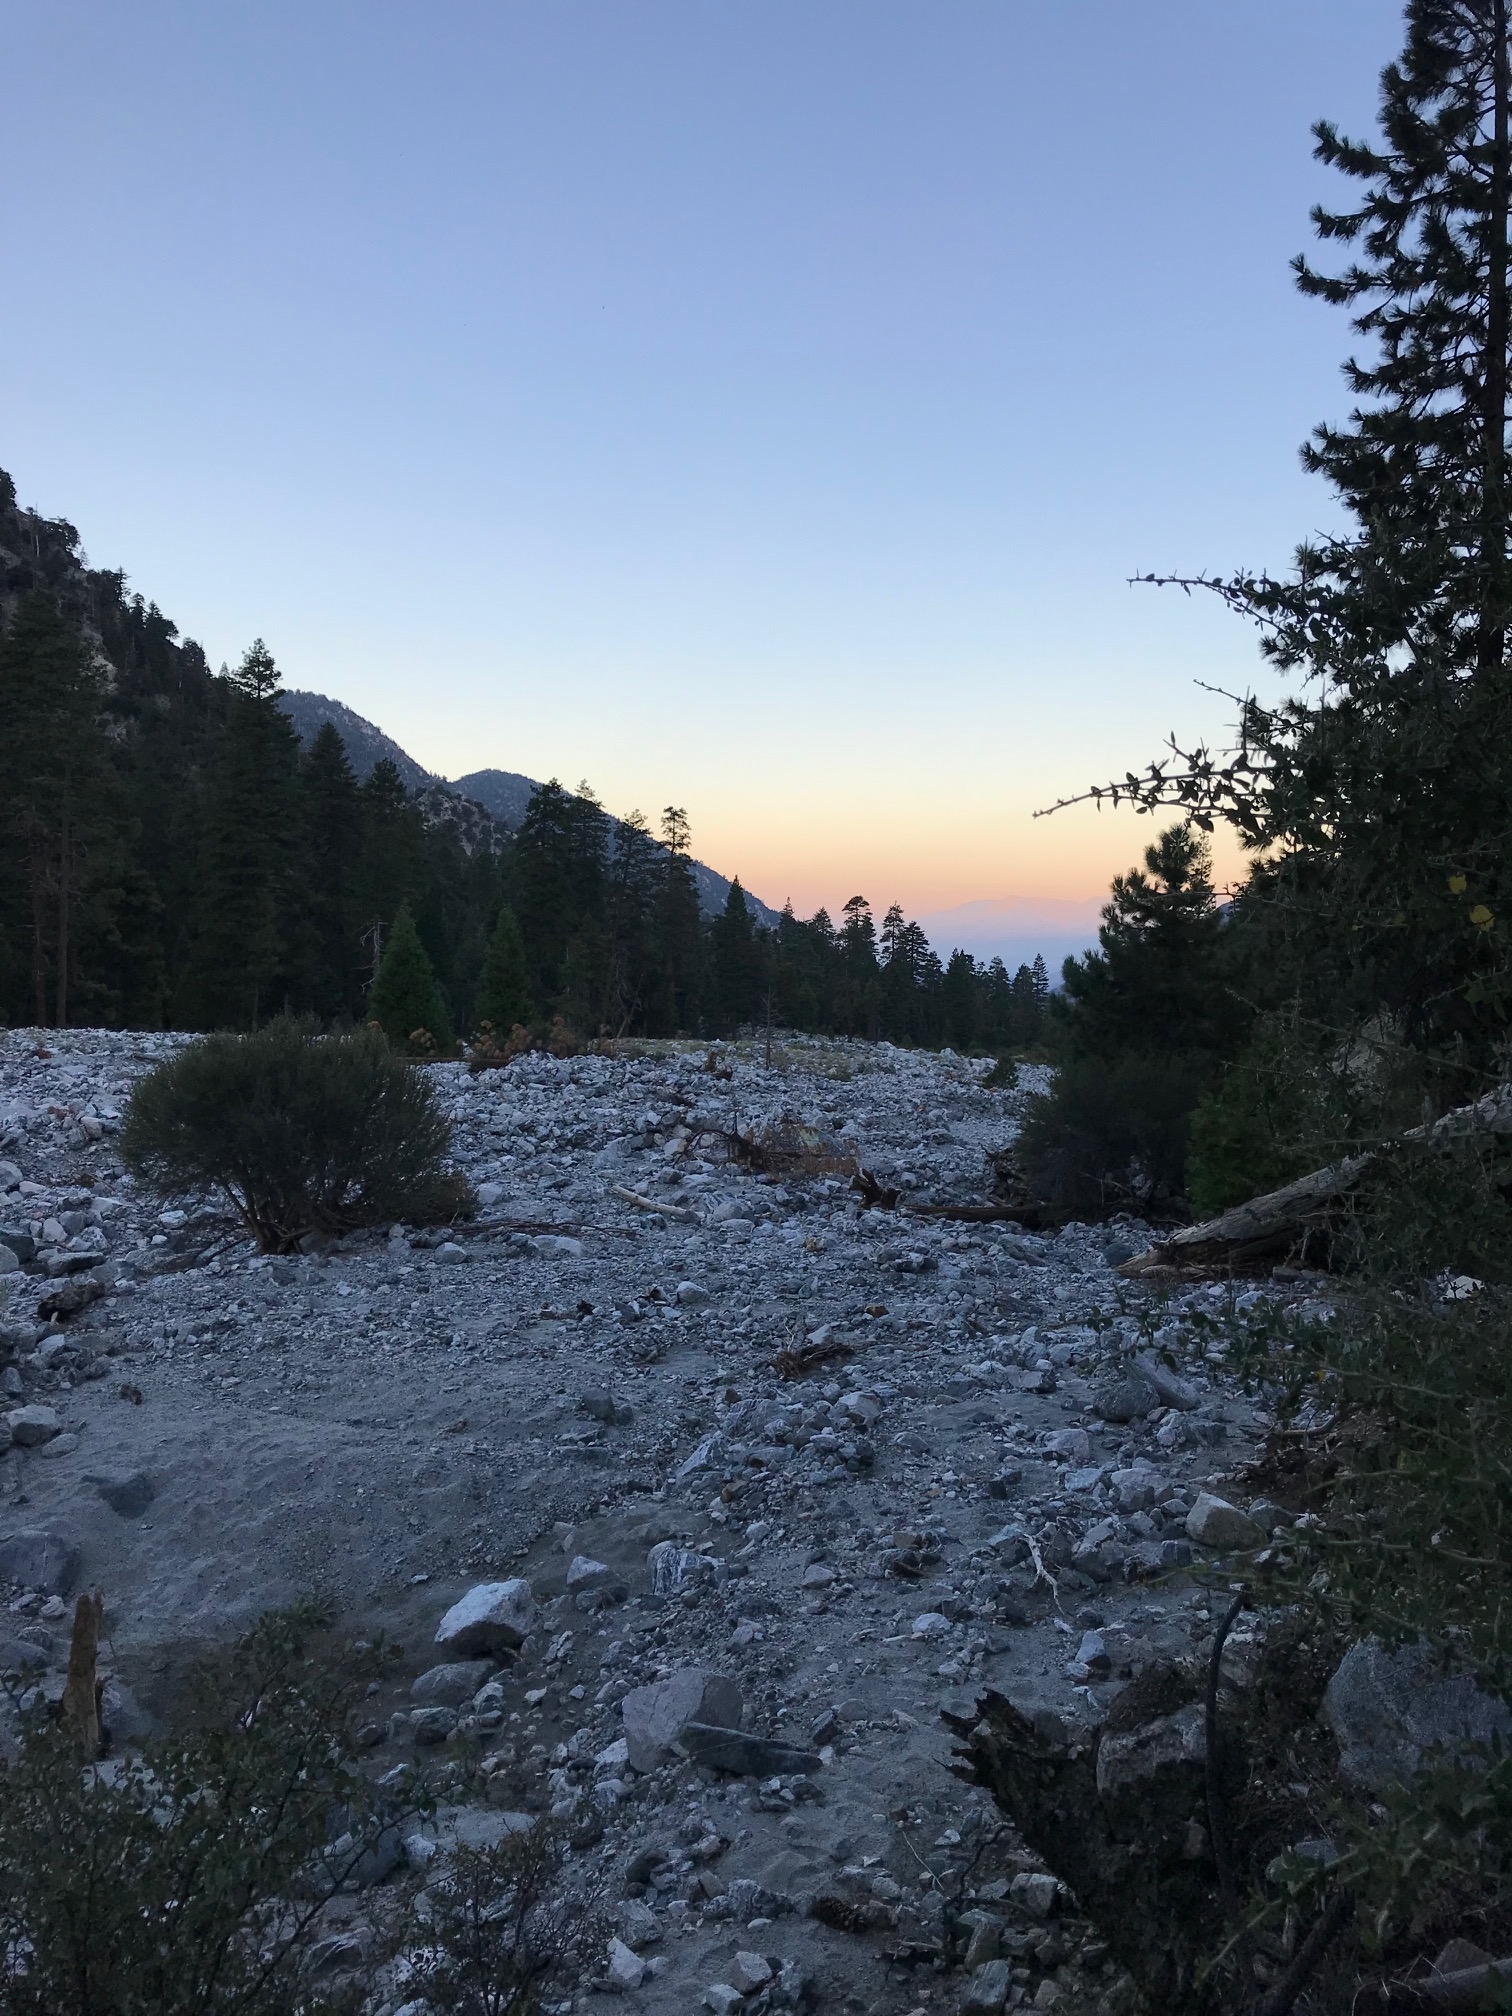
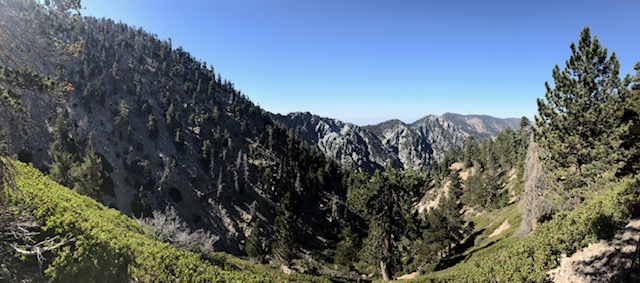
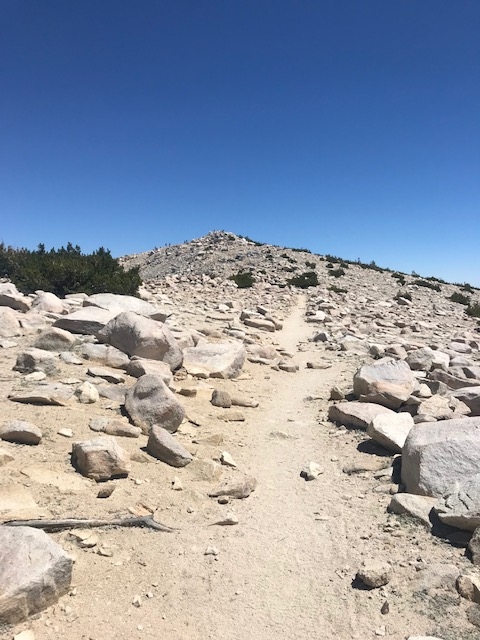
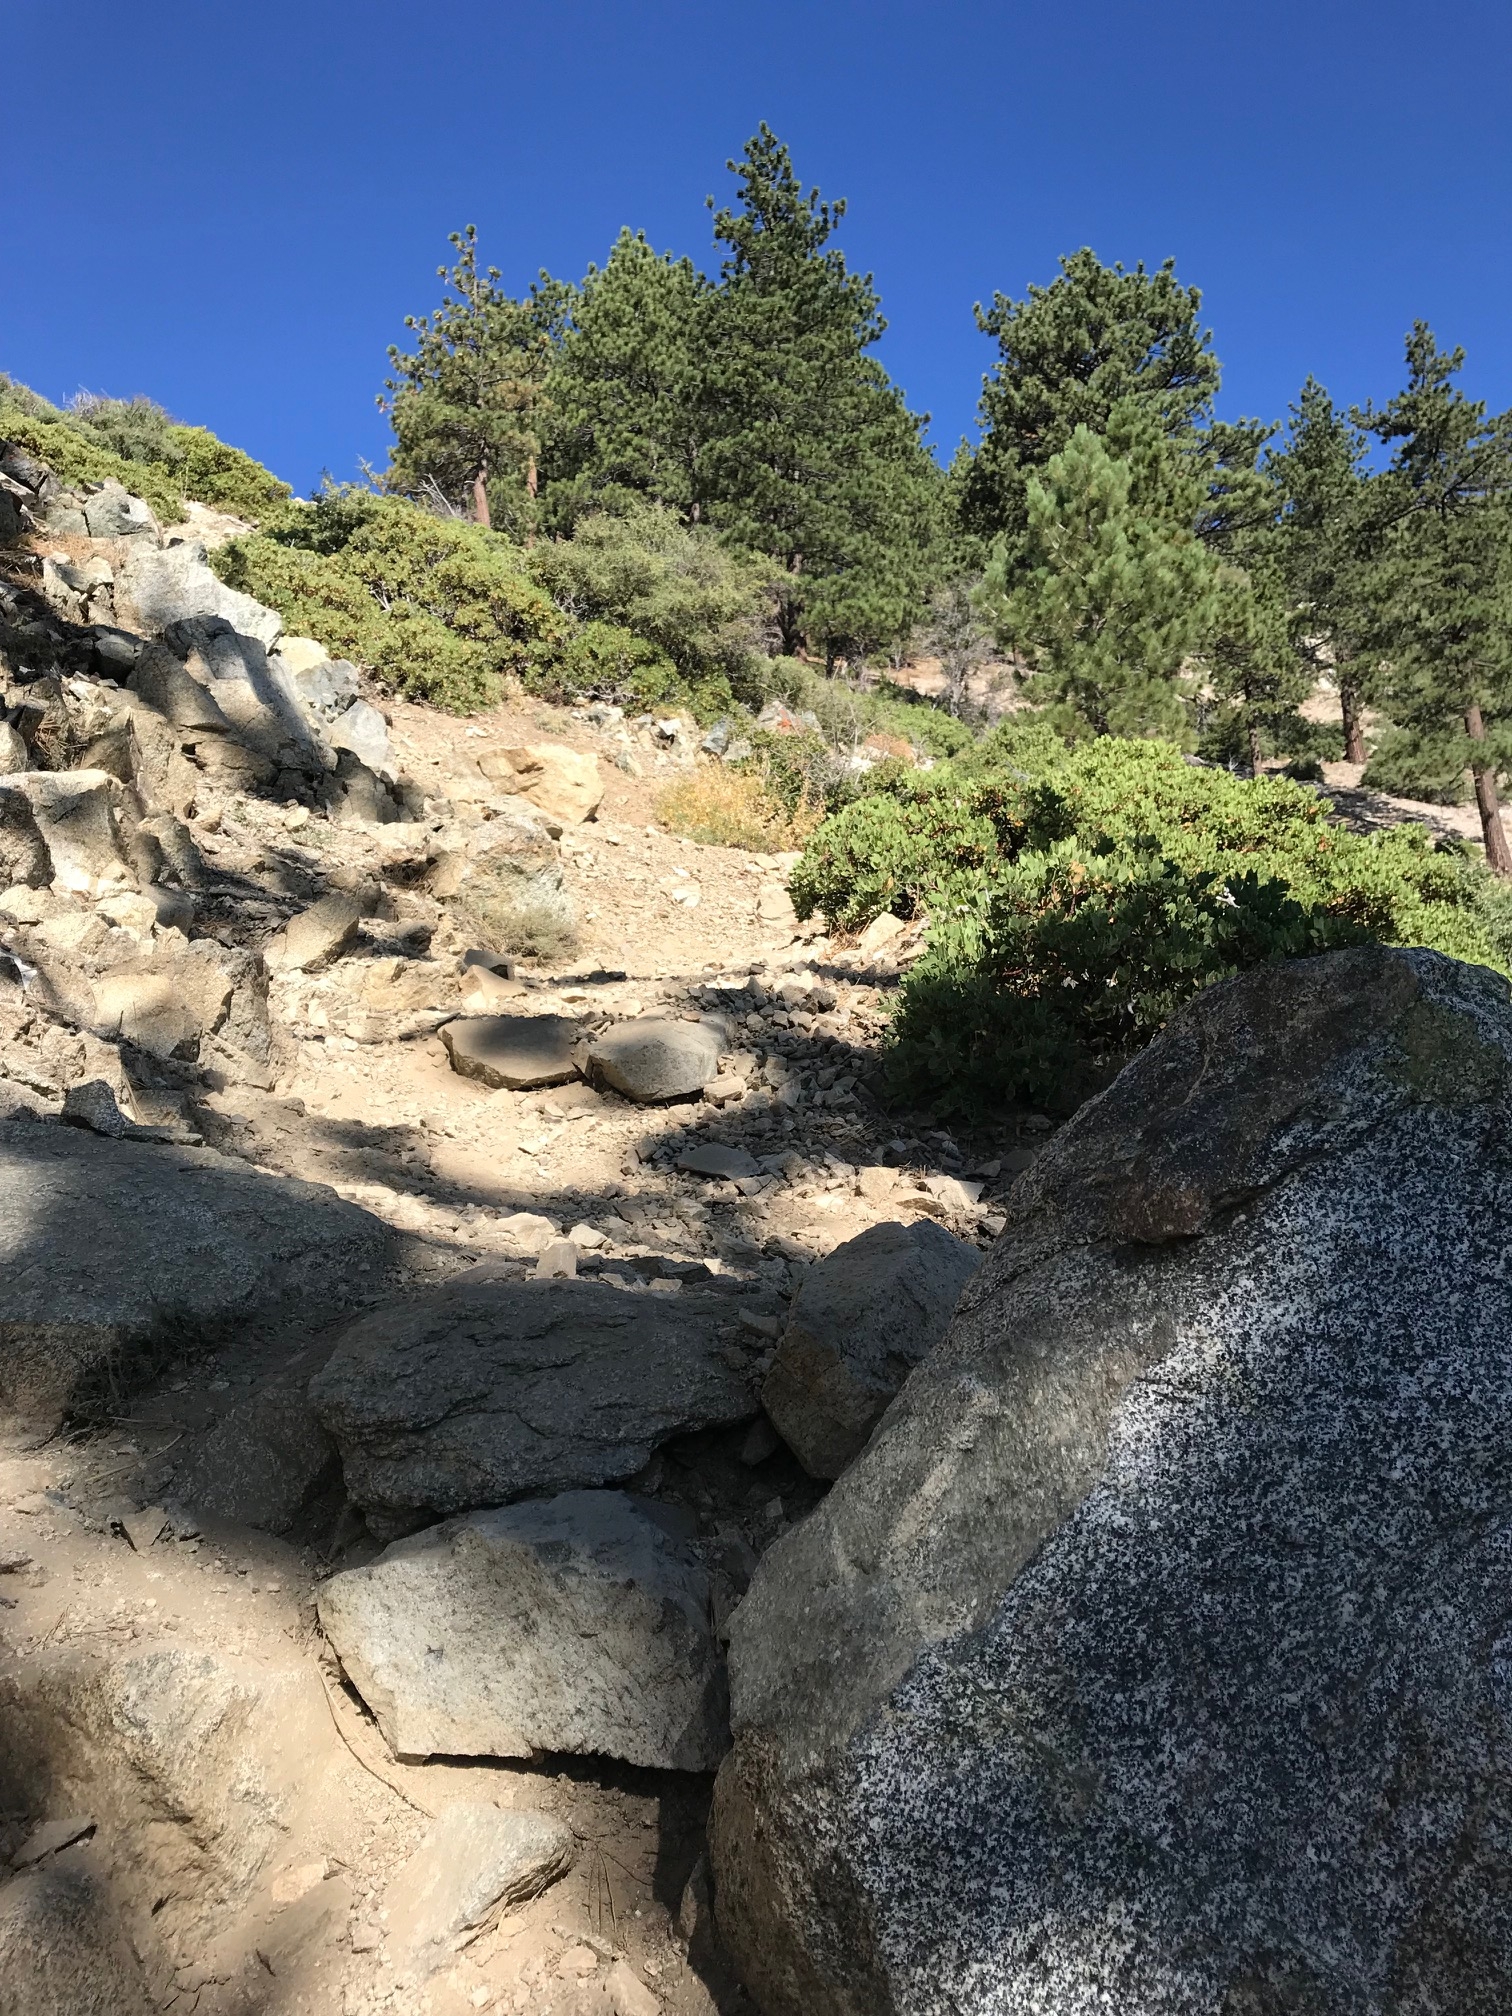
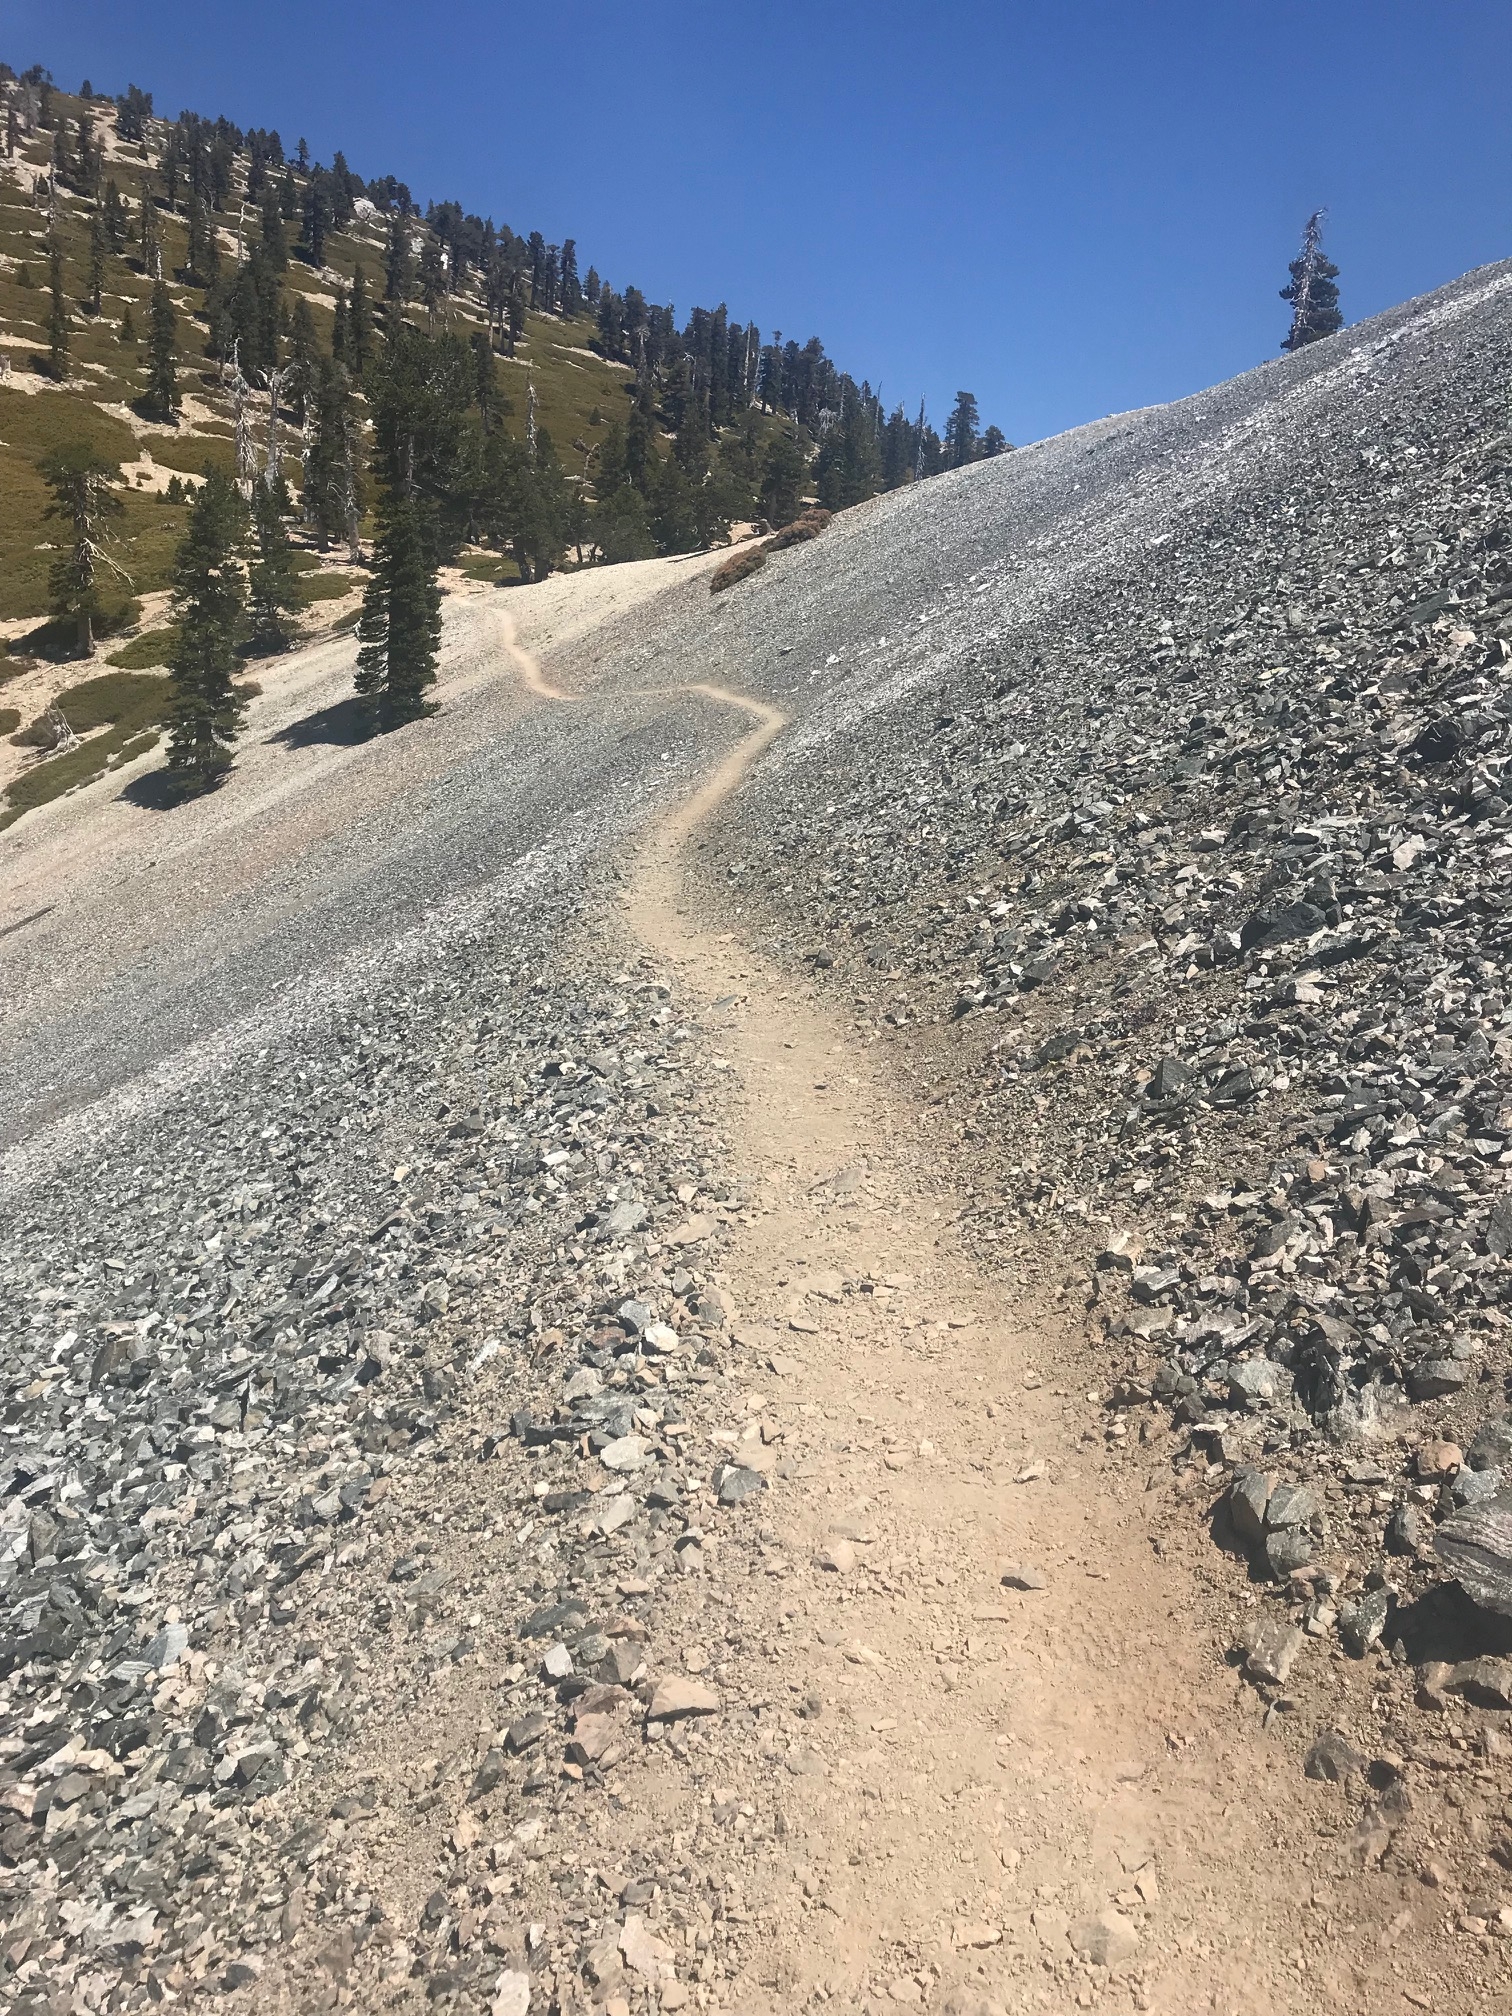
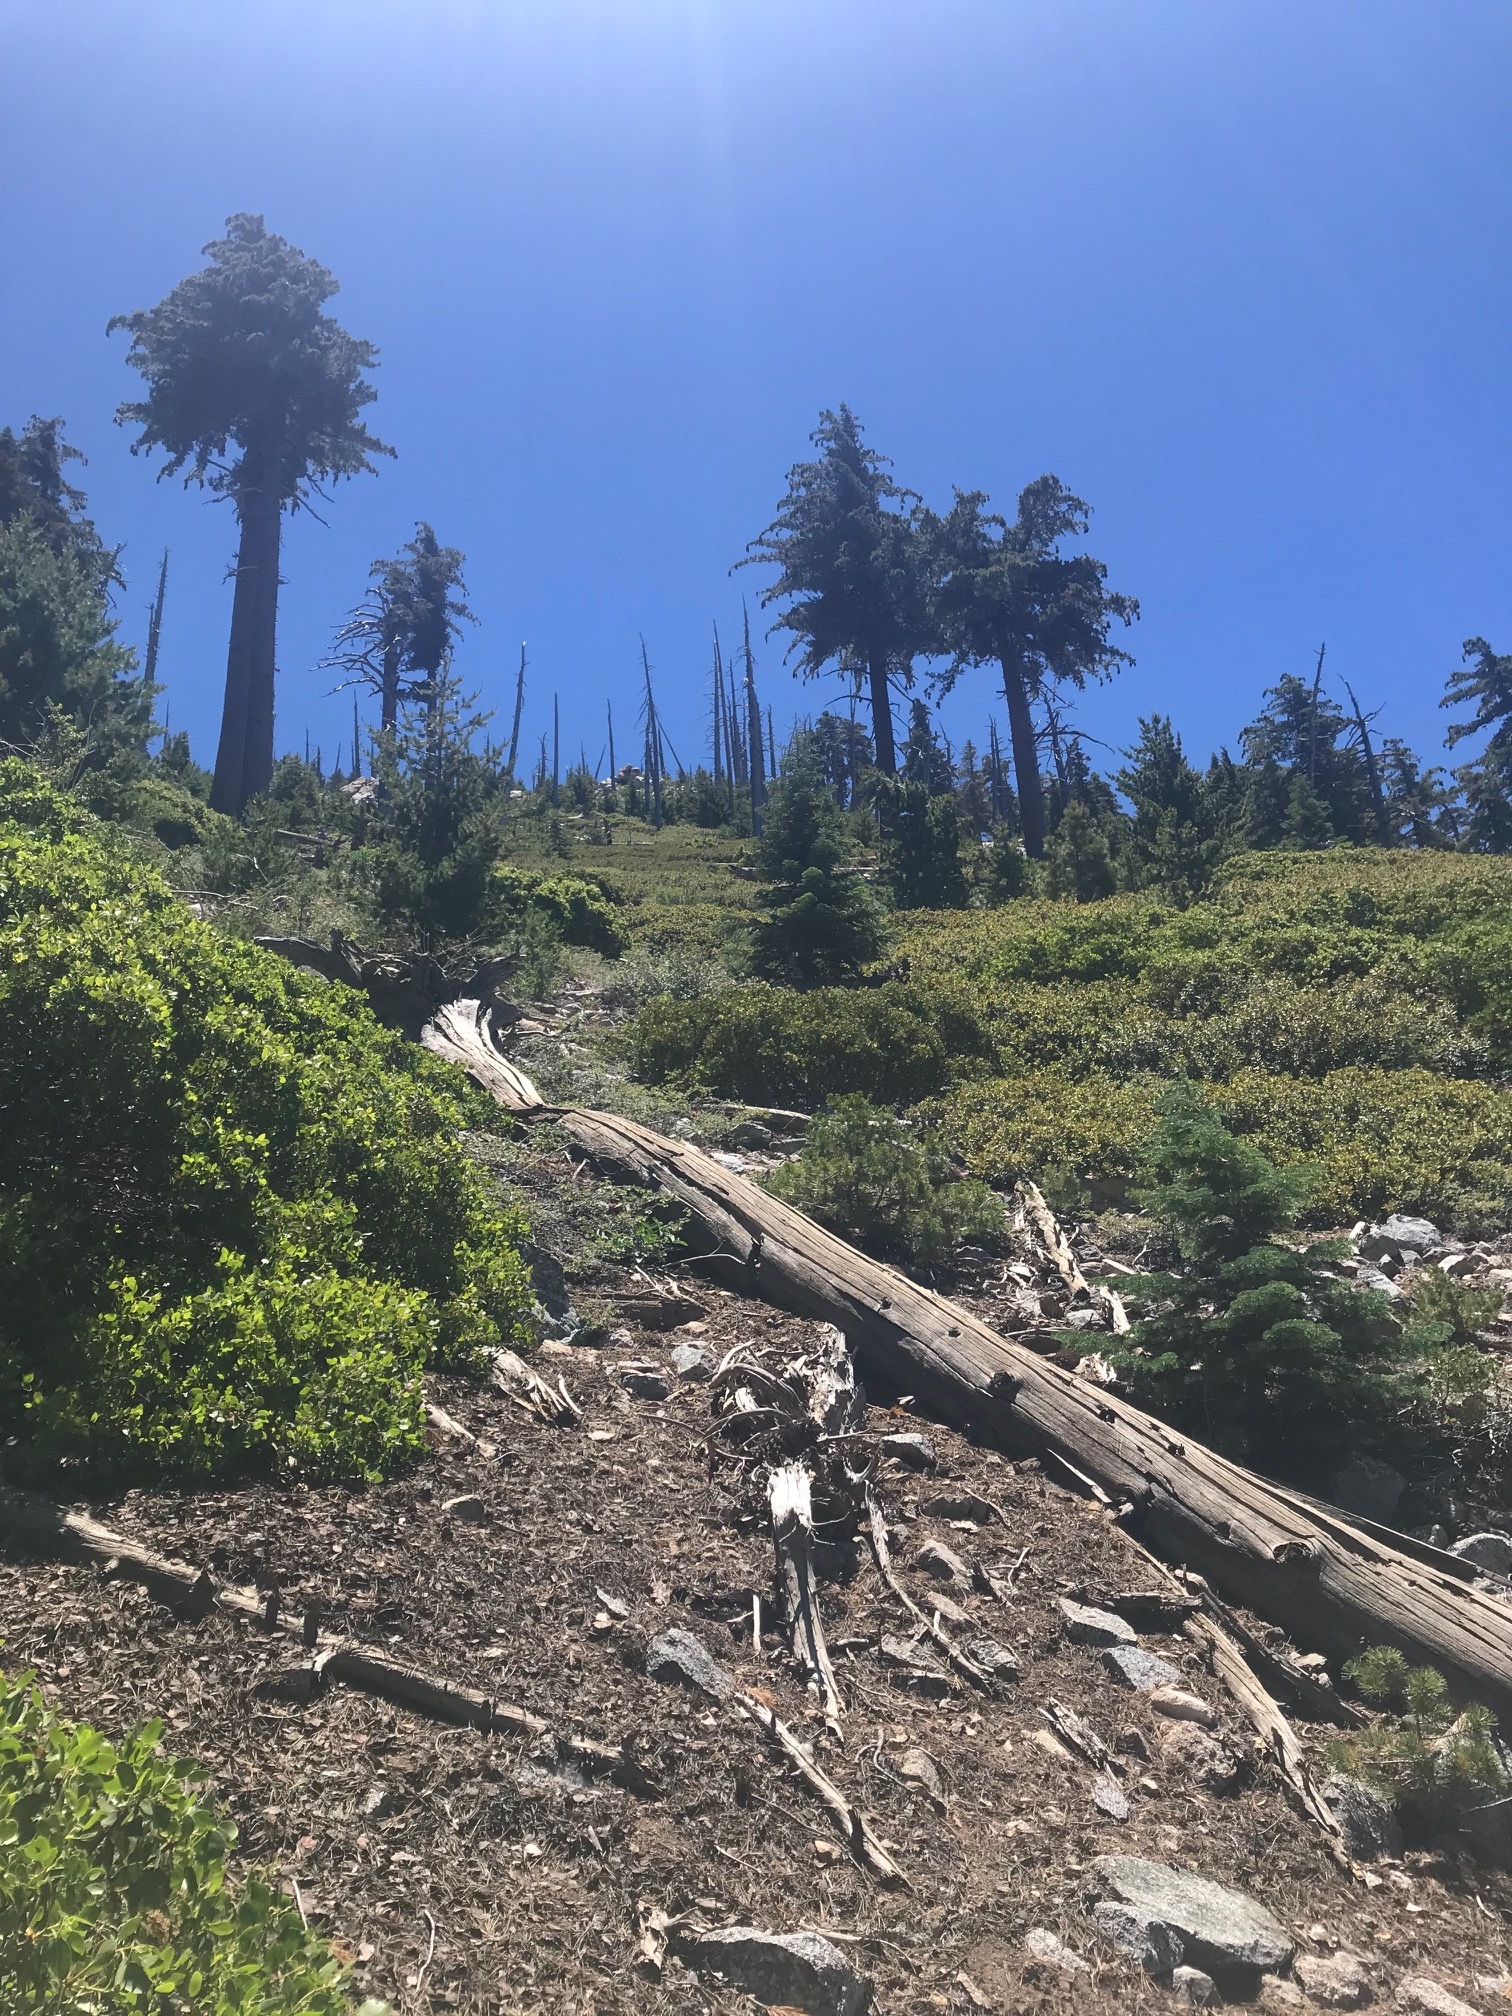
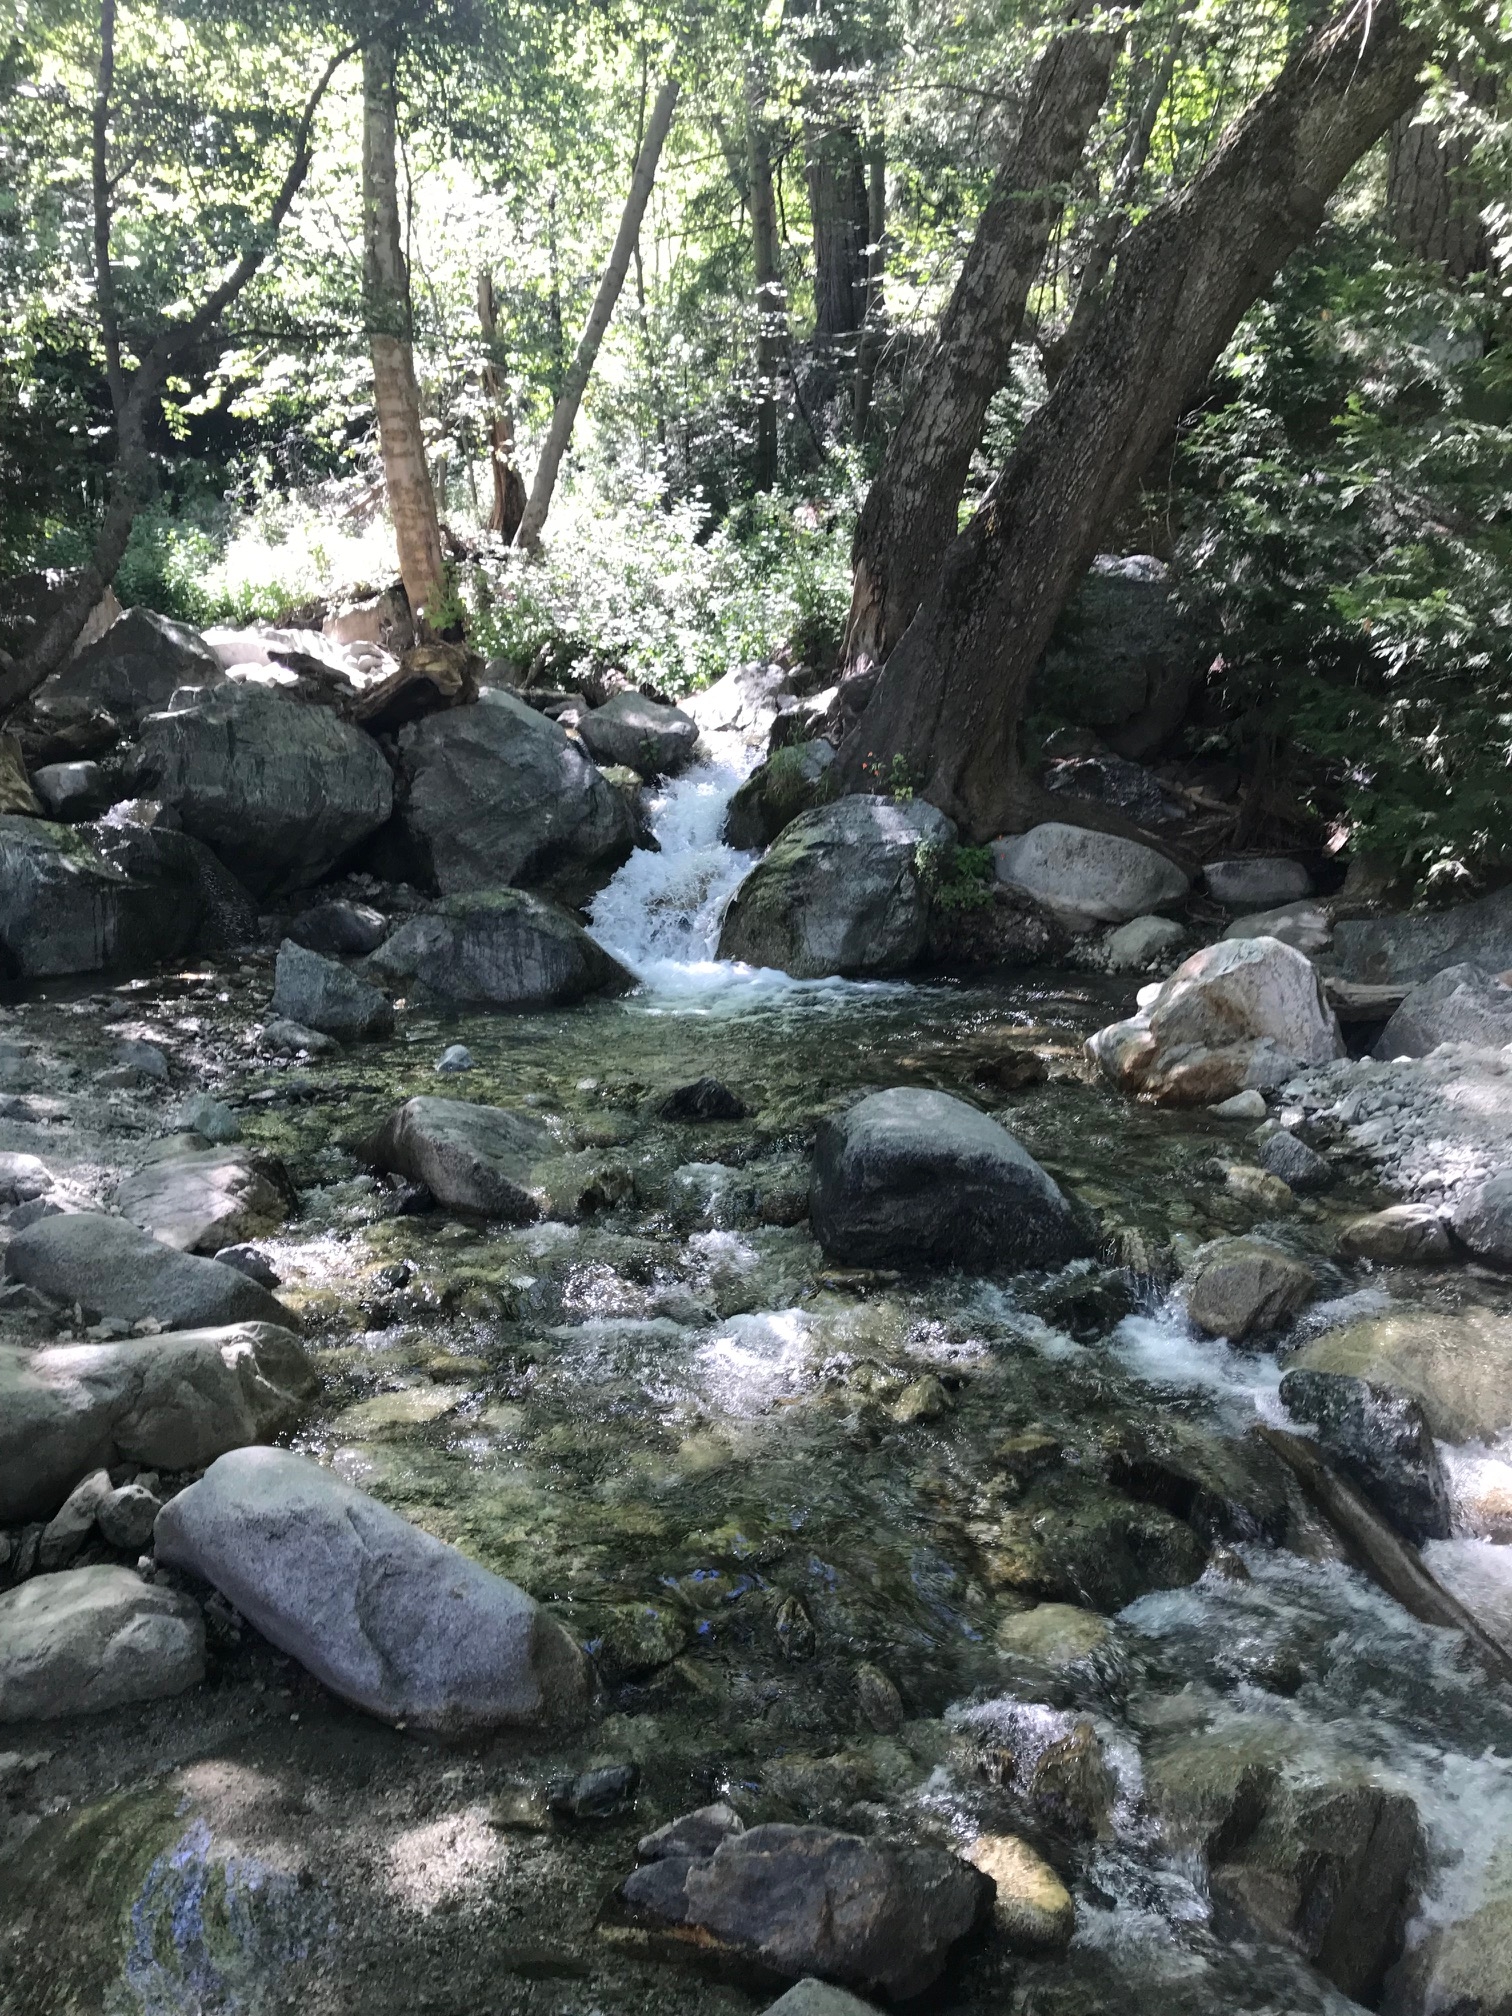
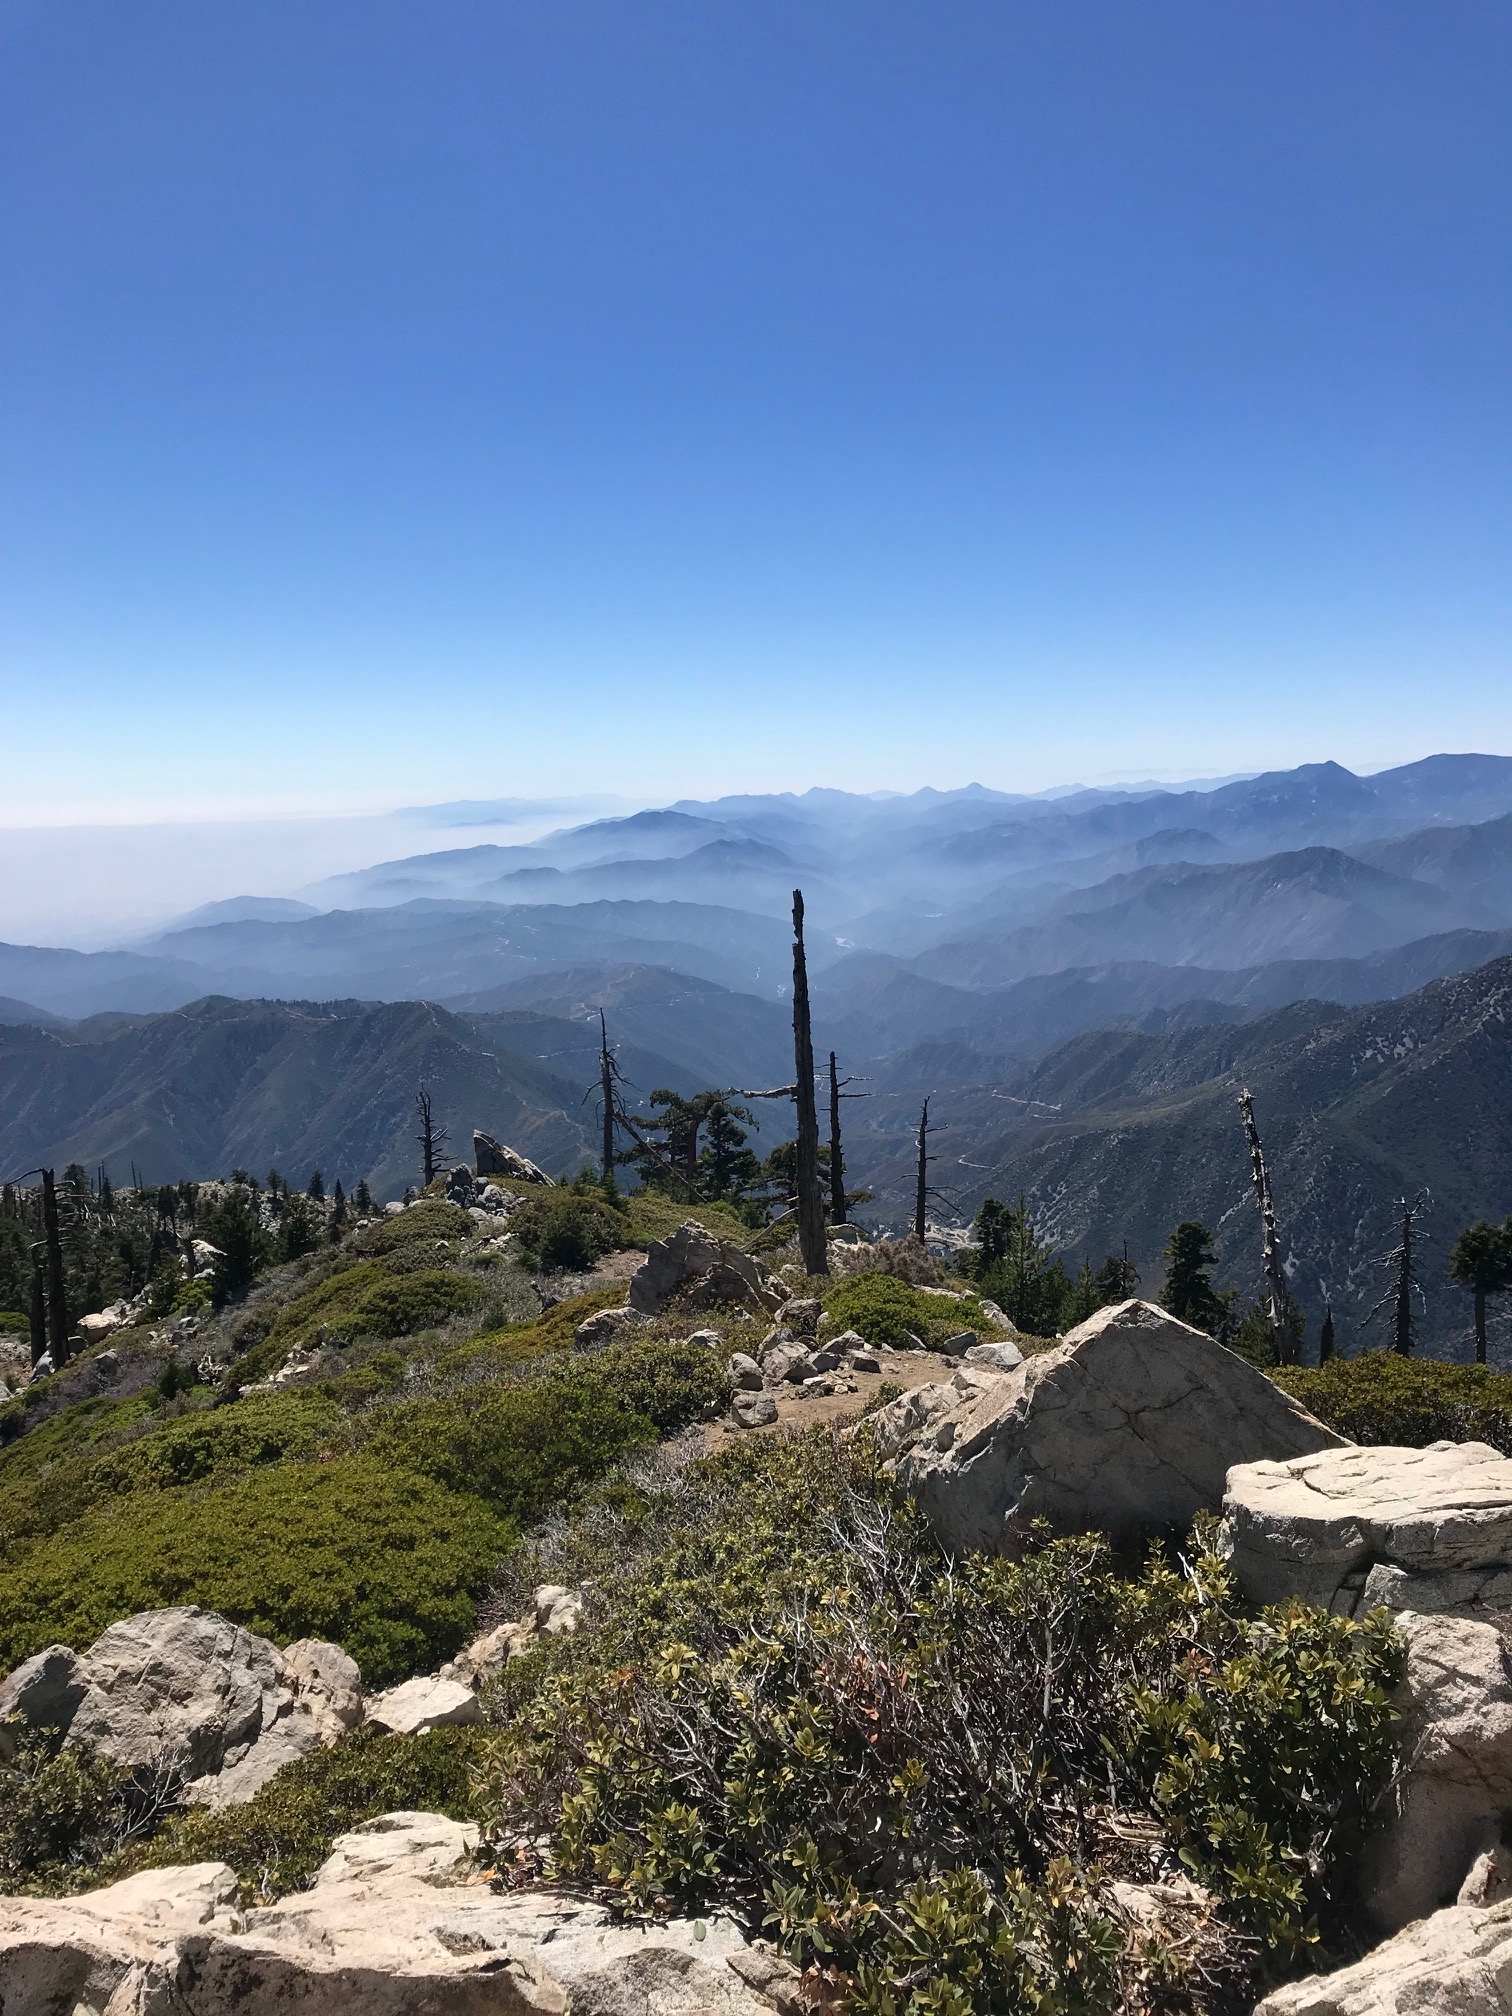
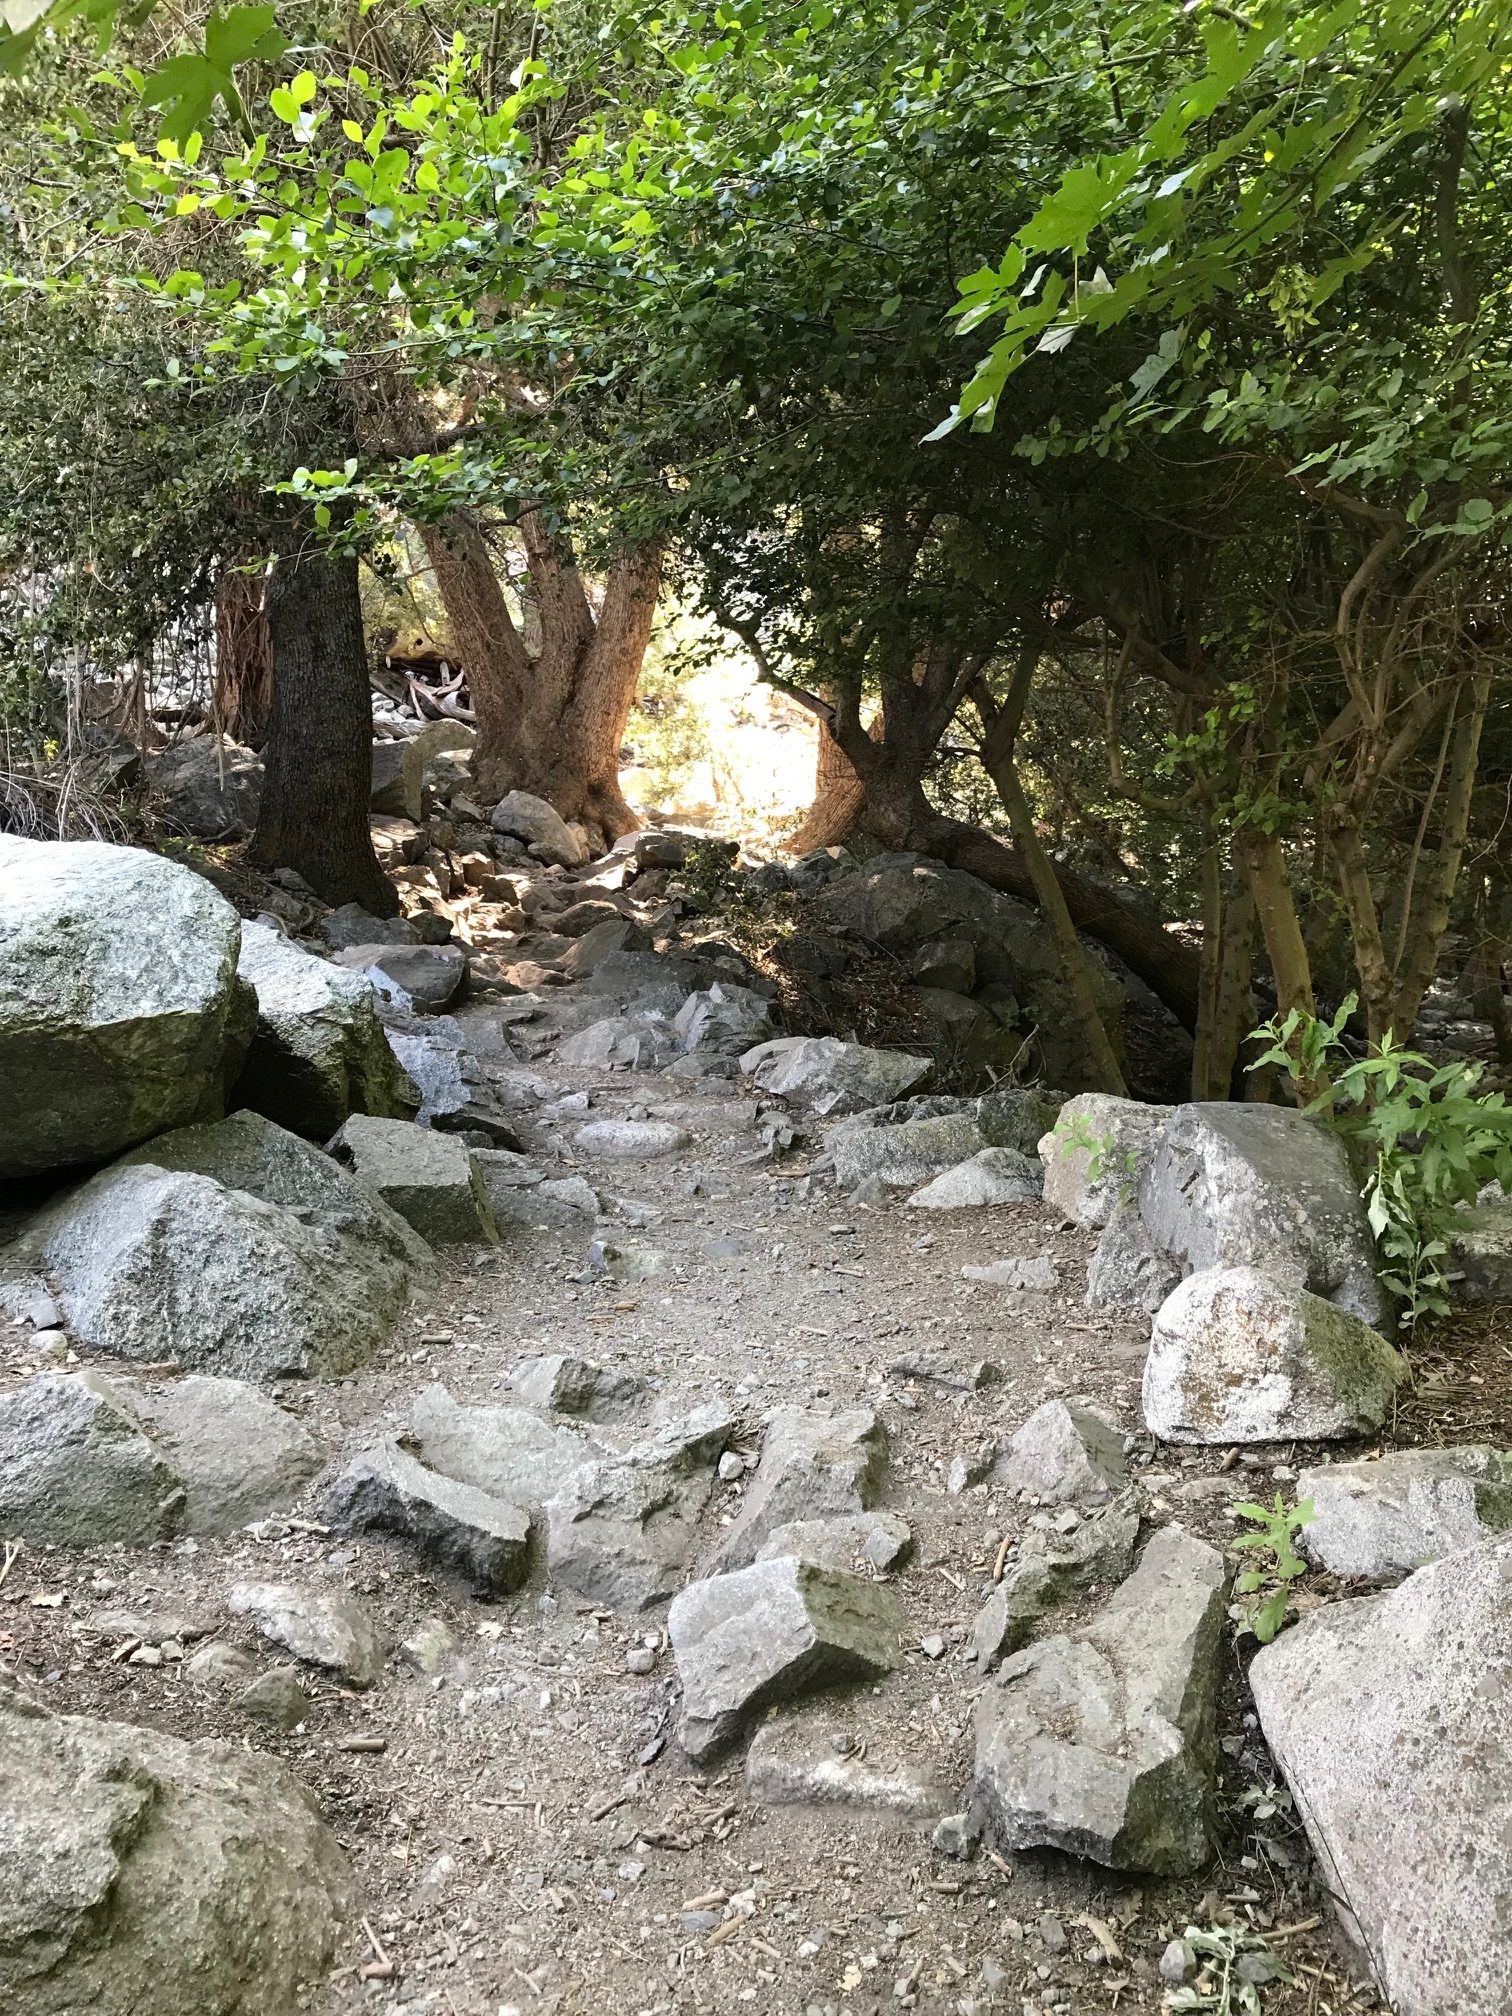
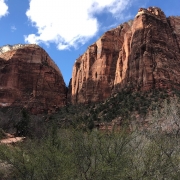
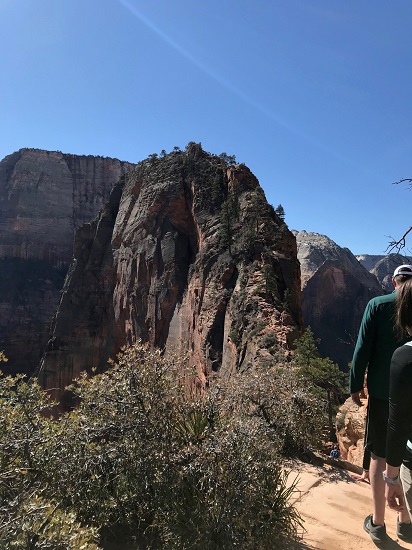
According to the Pacific Crest Trail Association, this infamous PCT stretches 2,650.10 miles from Mexico to Canada. PCT spans across mountain ranges, valleys, deeps forests and deserts–a photog’s dream for pictures a-la National Geographic.
To no surprise, Jansen hiked 131.06 miles beyond the calculated amount: 2,781.16 miles.
I recently caught up with Jansen about his hiking journey of epic proportions:
1.) What made you want to hike the entire PCT?
 It was kind of like a culmination of a bunch of things.
I was living with my parents in Montana and was working construction saving every single penny. Within three months, I had saved several thousand dollars saved and had the option to go travel again, but I was kind of bored of traveling, as weird as that sounds. I wanted to do something different. A friend posted on Facebook that he was going to hike the PCT and that kind of re-invigorated my desire to want to hike.
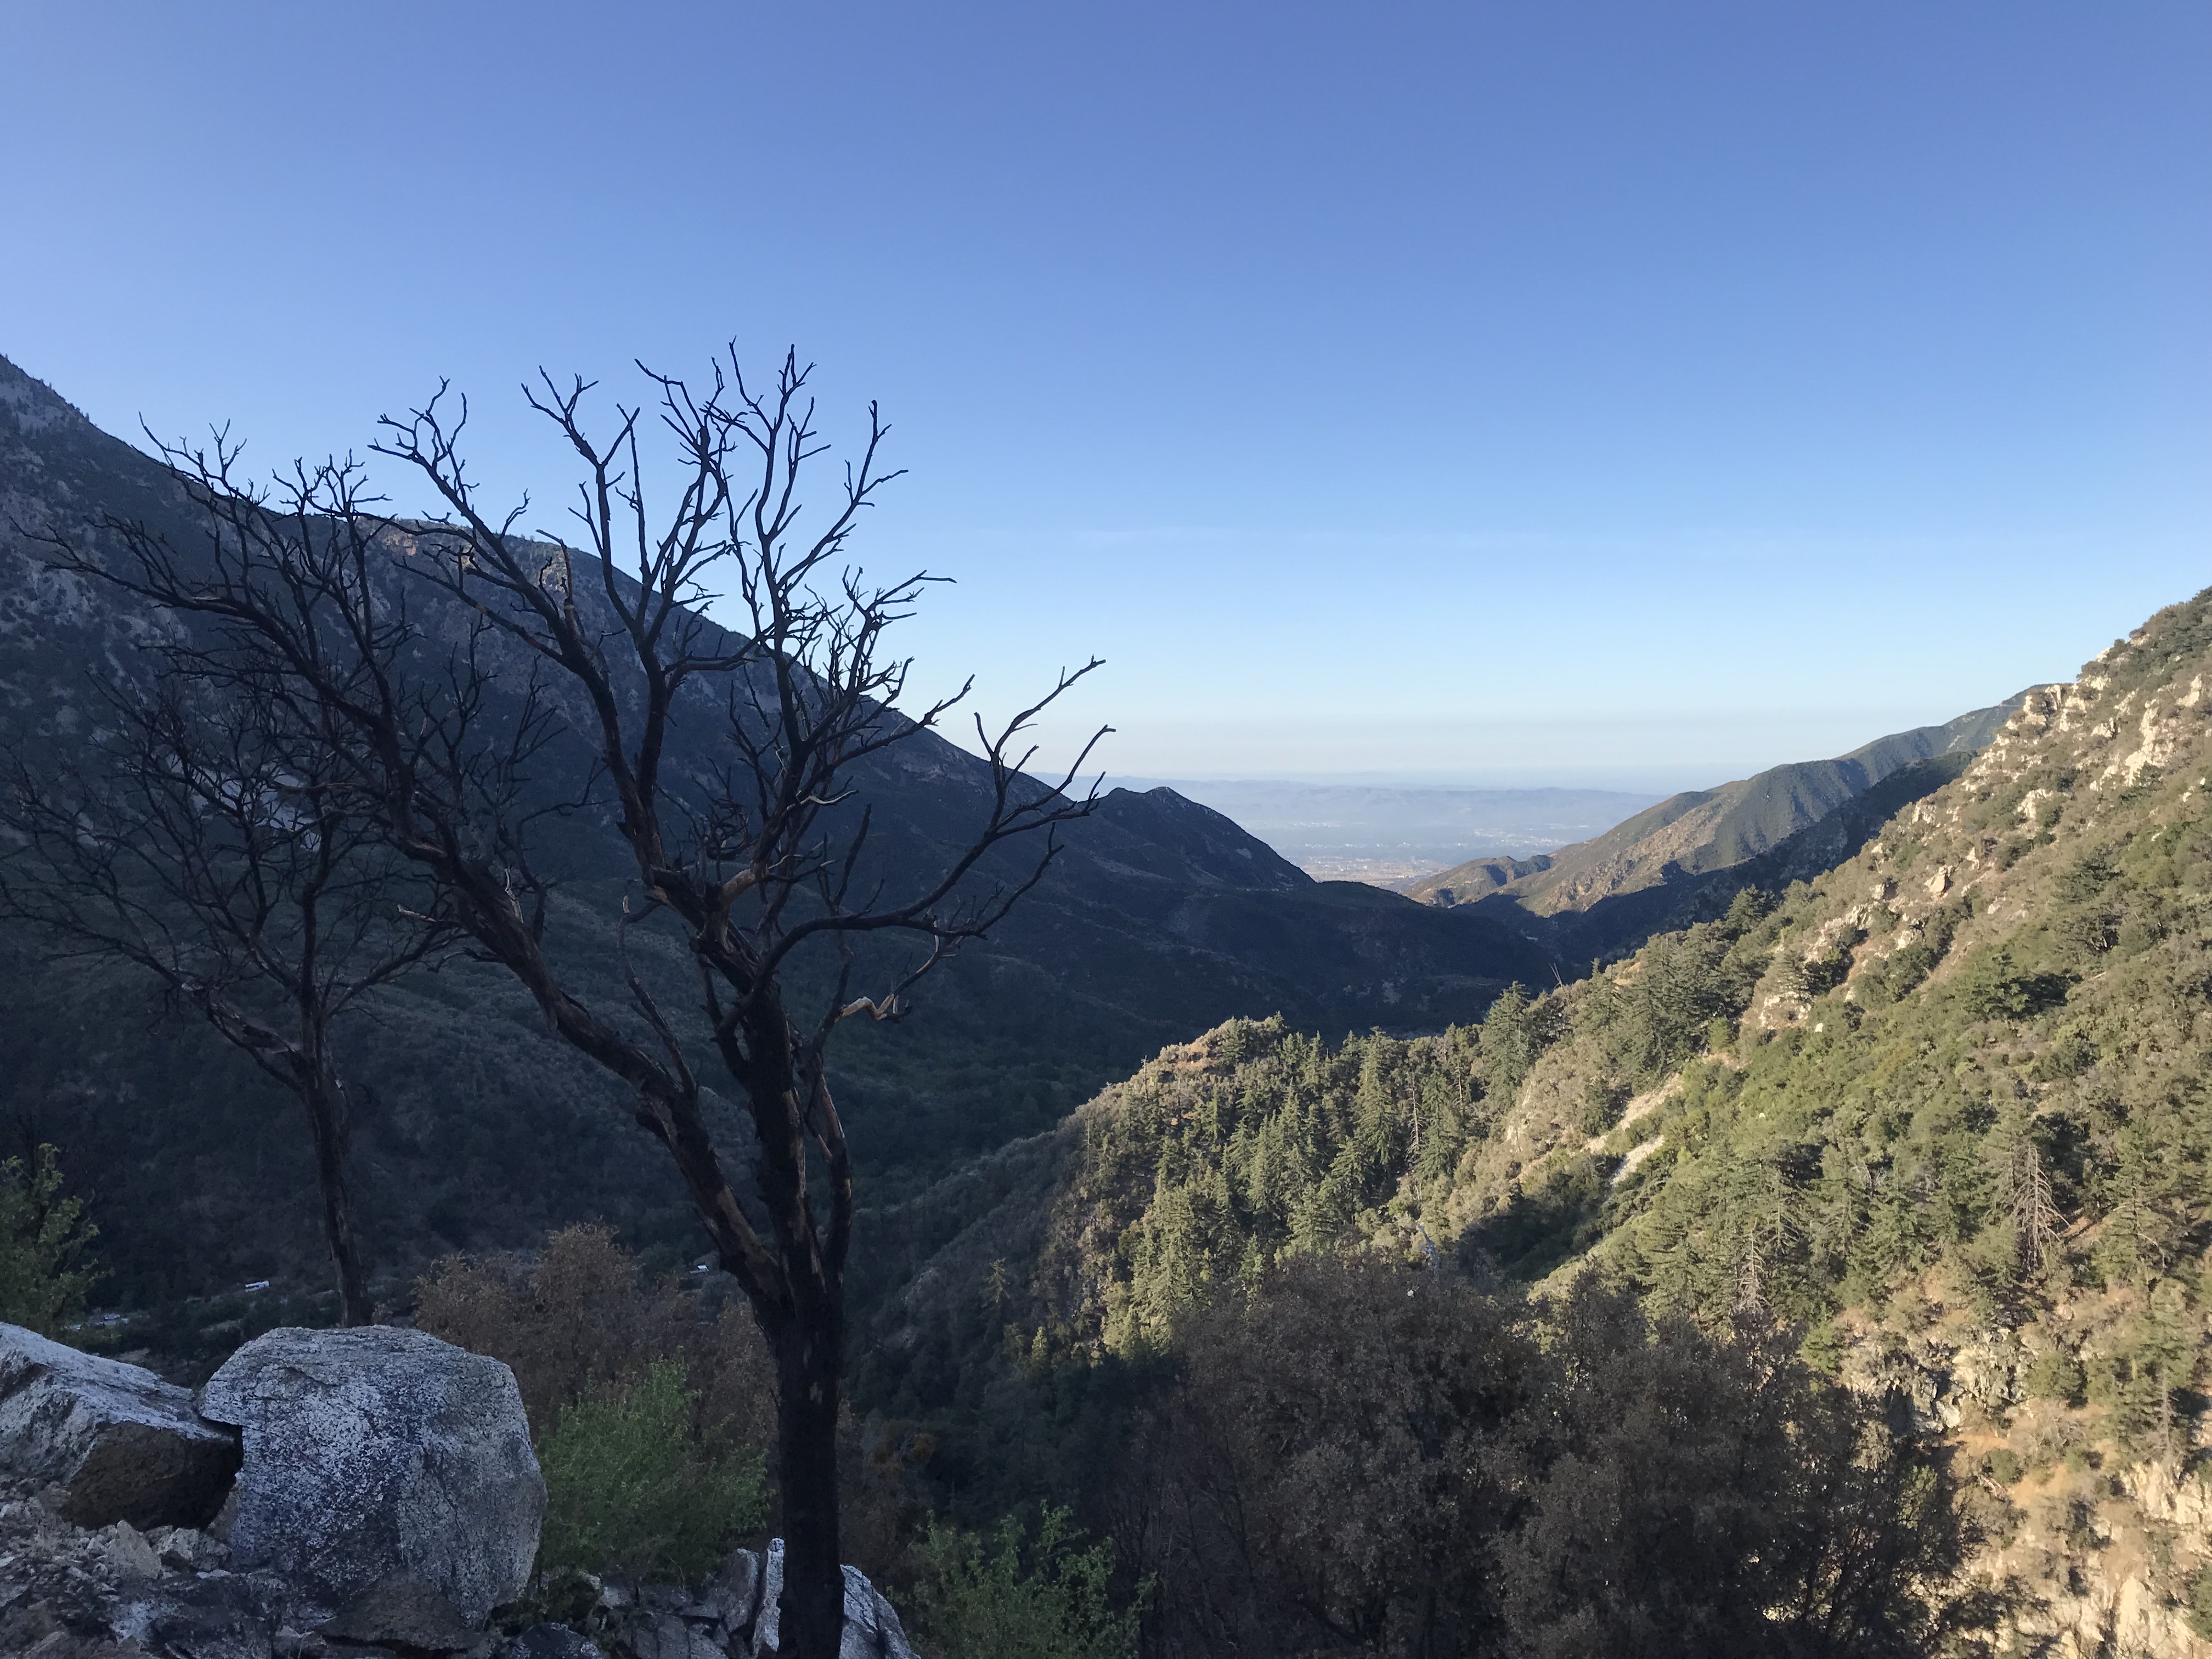
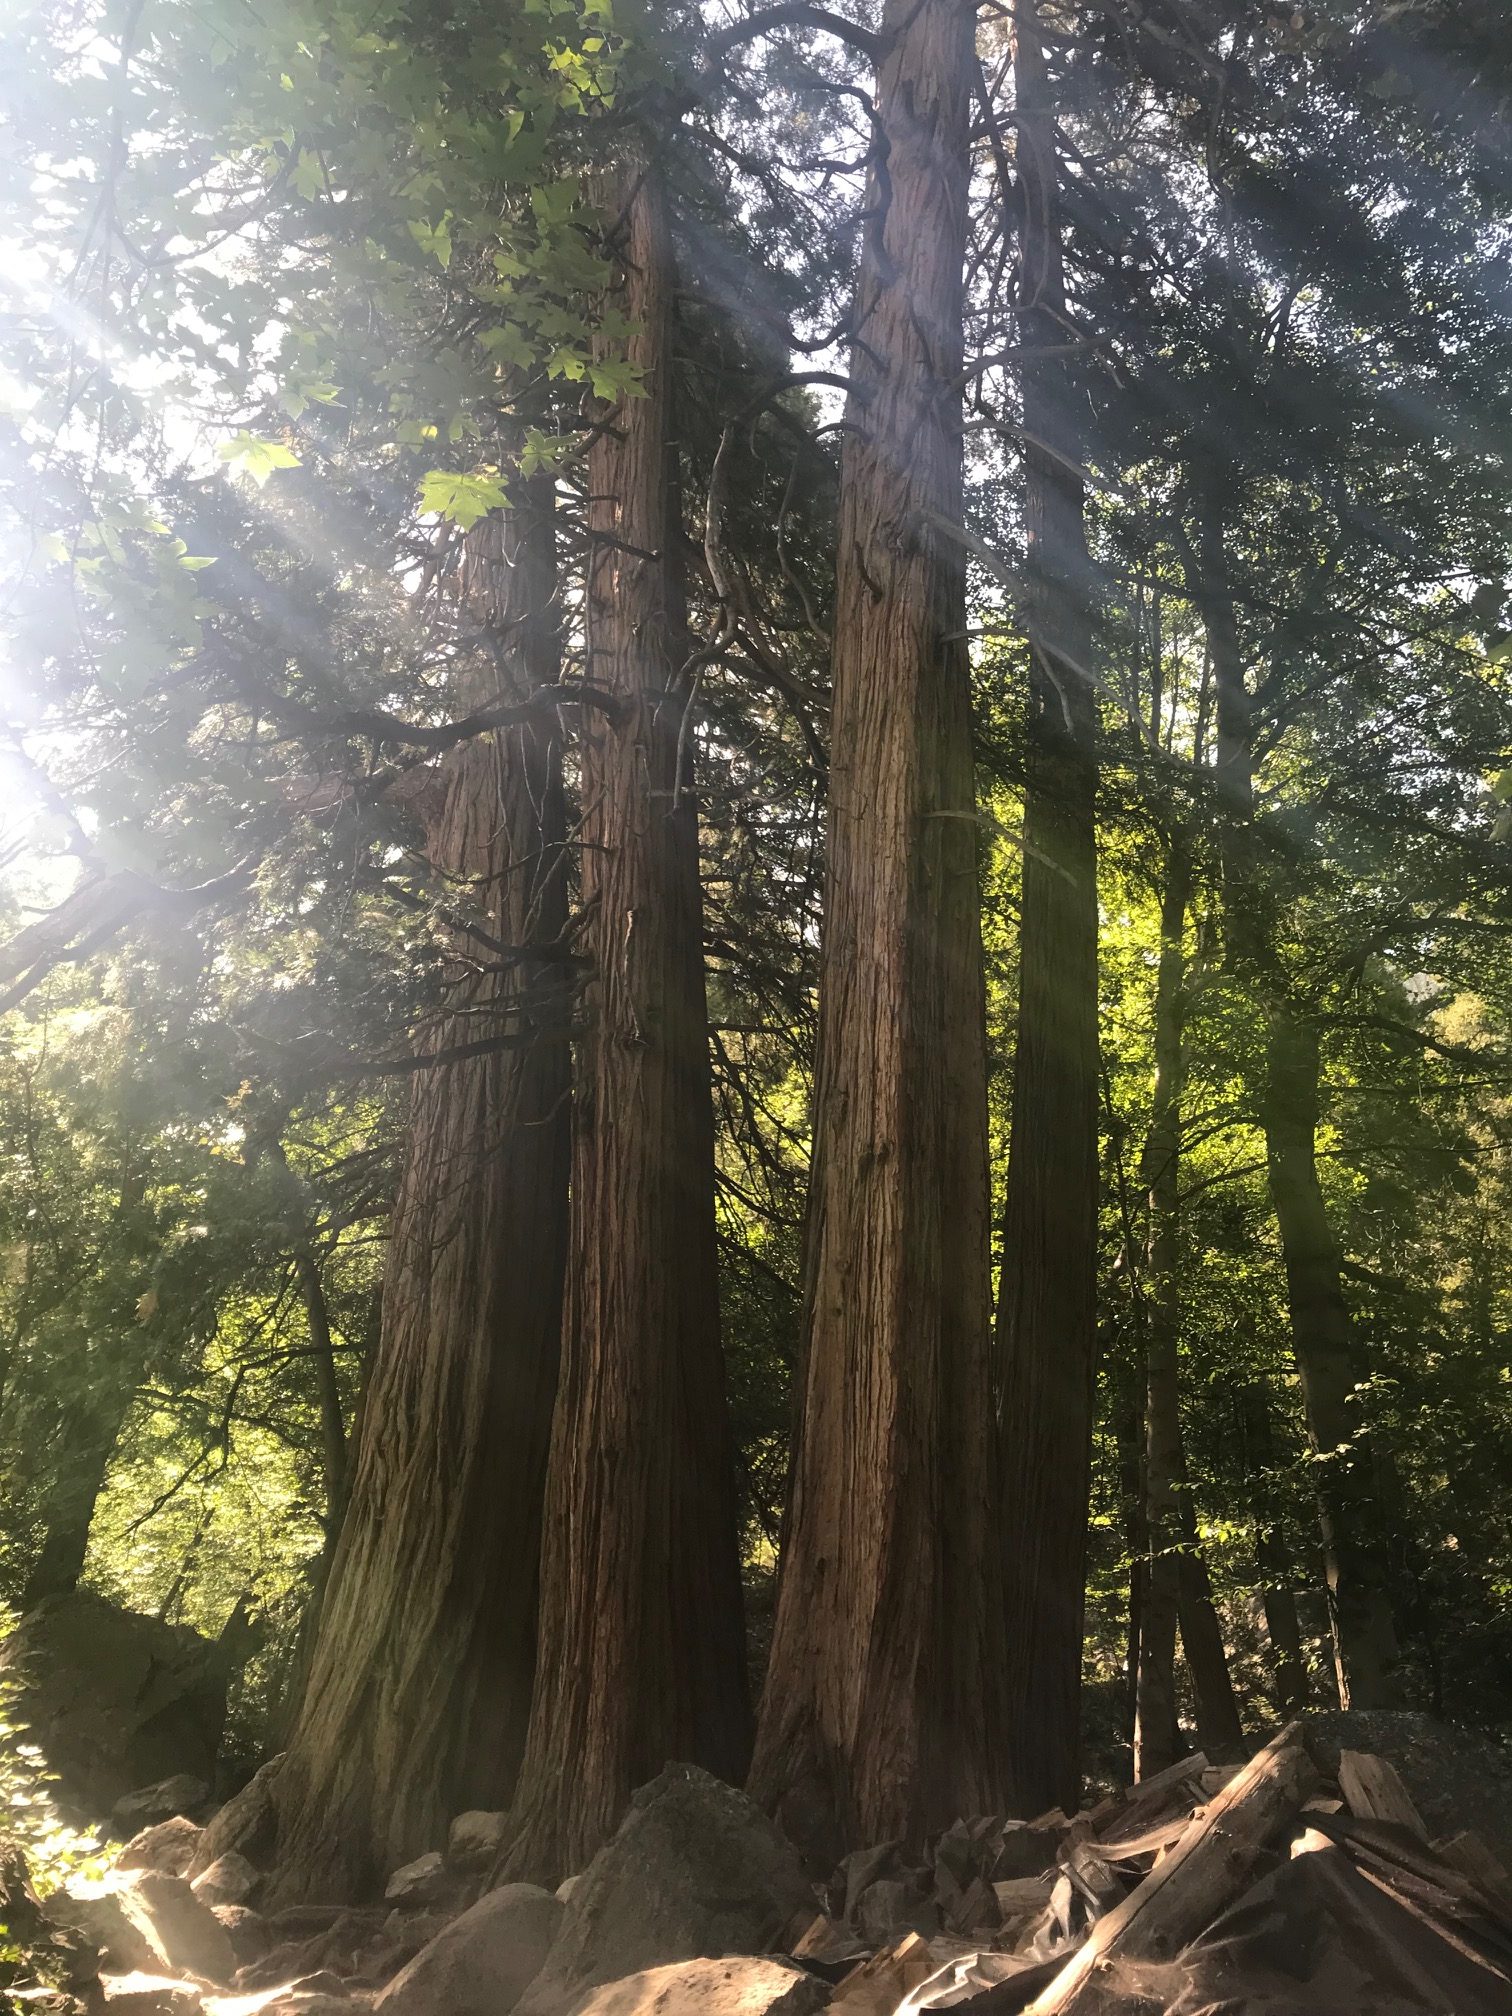
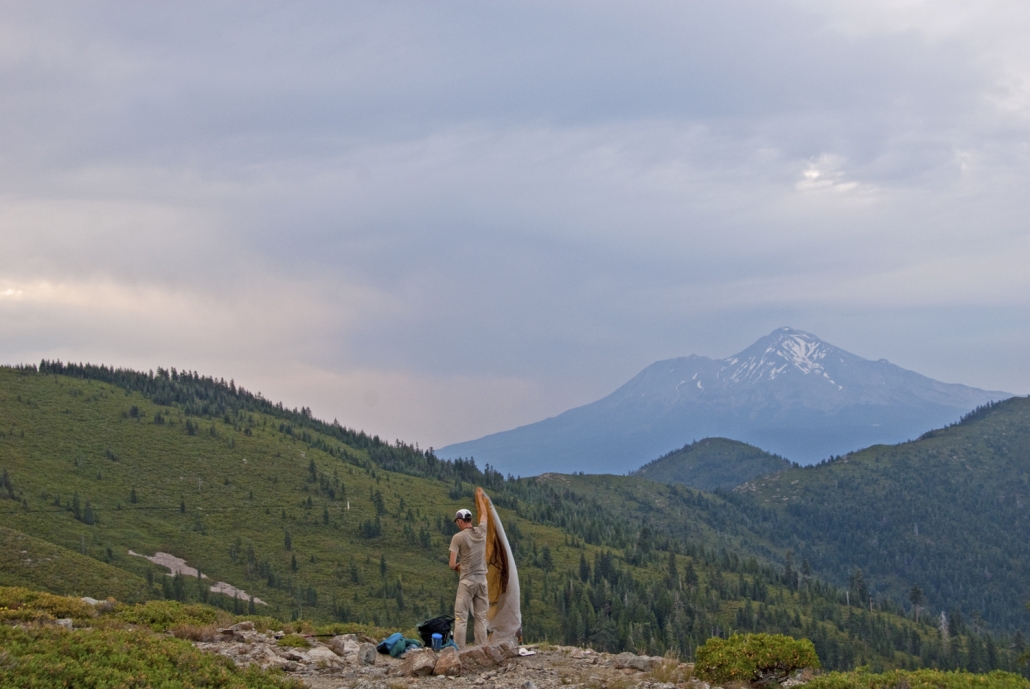
I think it was just going to be an awesome thing that would further push my career to a higher level as a photographer and journalist. I can only imagine the images I would be able to capture if I were to be in nature every single day while experiencing the beauty the Lord has blessed us with on this planet. I think that’s the number one reason—just to get away from everything and go experience nature out there beyond highways, beyond jet planes–beauty that your own two feet can show you.
It’s your own will power to see the beauty that I’ve seen and that’s probably the number one reason.
2.) How did you mentally and physically prepare for this journey?
 Mental preparation was really bad, I didn’t mentally prepare at all. My cousin decided to give us a ride to the southern terminus, which was only a 2 hour drive from San Clemente. My friend was getting all giddy in the car saying “Can you believe we’re about to do this?” and I’m just like “No, not really.”
It’s not that I wasn’t excited, I just wasn’t overwhelmed by the emotions of 90 percent of the people. It wasn’t until I woke up one morning on the trail and was like “Holy crap, this is actually happening.” And after I hiked the first 10-100 miles, that’s when it was really setting in. I was realizing that I’m really out there and really doing this to see what I can really do.
The whole purpose of the trail was for me to learn every ounce I could learn about myself and the trail. The mental and physical preparation was all a giant learning process. I would never change it to this day.
3.) What were some challenges you faced? Biggest challenge?
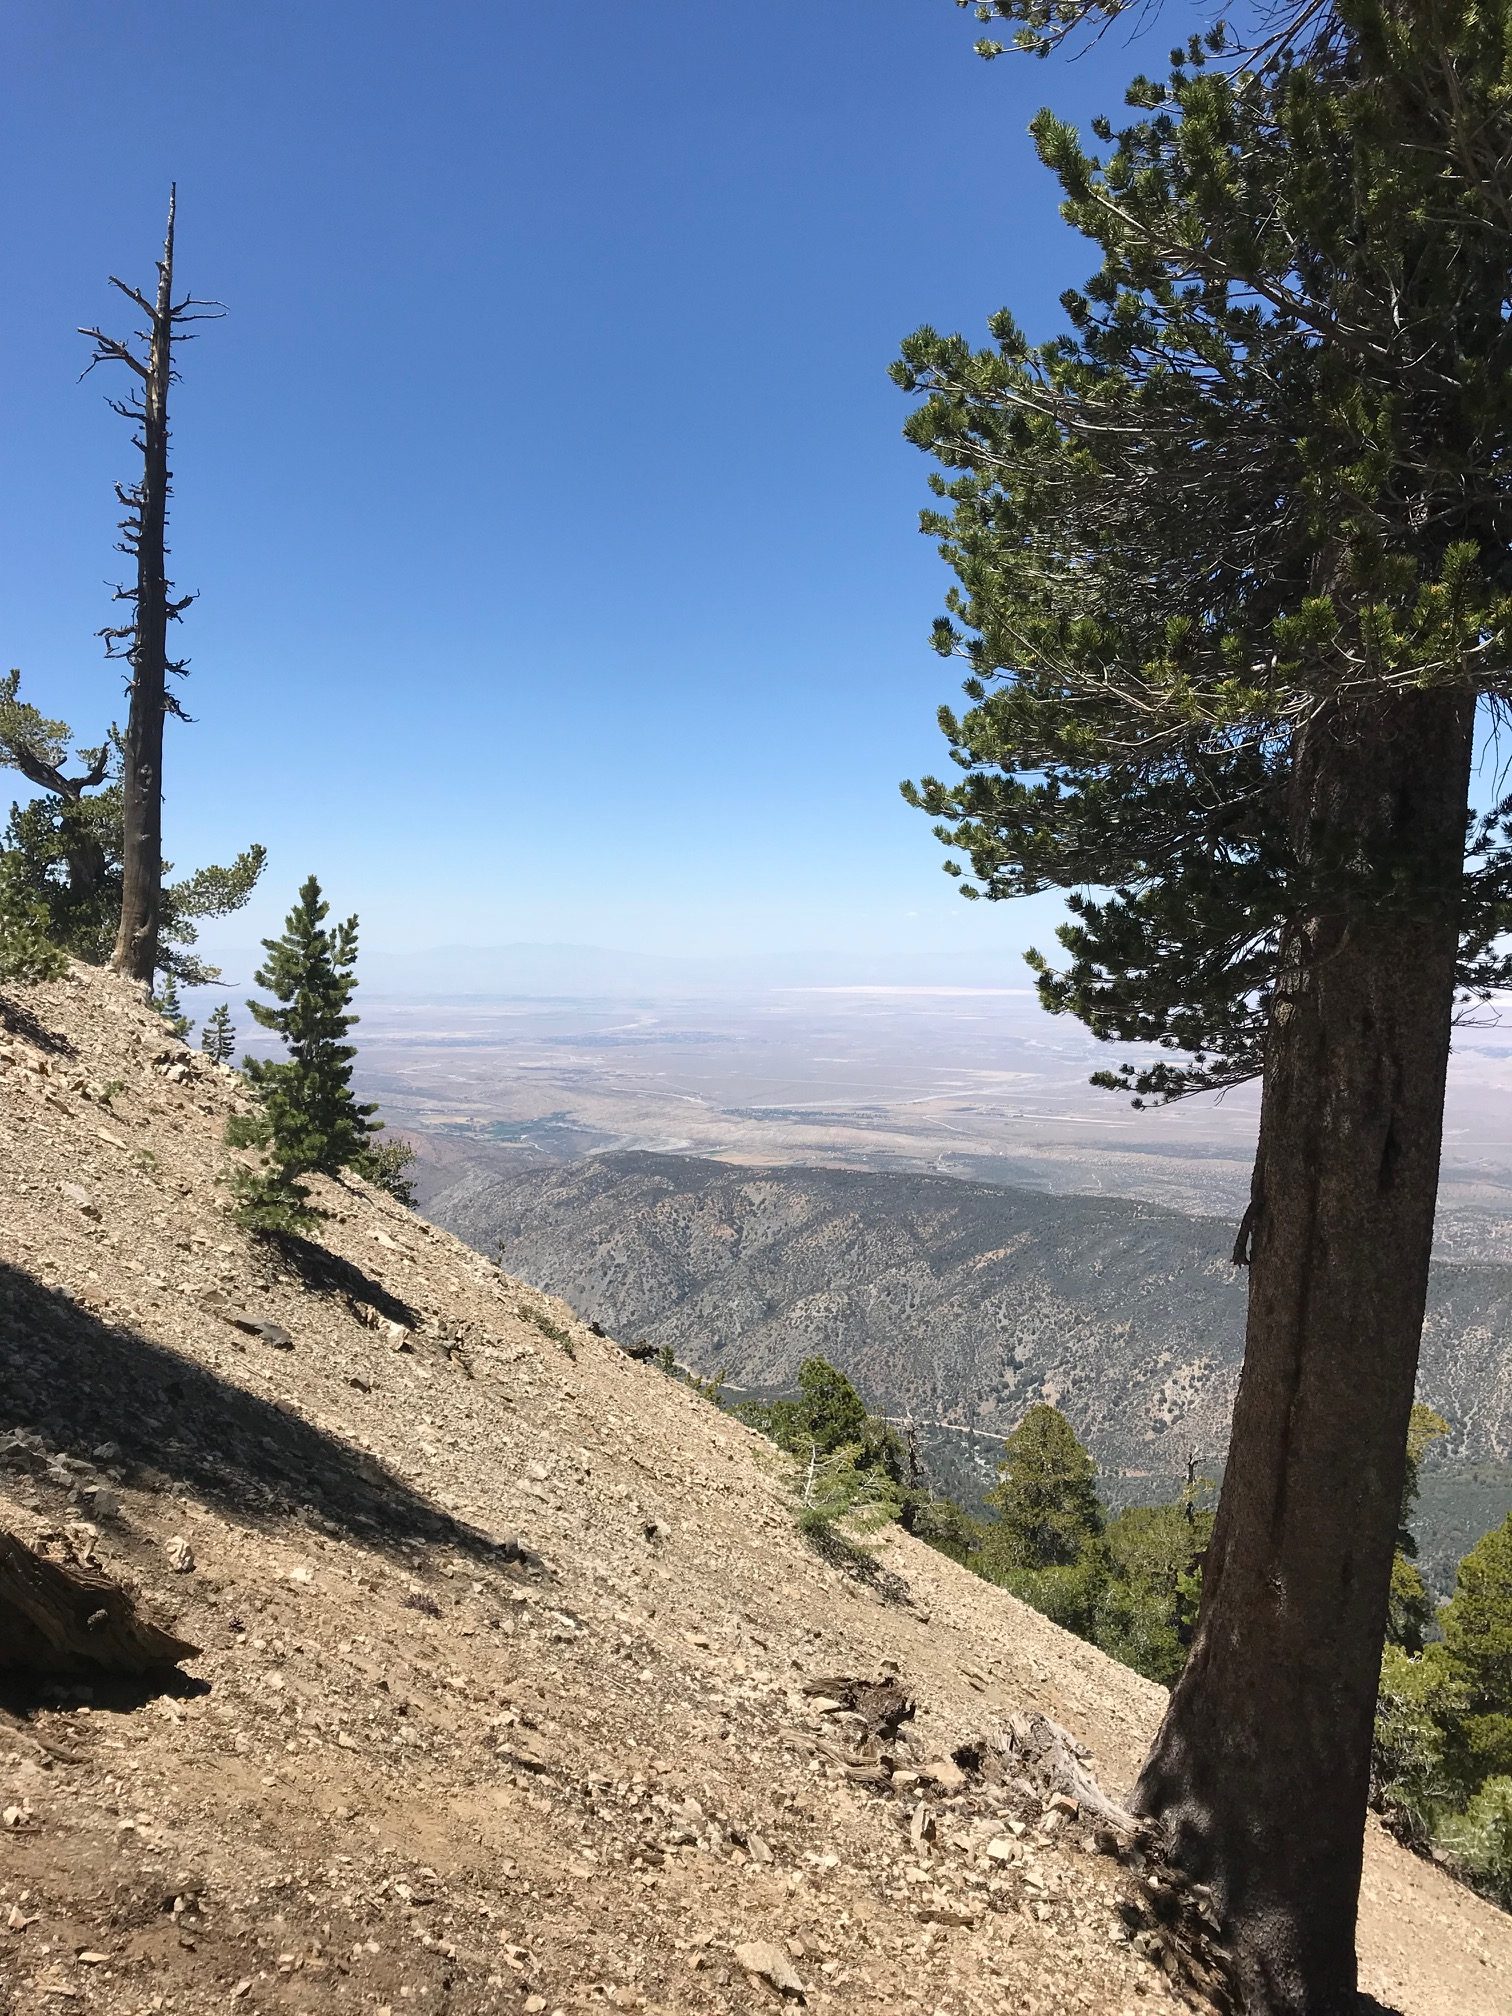
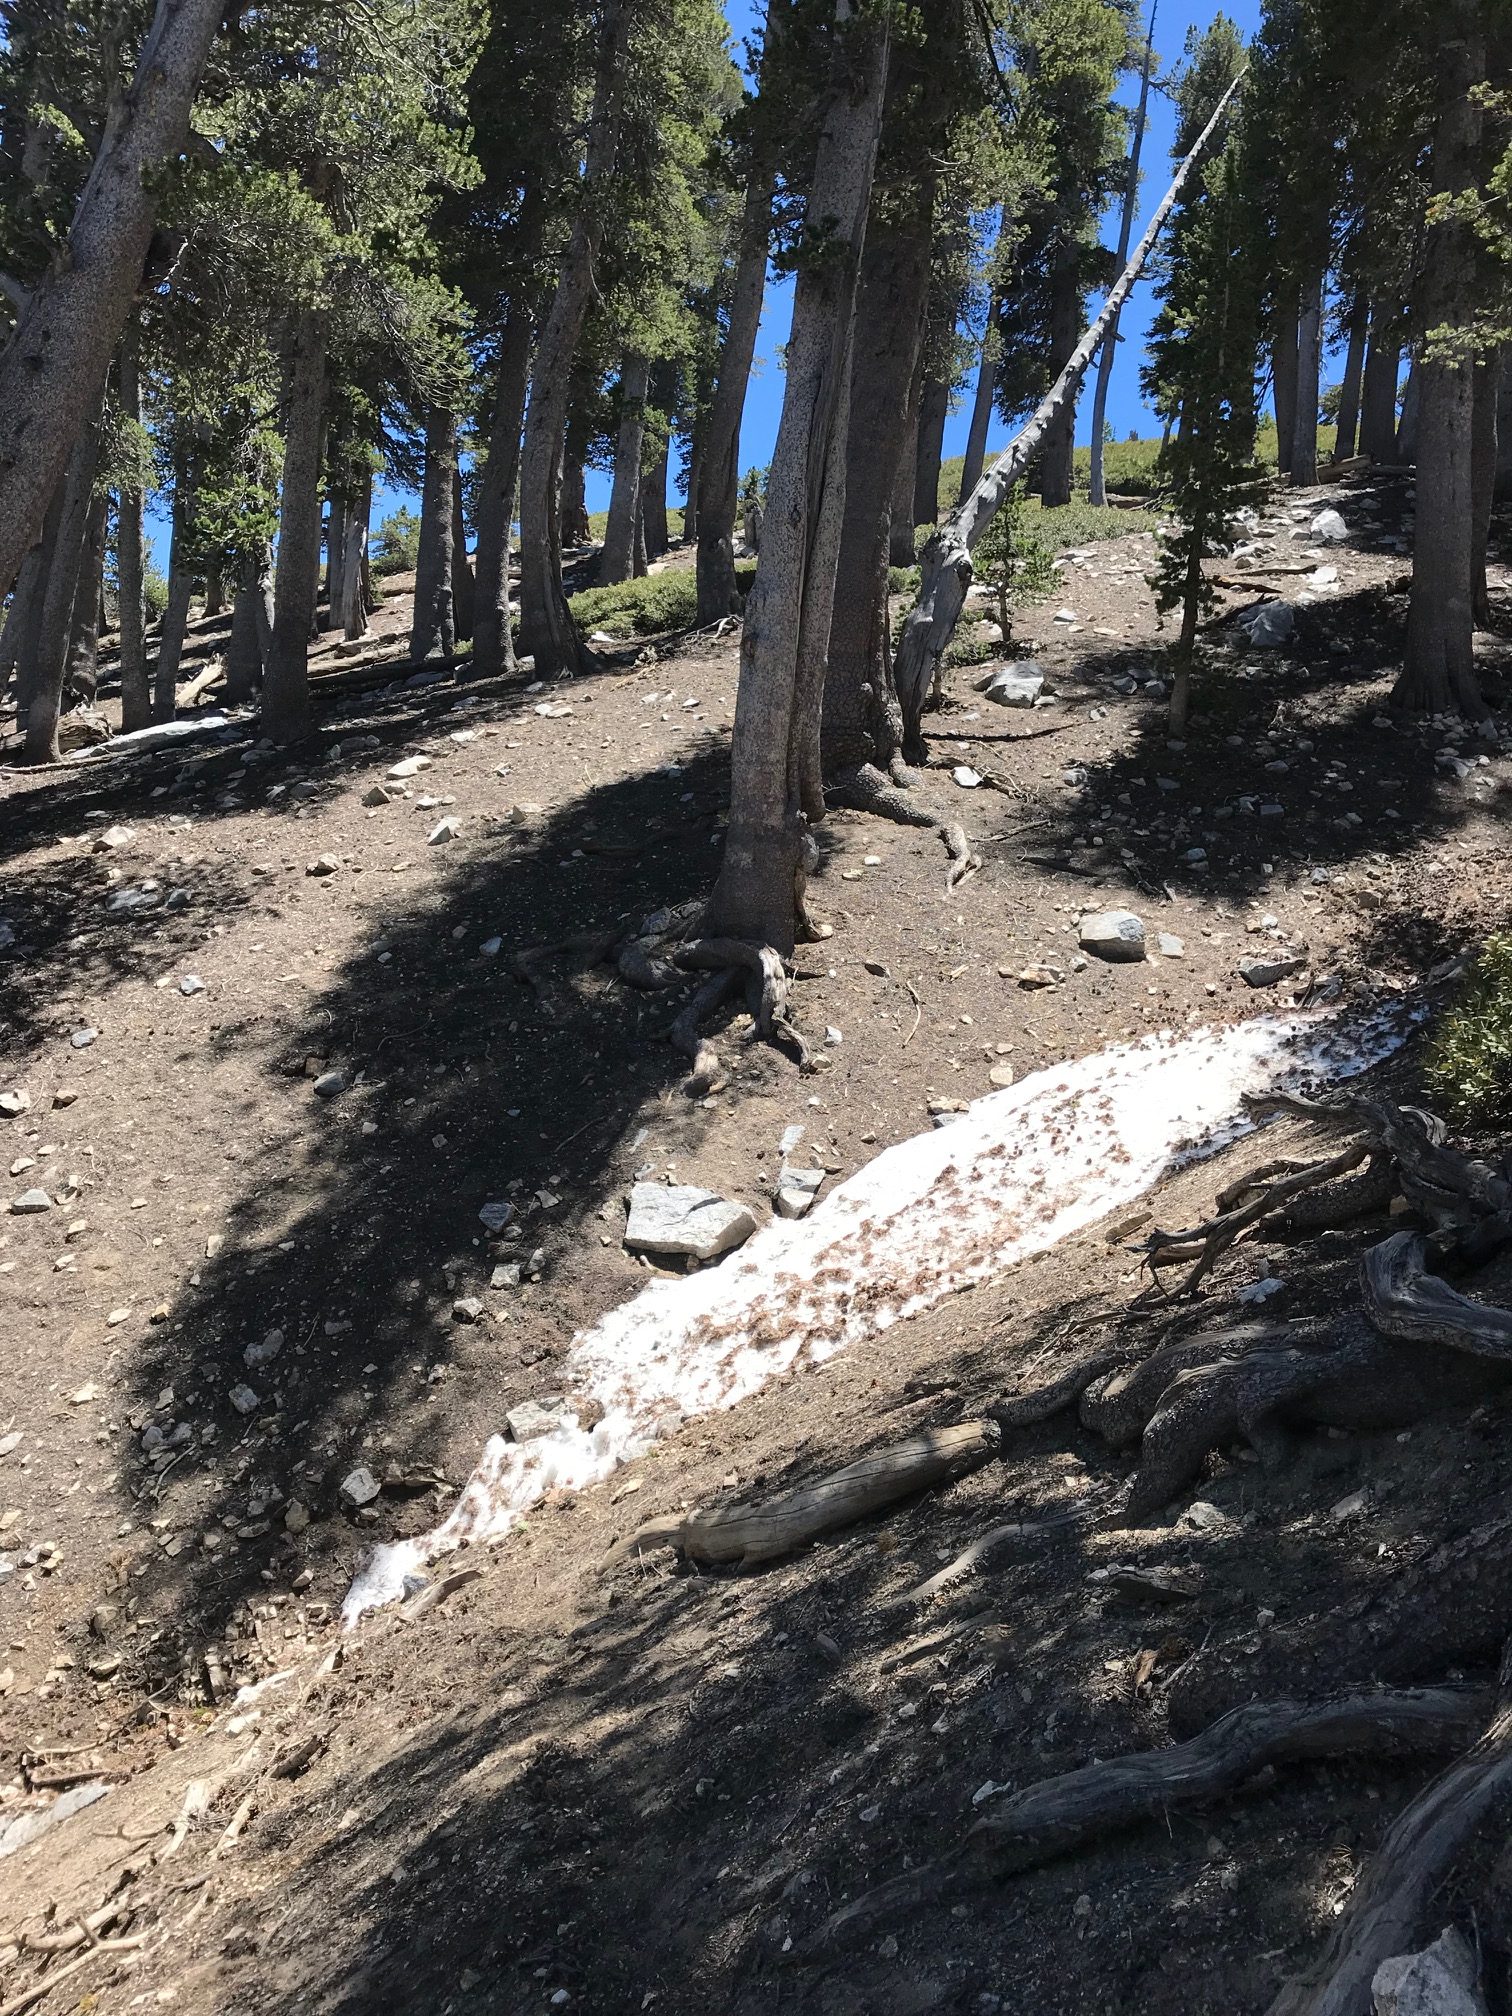
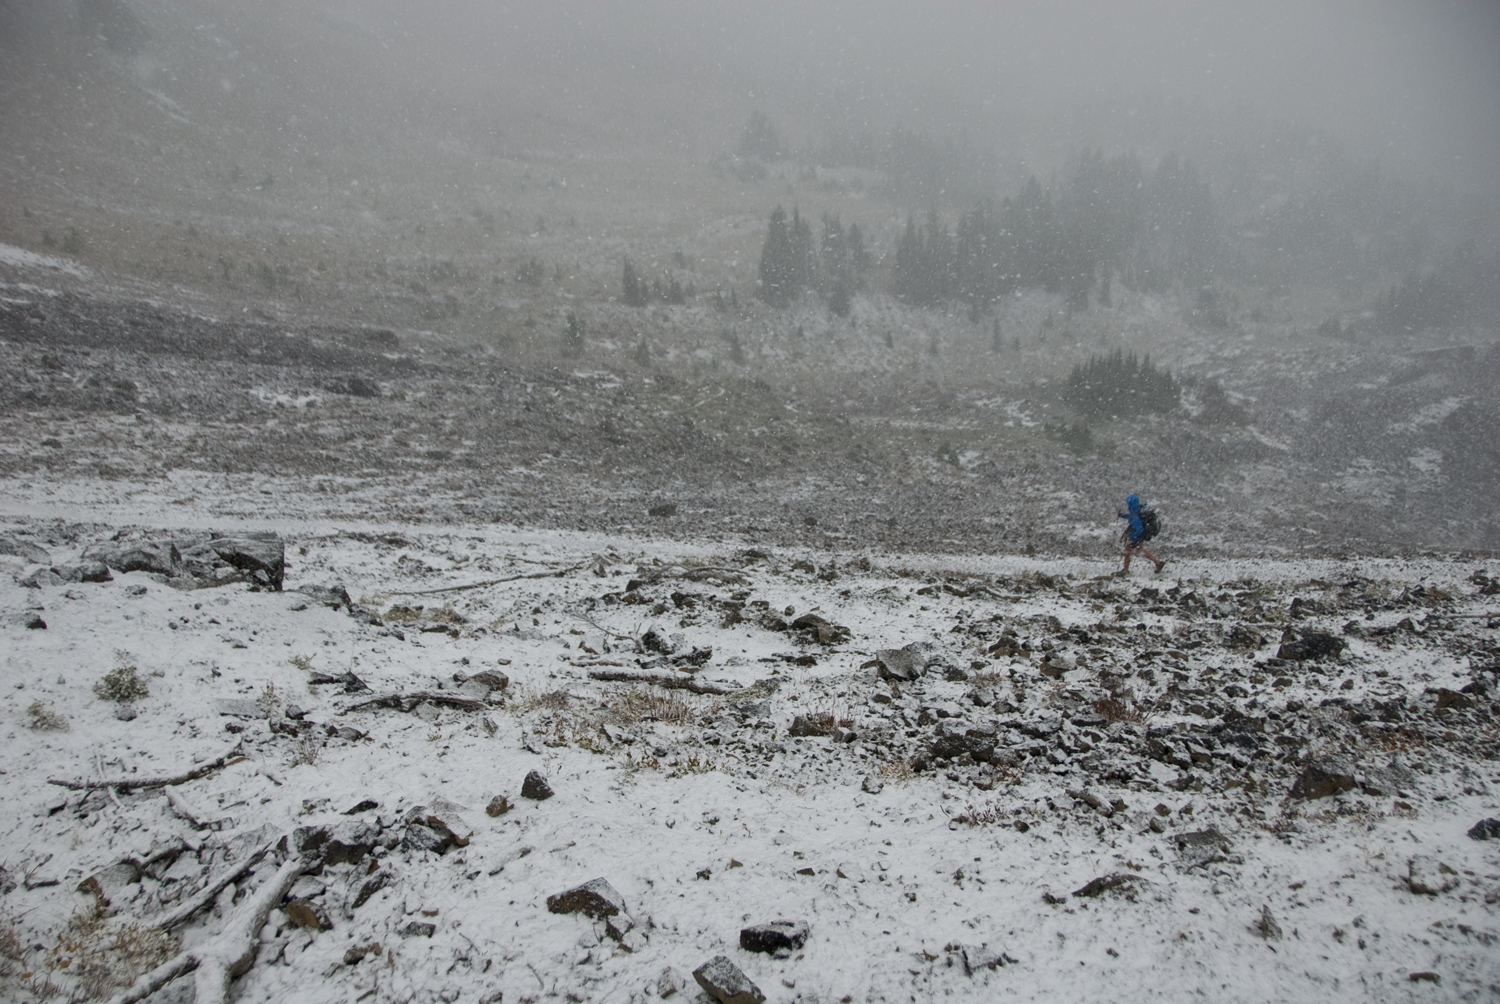
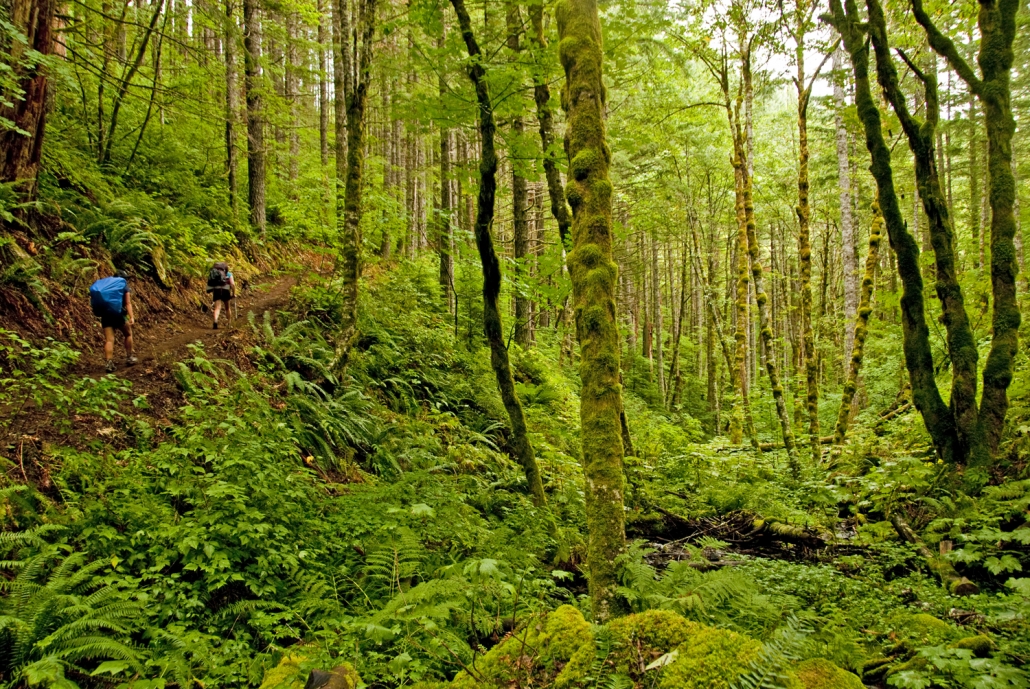
 Every day was a challenge, mentally and physically. The trail was a challenge, because it changes every single day. You go from the desert, to the mountains, back to the desert, through snow, rain and wind.
You have to face challenges with other hikers–whether you accidentally fall in love with someone within the first week and you broke up with them and you have to keep seeing them. There were challenges dealing with friends that you got to know really well, but they decided they wanted to hike faster and took off and you never saw them again.
In every way you can think, there was a challenge. I kept saying the number one word of the trail was “change.” Everything about the trail and you changes with every step you take. You change personally, physically and the trail changes–so I can’t really pinpoint a challenge.
As photographer, I had to take off my backpack, pull out my camera (which weighed a couple of extra pounds), and put the camera back in the bag while everyone walks on. The photography aspect was my biggest challenge because:
1.) You’re carrying more weight and 2.) You have to get really creative. ……It’s exhausting, but it was worth it.
4.) Any close encounters with wildlife?
Yes absolutely—but I was never nervous or uncomfortable. You would hear stories about people who would have terrible encounters with wildlife—where they got charged at by a bear, for example.
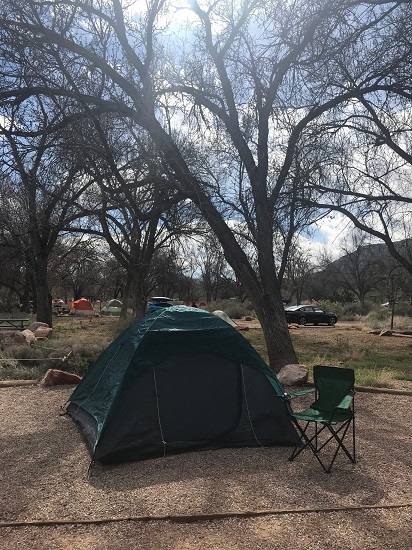
In Oregon, well past dark, we always sleep with food inside of our tent. I literally had a bear scratching at my tent where my friend would’ve been. The next morning, there was fresh bear scat around my entire tent.
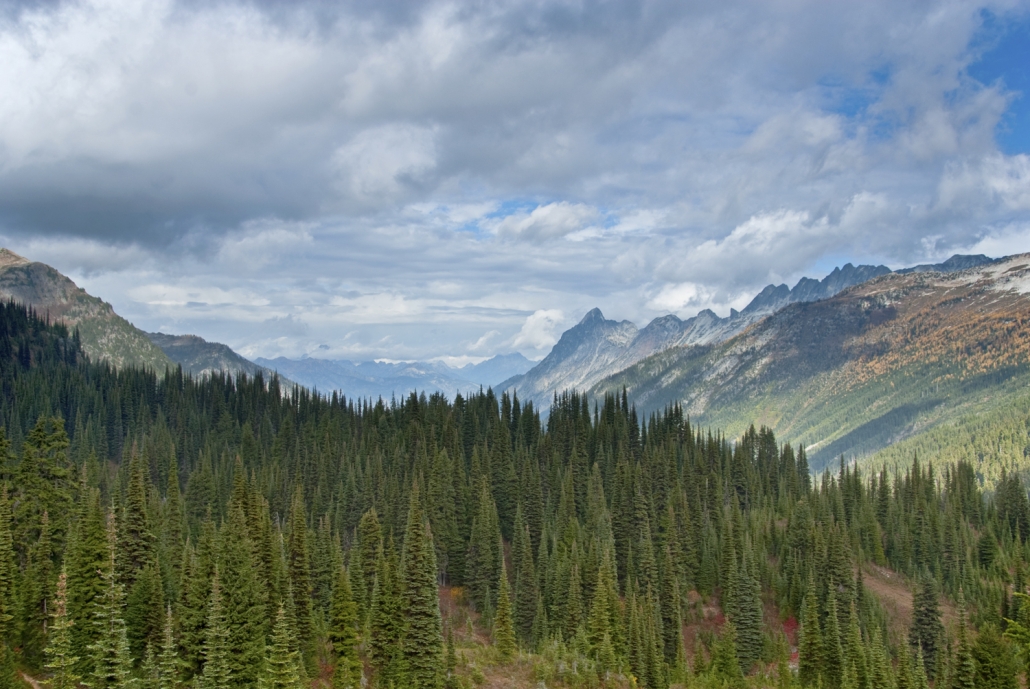
In Oregon and Washington, we would always hear Elk bugles ferociously close. That was probably the scariest of what we came across on the whole trail because once we got to Oregon and Washington, it was during their mating season and they’re notoriously territorial and aggressive.
5.) What supplies were you carrying along the way?
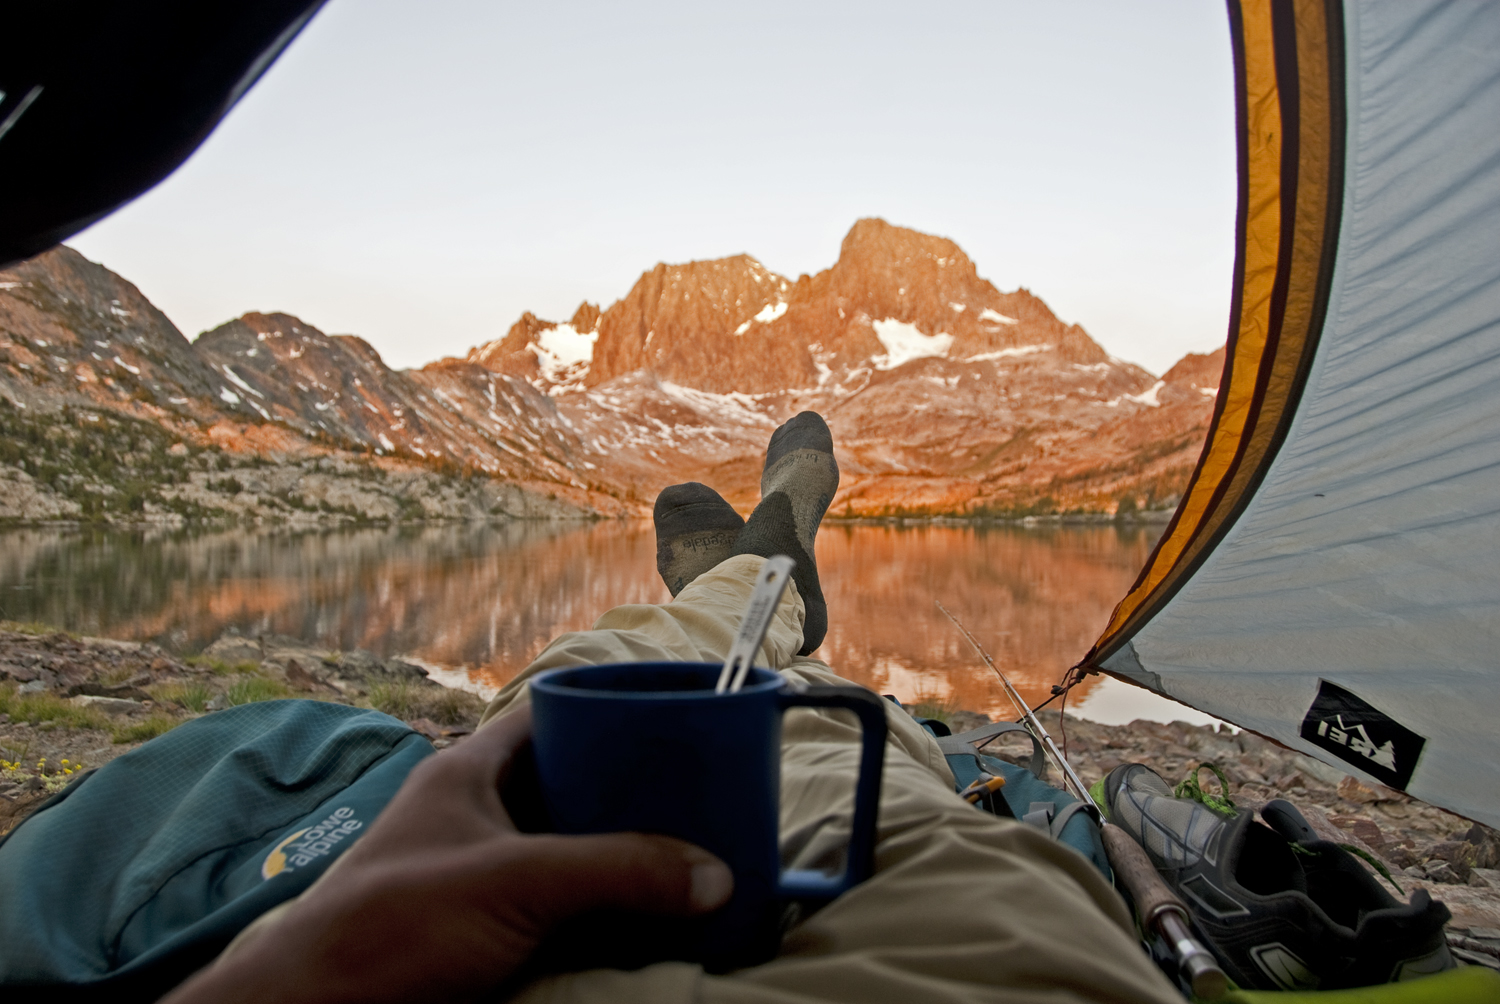
Beyond the fact that I’m a photographer and a fly-fisherman—I had a 65 liter backpack, which was overkill. It was way too big, which was a little surprising for what people think. One of my biggest concerns, before I started the trail, was where I was going to get water every day. So what you find out on the trail, was at least once a week, sometimes a little longer, you would get a re-supply of food because you would come across a highway or town. 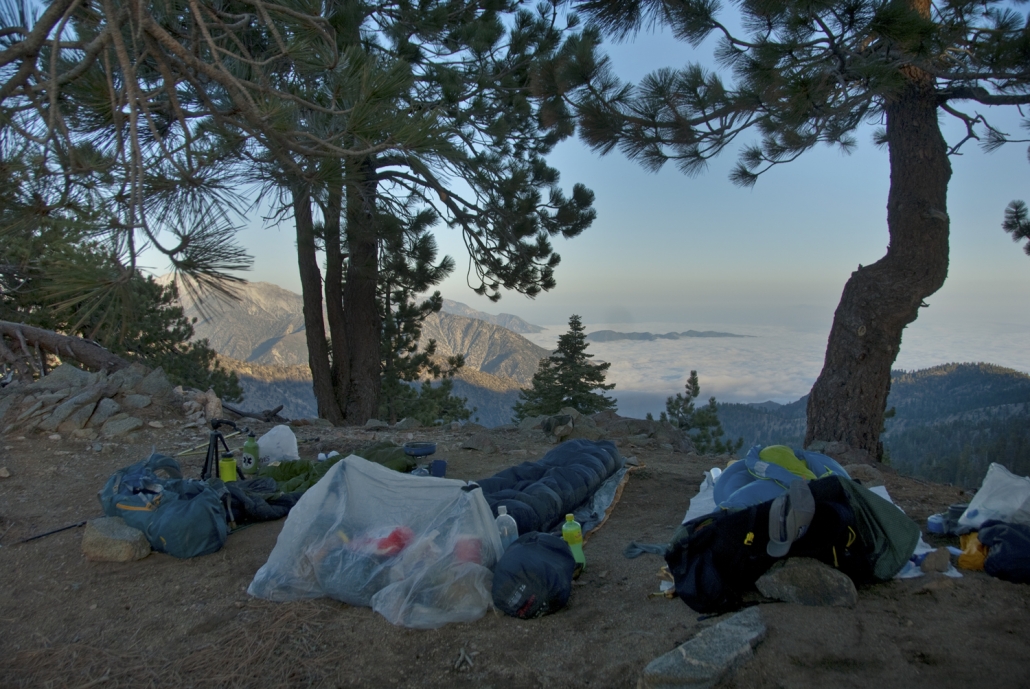
In a typical backpack, you would carry food, tent, sleeping bag, sleeping pad, clothing, a lighter, cooking gear among other stuff. The average pack weighed without food or water was about 20 pounds. Some of us even carried solar panels on our backpacks to charge our gear. I had my camera gear and two batteries, one lens, a couple of filters and a tripod, which was an additional 7 pounds.
At my heaviest point, which was in the desert section where I carried 8 liters of water, my pack weight about 70 pounds. But as I drank water and ate food, my pack became lighter each day. Everyone else was in the 45-50 pound range.
6.) Any special secret spots you can talk about?
In the big bear area, there was this section of trail called the Deep Creek and a lot of us liked this because there was a hot spring. I followed a day hiker to a cliff jump spot, which was 200 yards off trail and I just ended up spending a day and a half there doing nothing but cliff jumping in 90 degree heat.
There was also lake with a waterfall along the John Muir trail section of the PCT that looked it was in either Tahiti or New Zealand—like it didn’t belong in California.
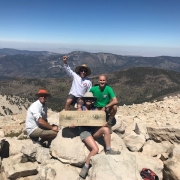
7.) What was your most memorable moment?
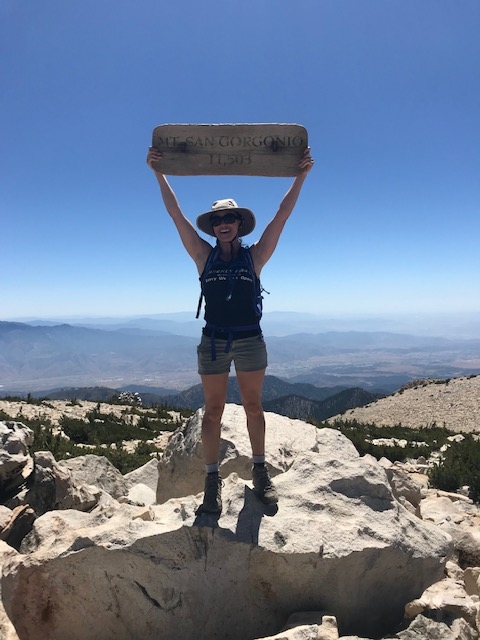
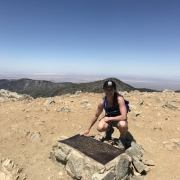
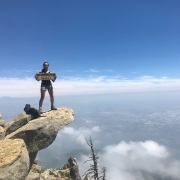
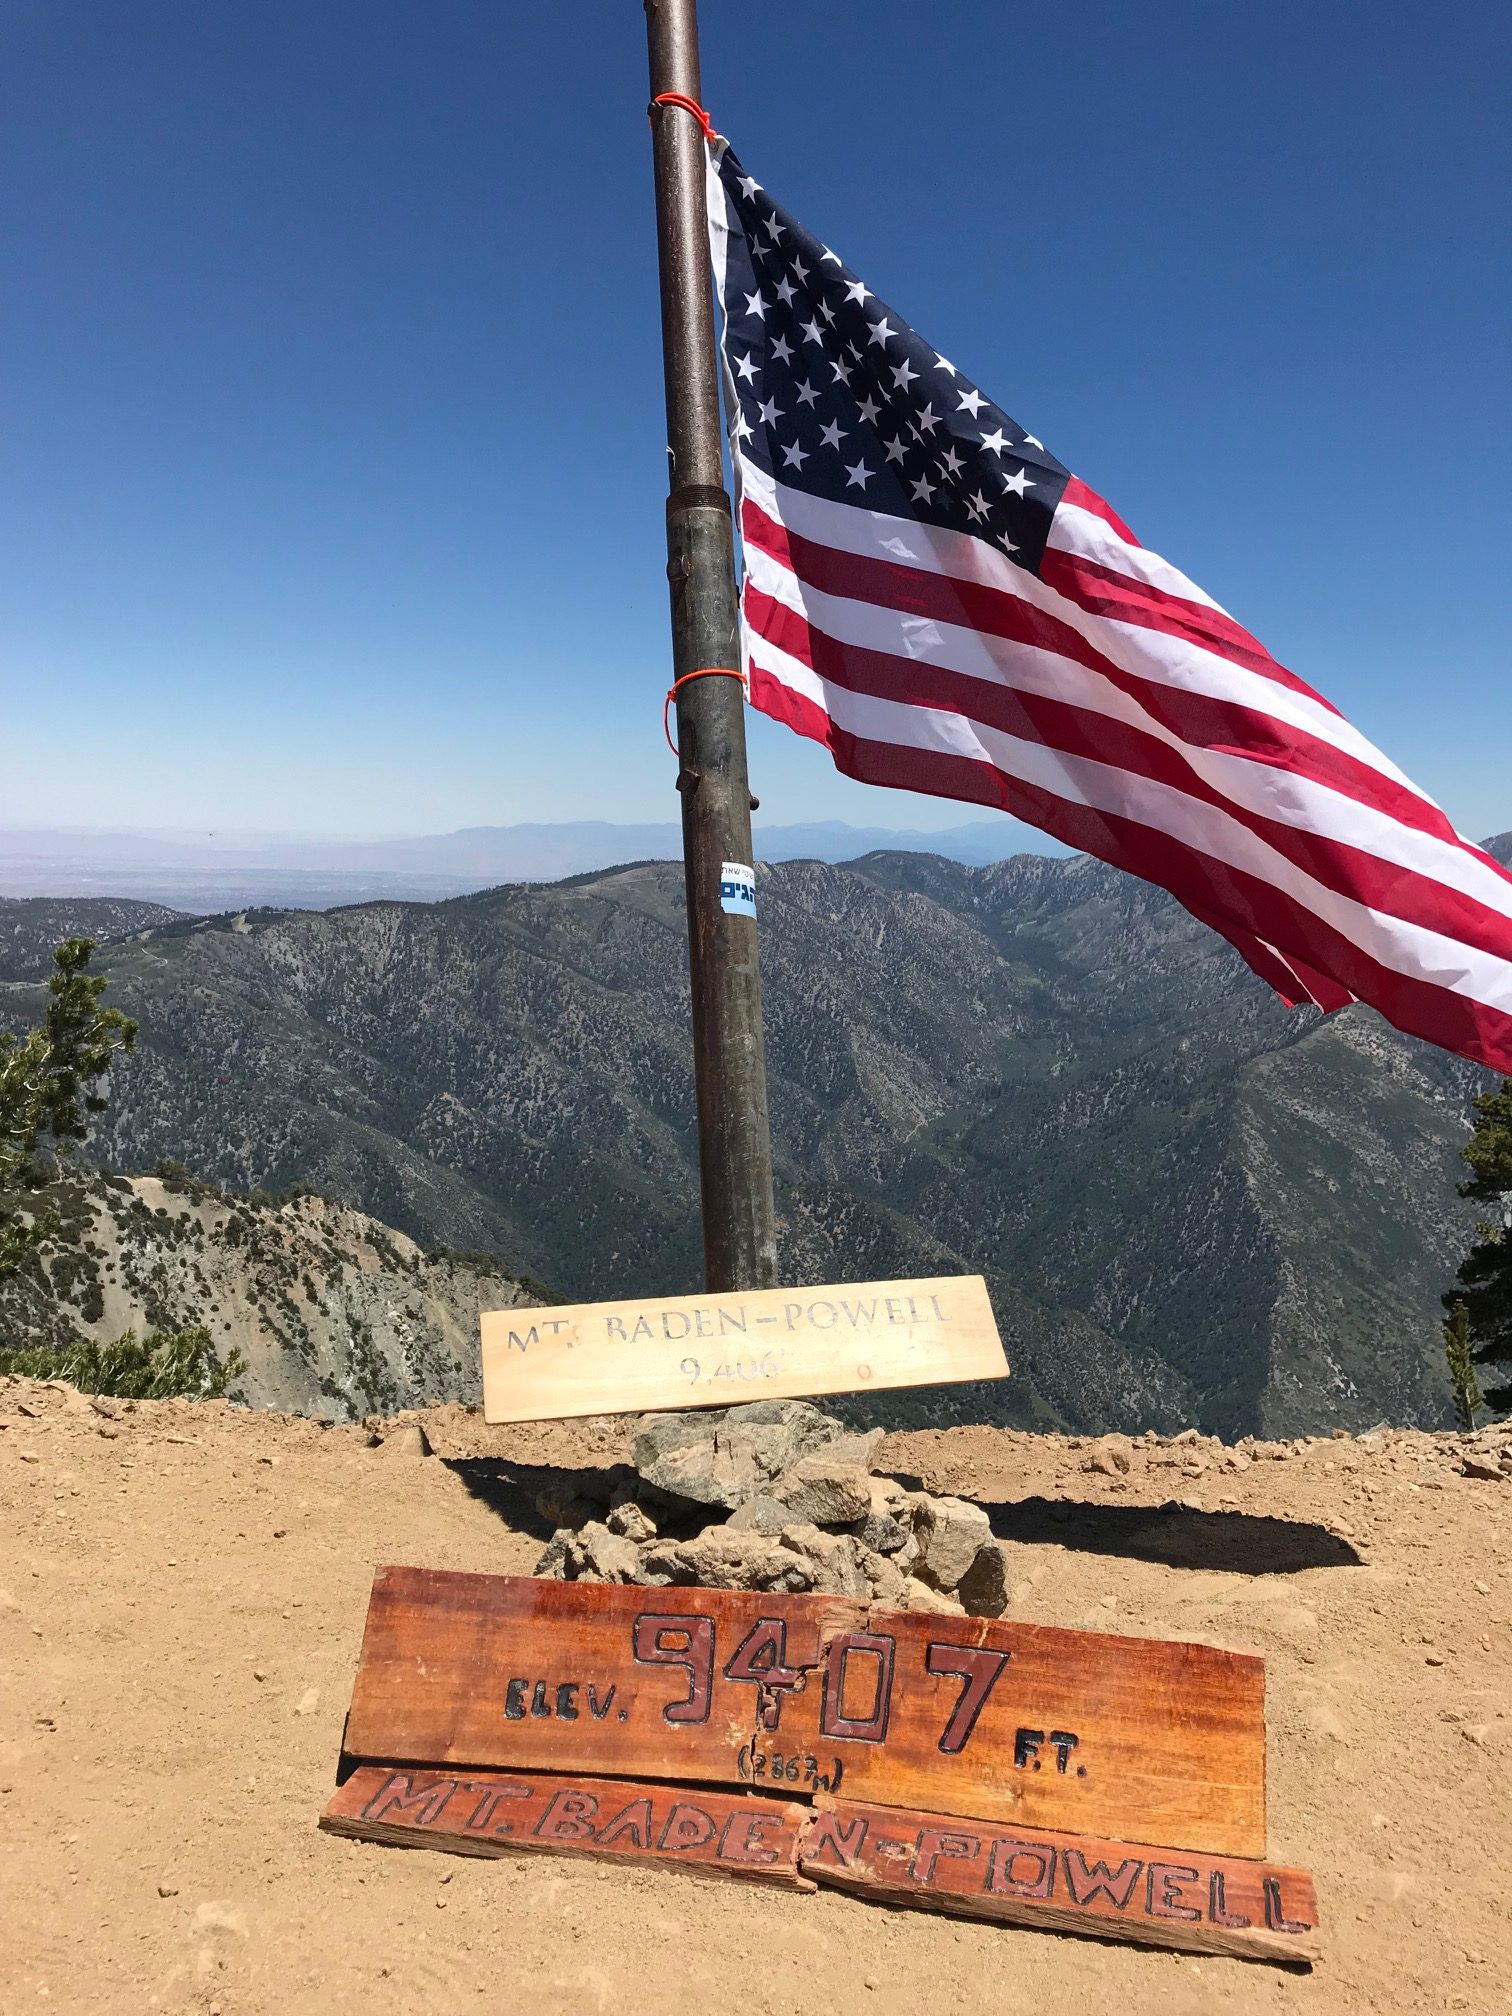
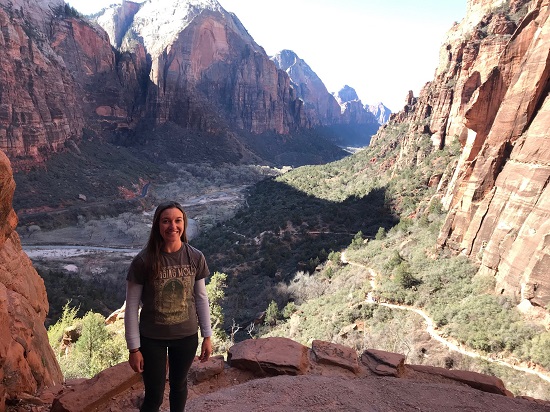
Of course, when you walk towards that northern terminus, seeing the border of Canada after hiking for 180 days straight—that is something I will never ever forget along with the people I did it with. I will never forget that.
It’s really just the small moments that create a giant memory. It changes your life, I get emotional thinking about it. There are so many small memories that create this giant pandemonium moment.
8.) How did your feet feel at the end of the journey?
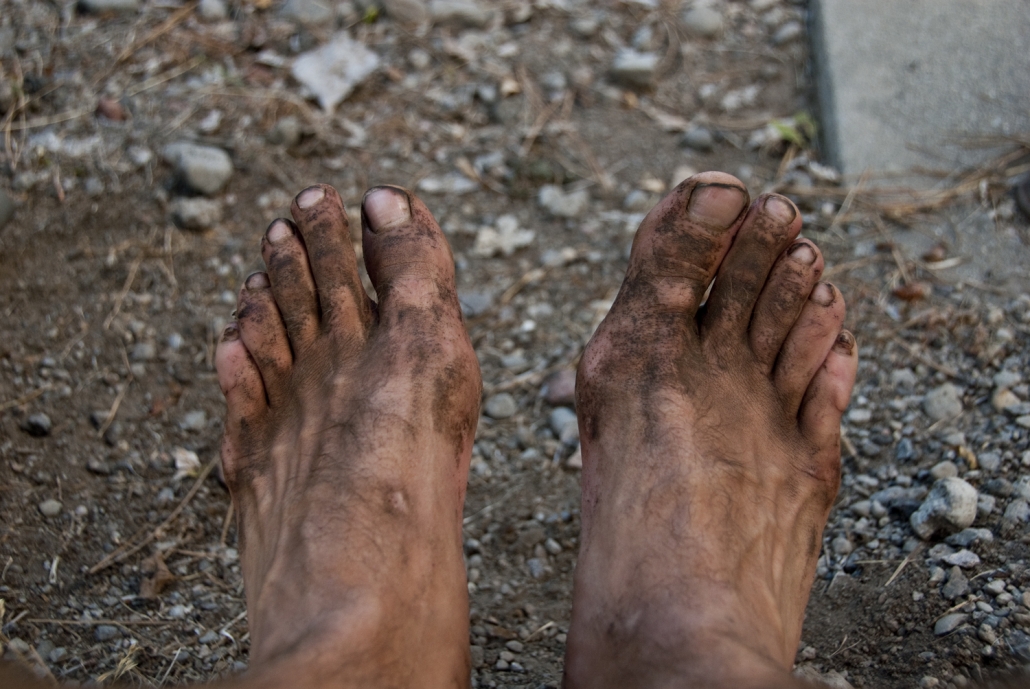 As far as feet goes, the beginning section was rough because of the blisters and the new stage your feet are going to get into, then towards the latter section of the trail is where injuries occurred. I probably took a week off total.
The first month, every single day, I was popping blisters and covering them up with some sort of bandage. Towards the middle stage of the trail, I was fine, but towards the latter session of the trail, I started getting plantar fasciitis in Oregon—where the muscles in your feet just don’t want to work and you can’t bend your toes. It was very painful, but with a couple of days rest, ice and Ibuprofen, I was fine…and whiskey helps.
9.) Any epic life lessons you want to share?

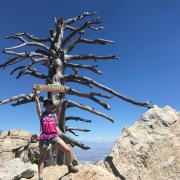
Photo Courtesy: Sean Jansen
In retrospect, it’s really funny. I’m a total weirdo and I connected with every single human on that trail and all of us were weirdos, which worked out. We just didn’t care what people thought of us or about how bad we smelled in public. It was a huge life-changing opportunity, especially being from San Clemente, where in high school, image was everything. The whole trail was a life lesson, appreciation of everything—nature, yourself, other people around you.
10.) Do you foresee more long-distance hiking in the near future?
A lot more. In 2017, I’m going to do the Appalachian trail, which goes from Georgia to Maine.
In 2018 I’m hoping to hike the Continental Divide trail, which goes from Mexico to Canada. There’s a trail in Europe that goes from France to the Czech Republic. There’s definitely one in New Zealand that goes the entire span of the country.
Hiking is 100% part of my life now. Slow and steady is the best way to see the Earth.
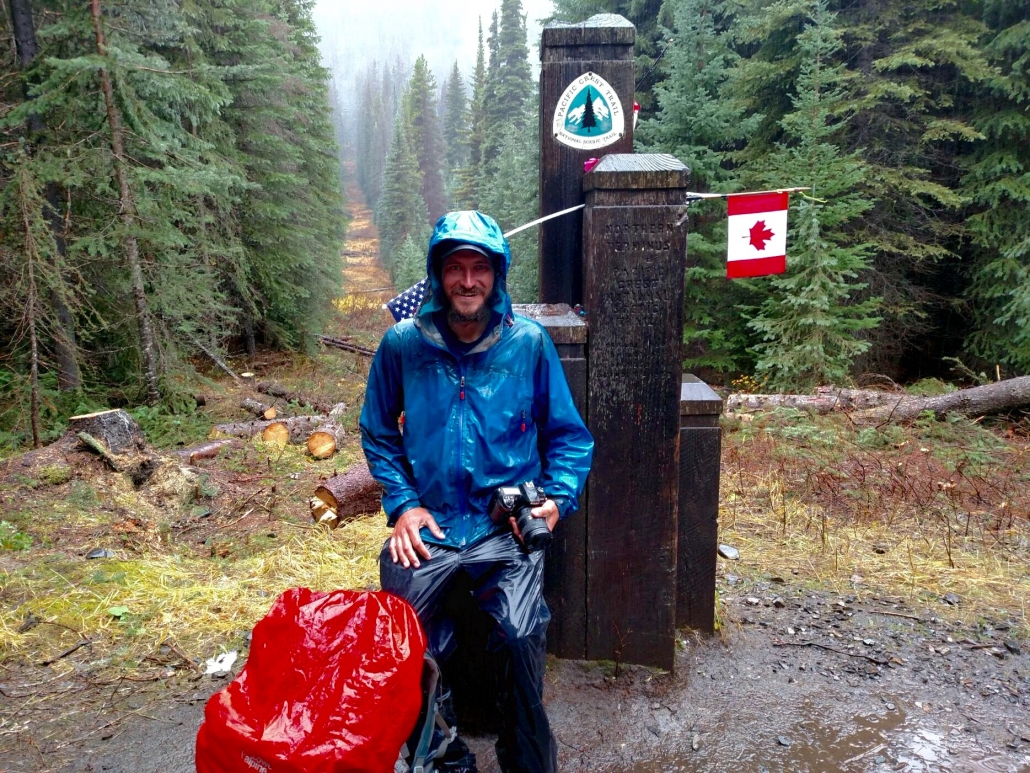
Photo Courtesy: Sean Jansen